This is a list of what we typically keep in our kitchen at all times. Of course, we often have things outside of this list as well, but as far as the basics go these things are usually kept in stock. Use as inspiration for your next shopping trip!

This is a list of what we typically keep in our kitchen at all times. Of course, we often have things outside of this list as well, but as far as the basics go these things are usually kept in stock. Use as inspiration for your next shopping trip!
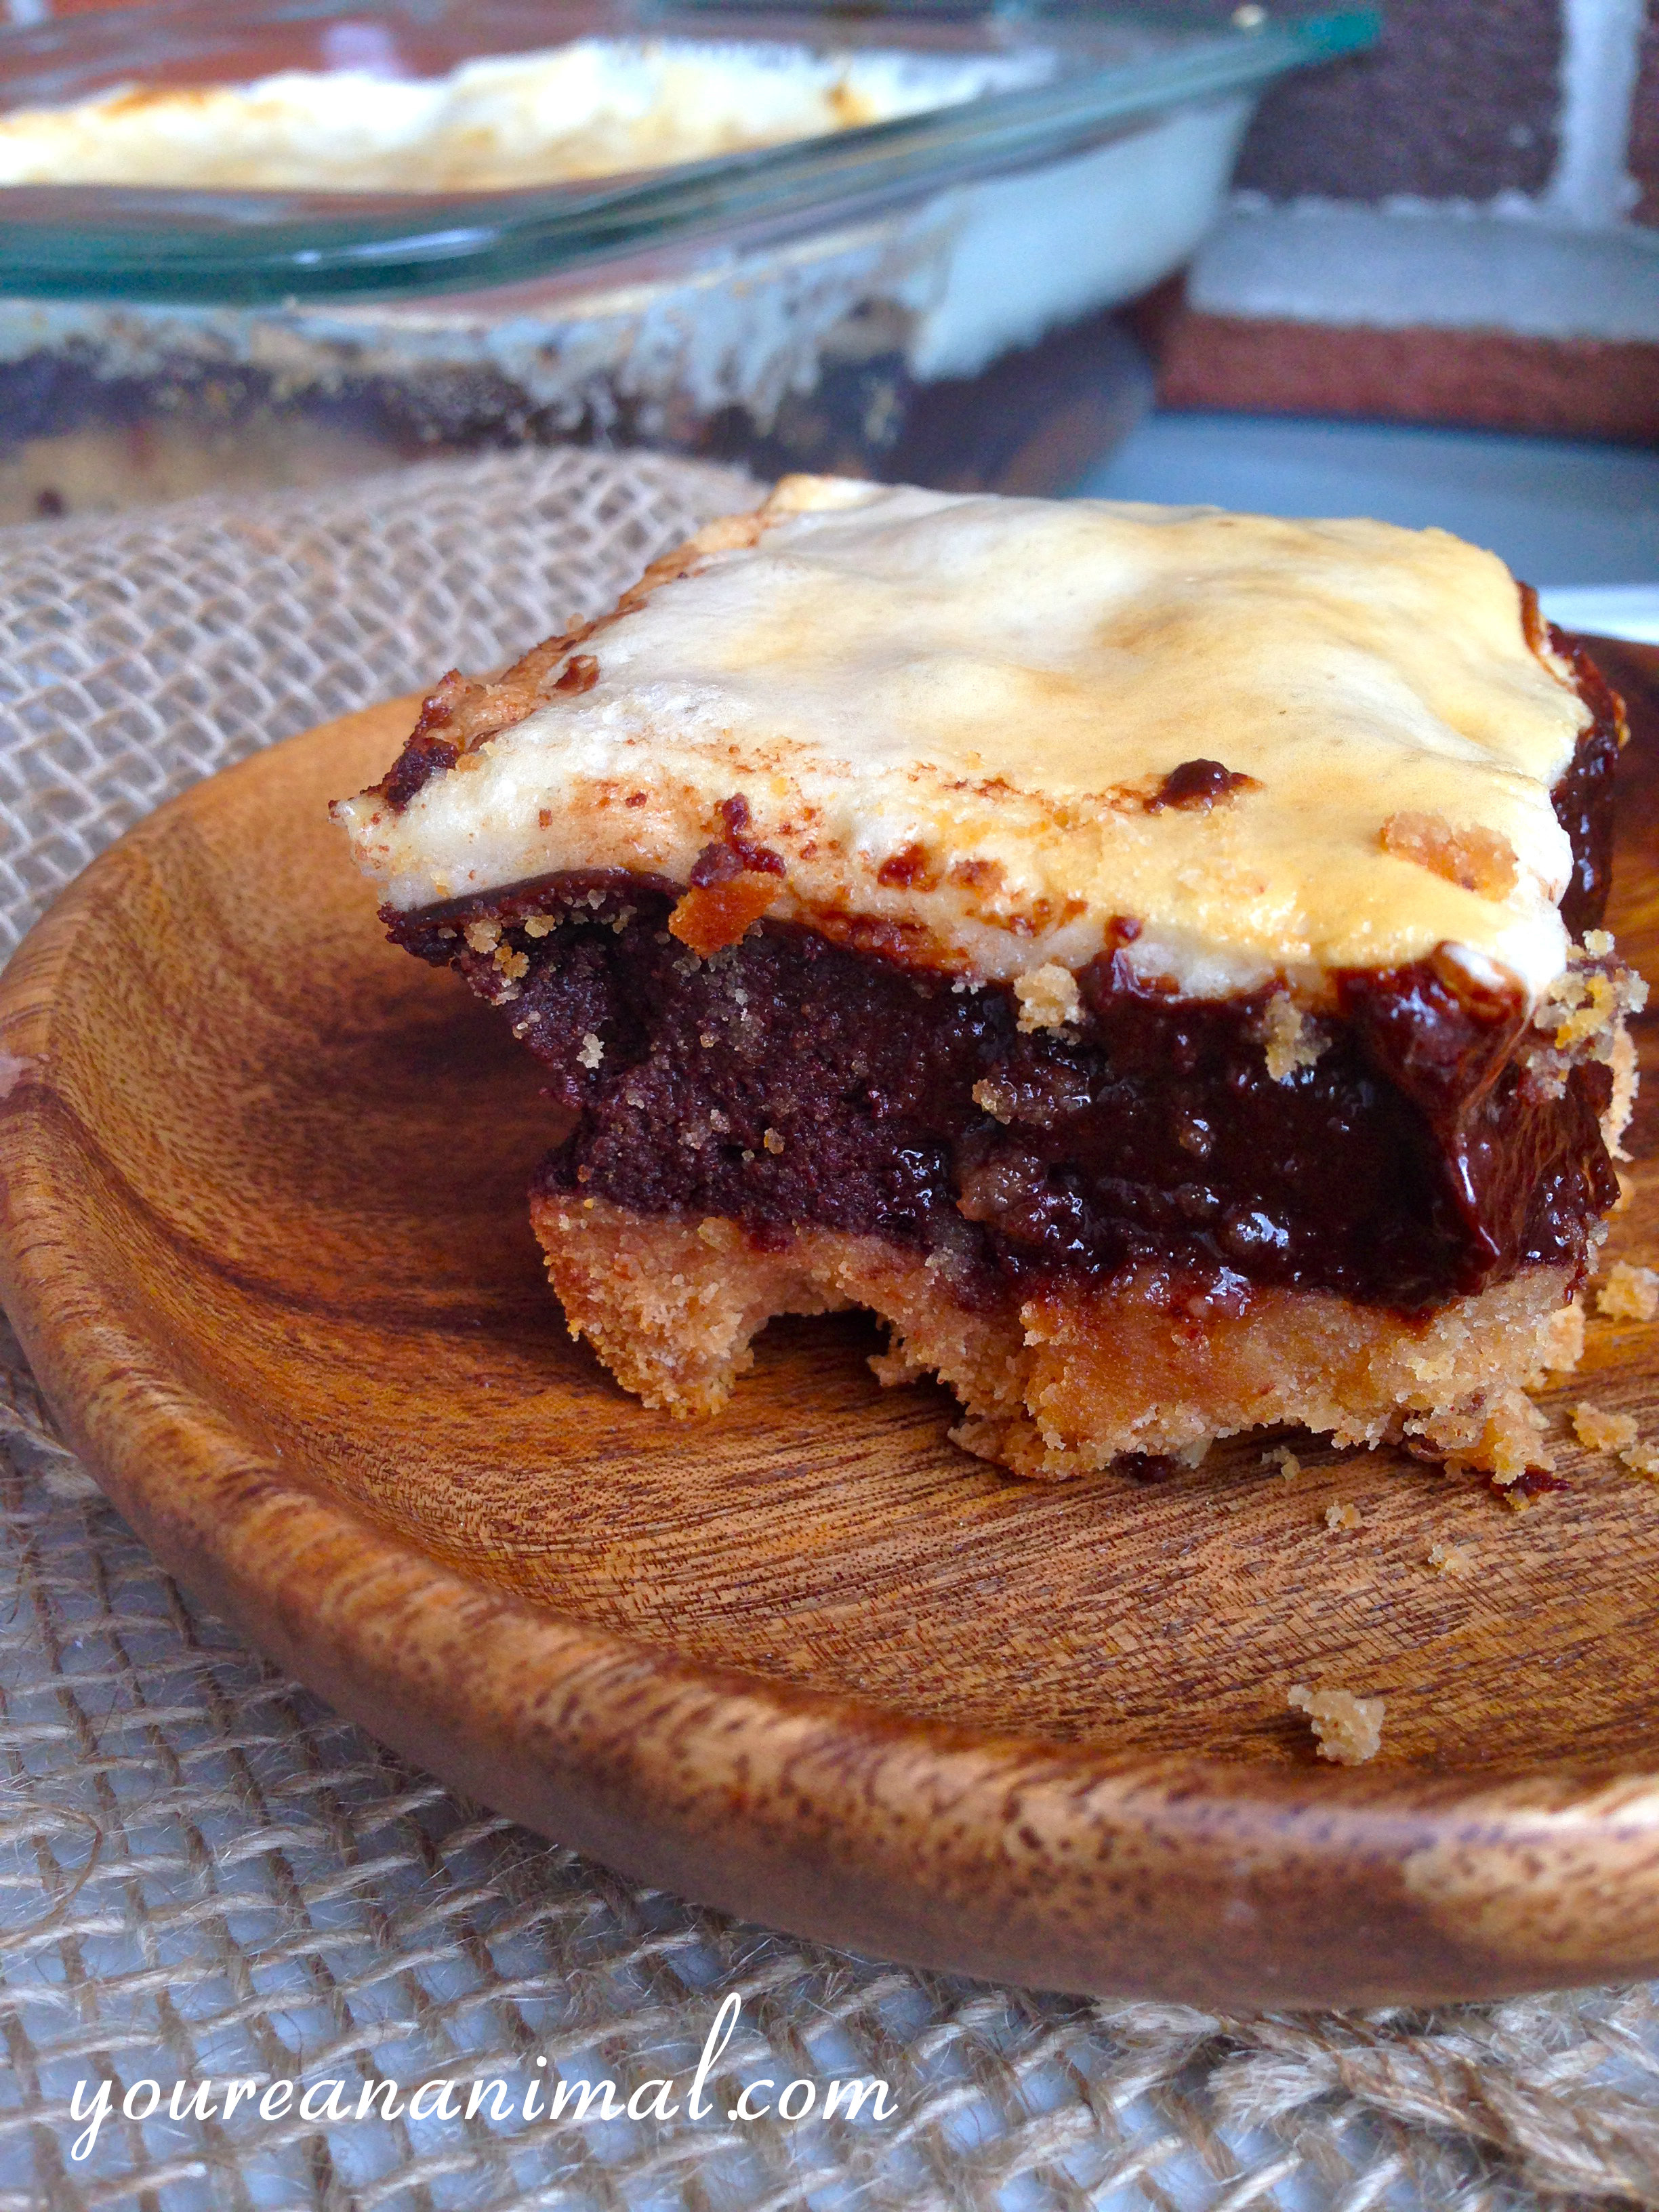
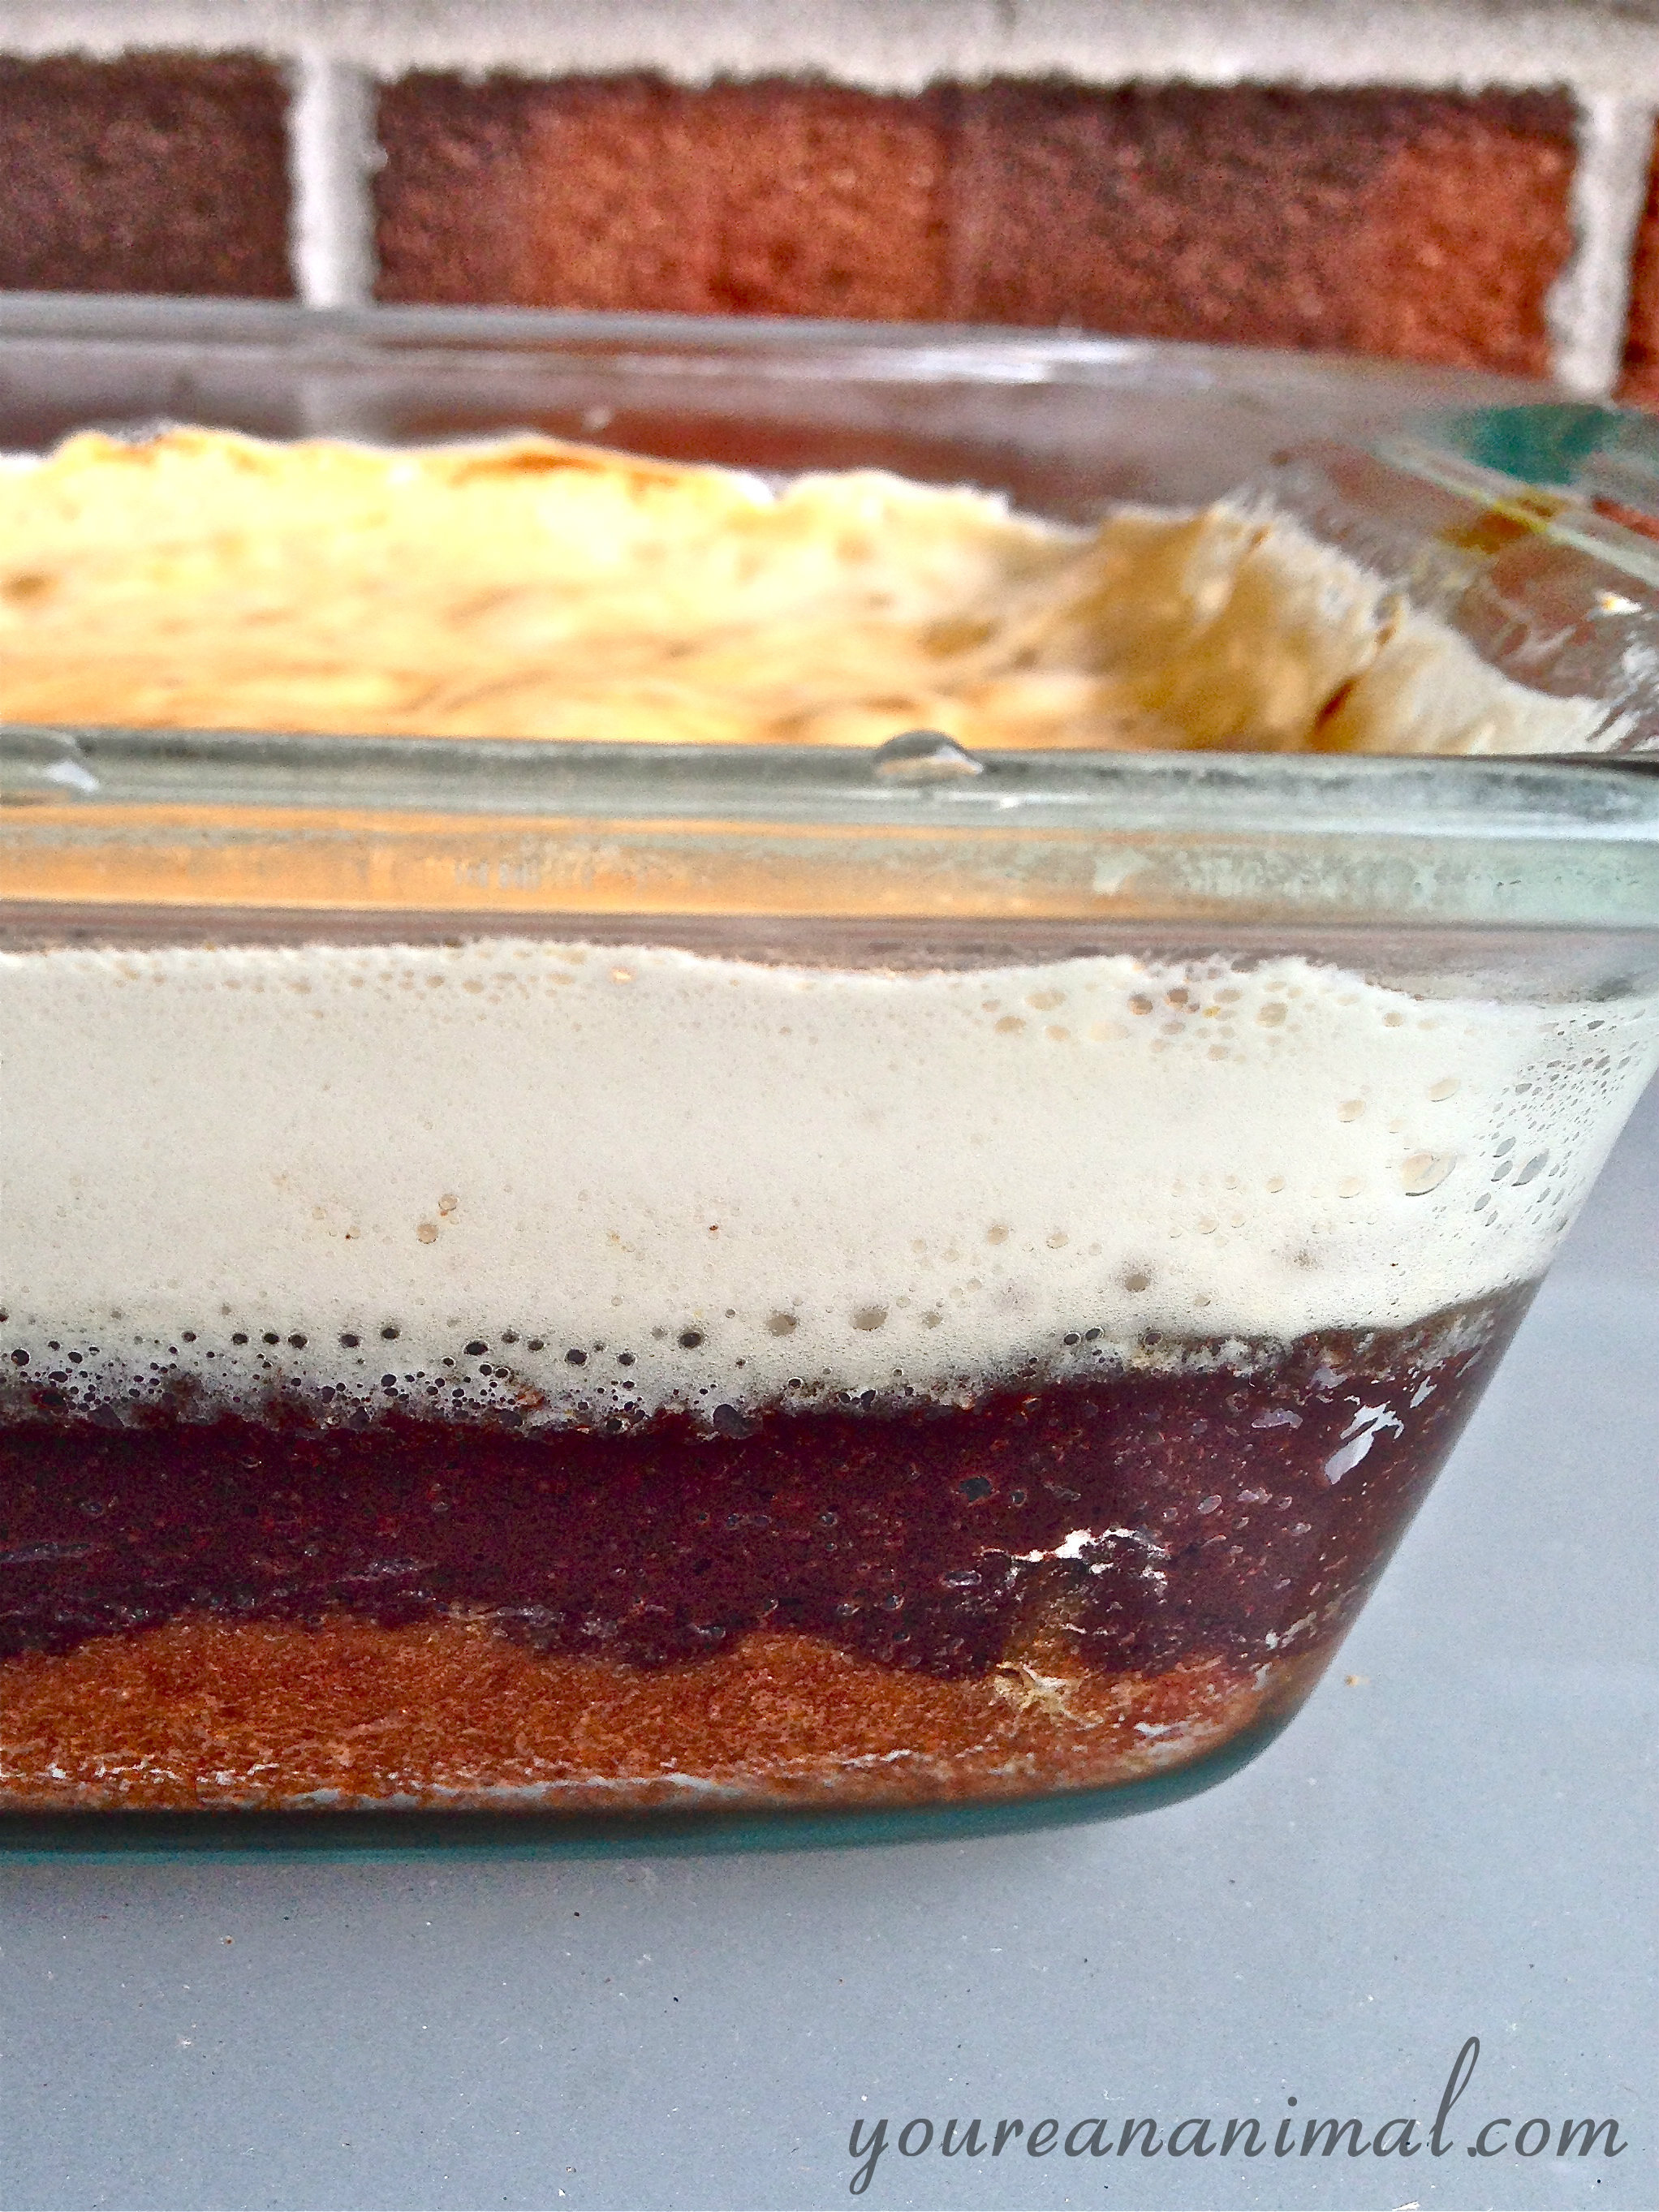
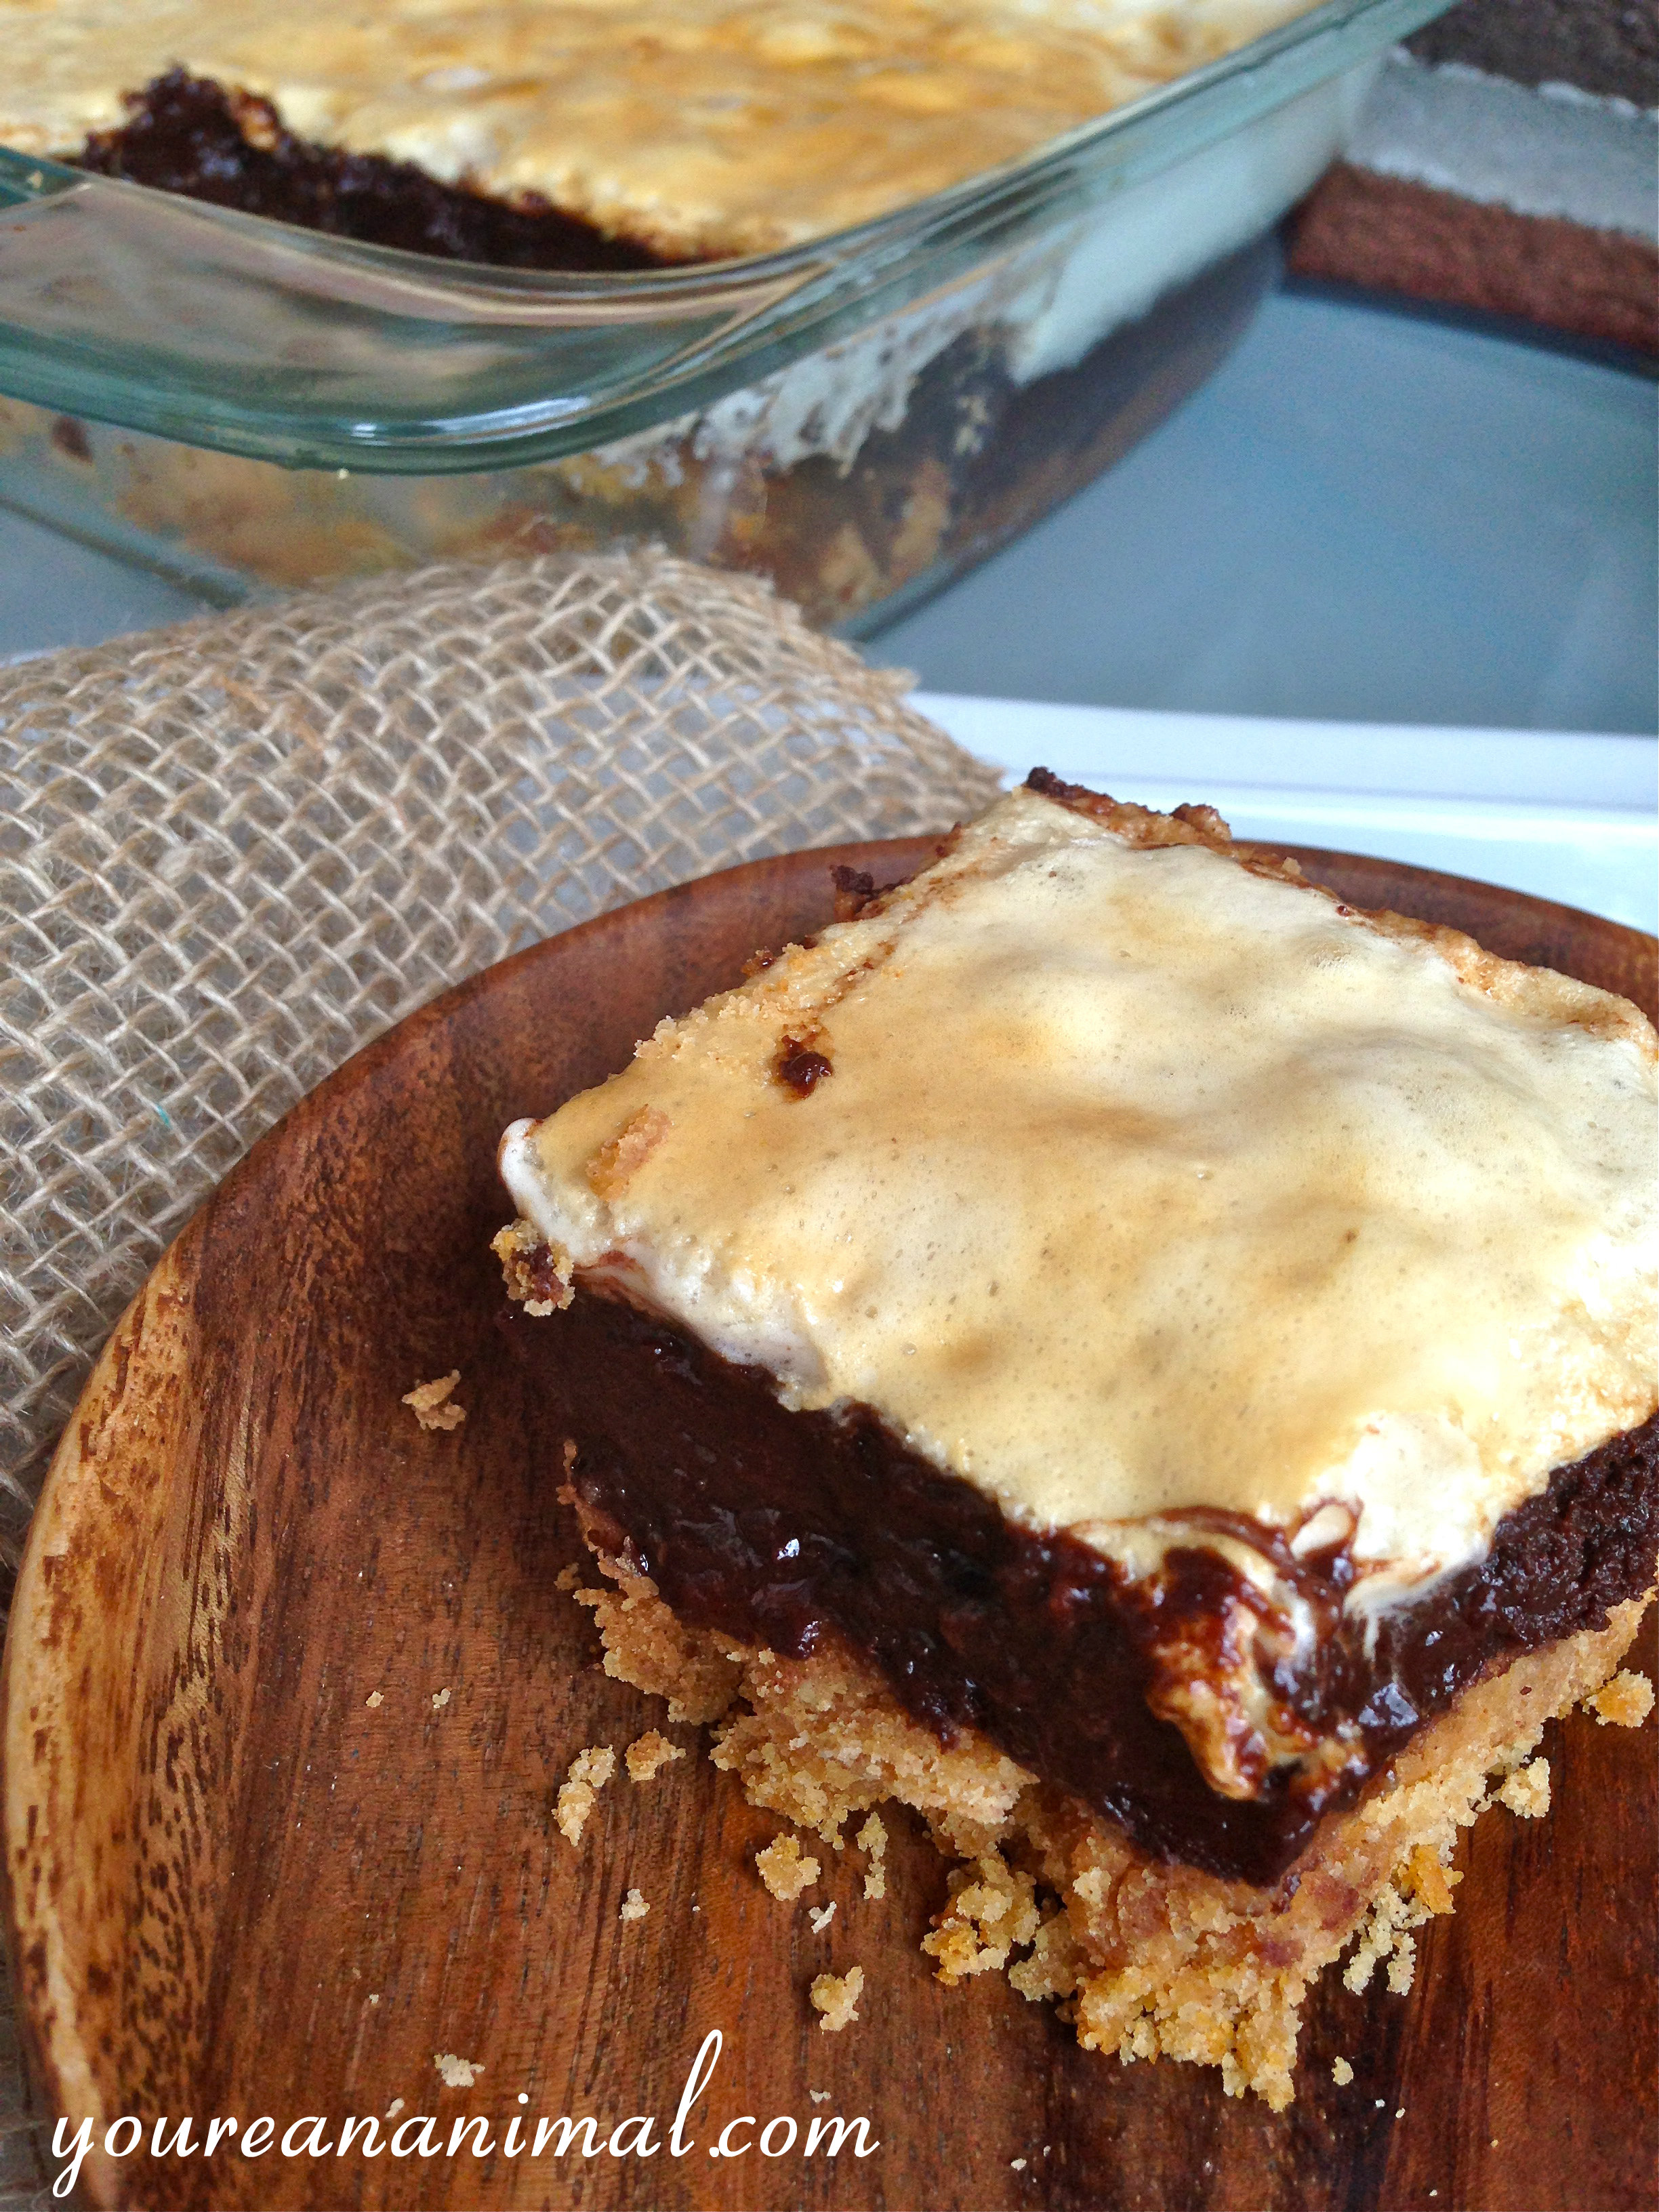
 Happy official start to summer! What better way to get in the mood than with s'mores? Unfortunately the chemical-y, white sugar-y, gluten-y treats have started to sound more like a death trap than a happy summer evening. So why not make your own without the processed junk?! Okay so these are by no means the healthiest food on earth... they've got a ton of sugar, even if that sugar is much better quality than what you would buy in the store. So this is a once-every-so-often summertime treat made to share. By hey, I say if you're going to do it, at least make it cleaner than it used to be! I can't take too much credit for this recipe because I actually combined three different recipes from three different sources to create these sweet treats: Against All Grain, Lexi's Clean Kitchen, and Urban Poser. The part that amazed me the most was being able to make my own marshmallow with honey. WHAAAT. And it came out perfectly. Until I caught it on fire. Yep, that actually happened. I put the bars under the broiler to get the marshmallow nice and toasty brown (I mean it's a s'more, right?) and then got distracted by the World Cup annnnd there was a fire. Smoke detector went off. I had to peel off the top charred and maimed layer. And because of that, the marshmallow layer isn't as thick as it started out. So when you make these, the marshmallow will probably be a little fluffier and taller. Just don't make an oopsie like I did. BUT if you're going to catch something on fire, marshmallow isn't the worst thing because you can easily just remove it. That's my story and I'm sticking to it. Happy summertime!
S'mores Bars
Graham Crust layer adapted from Against All Grain (original recipe here)
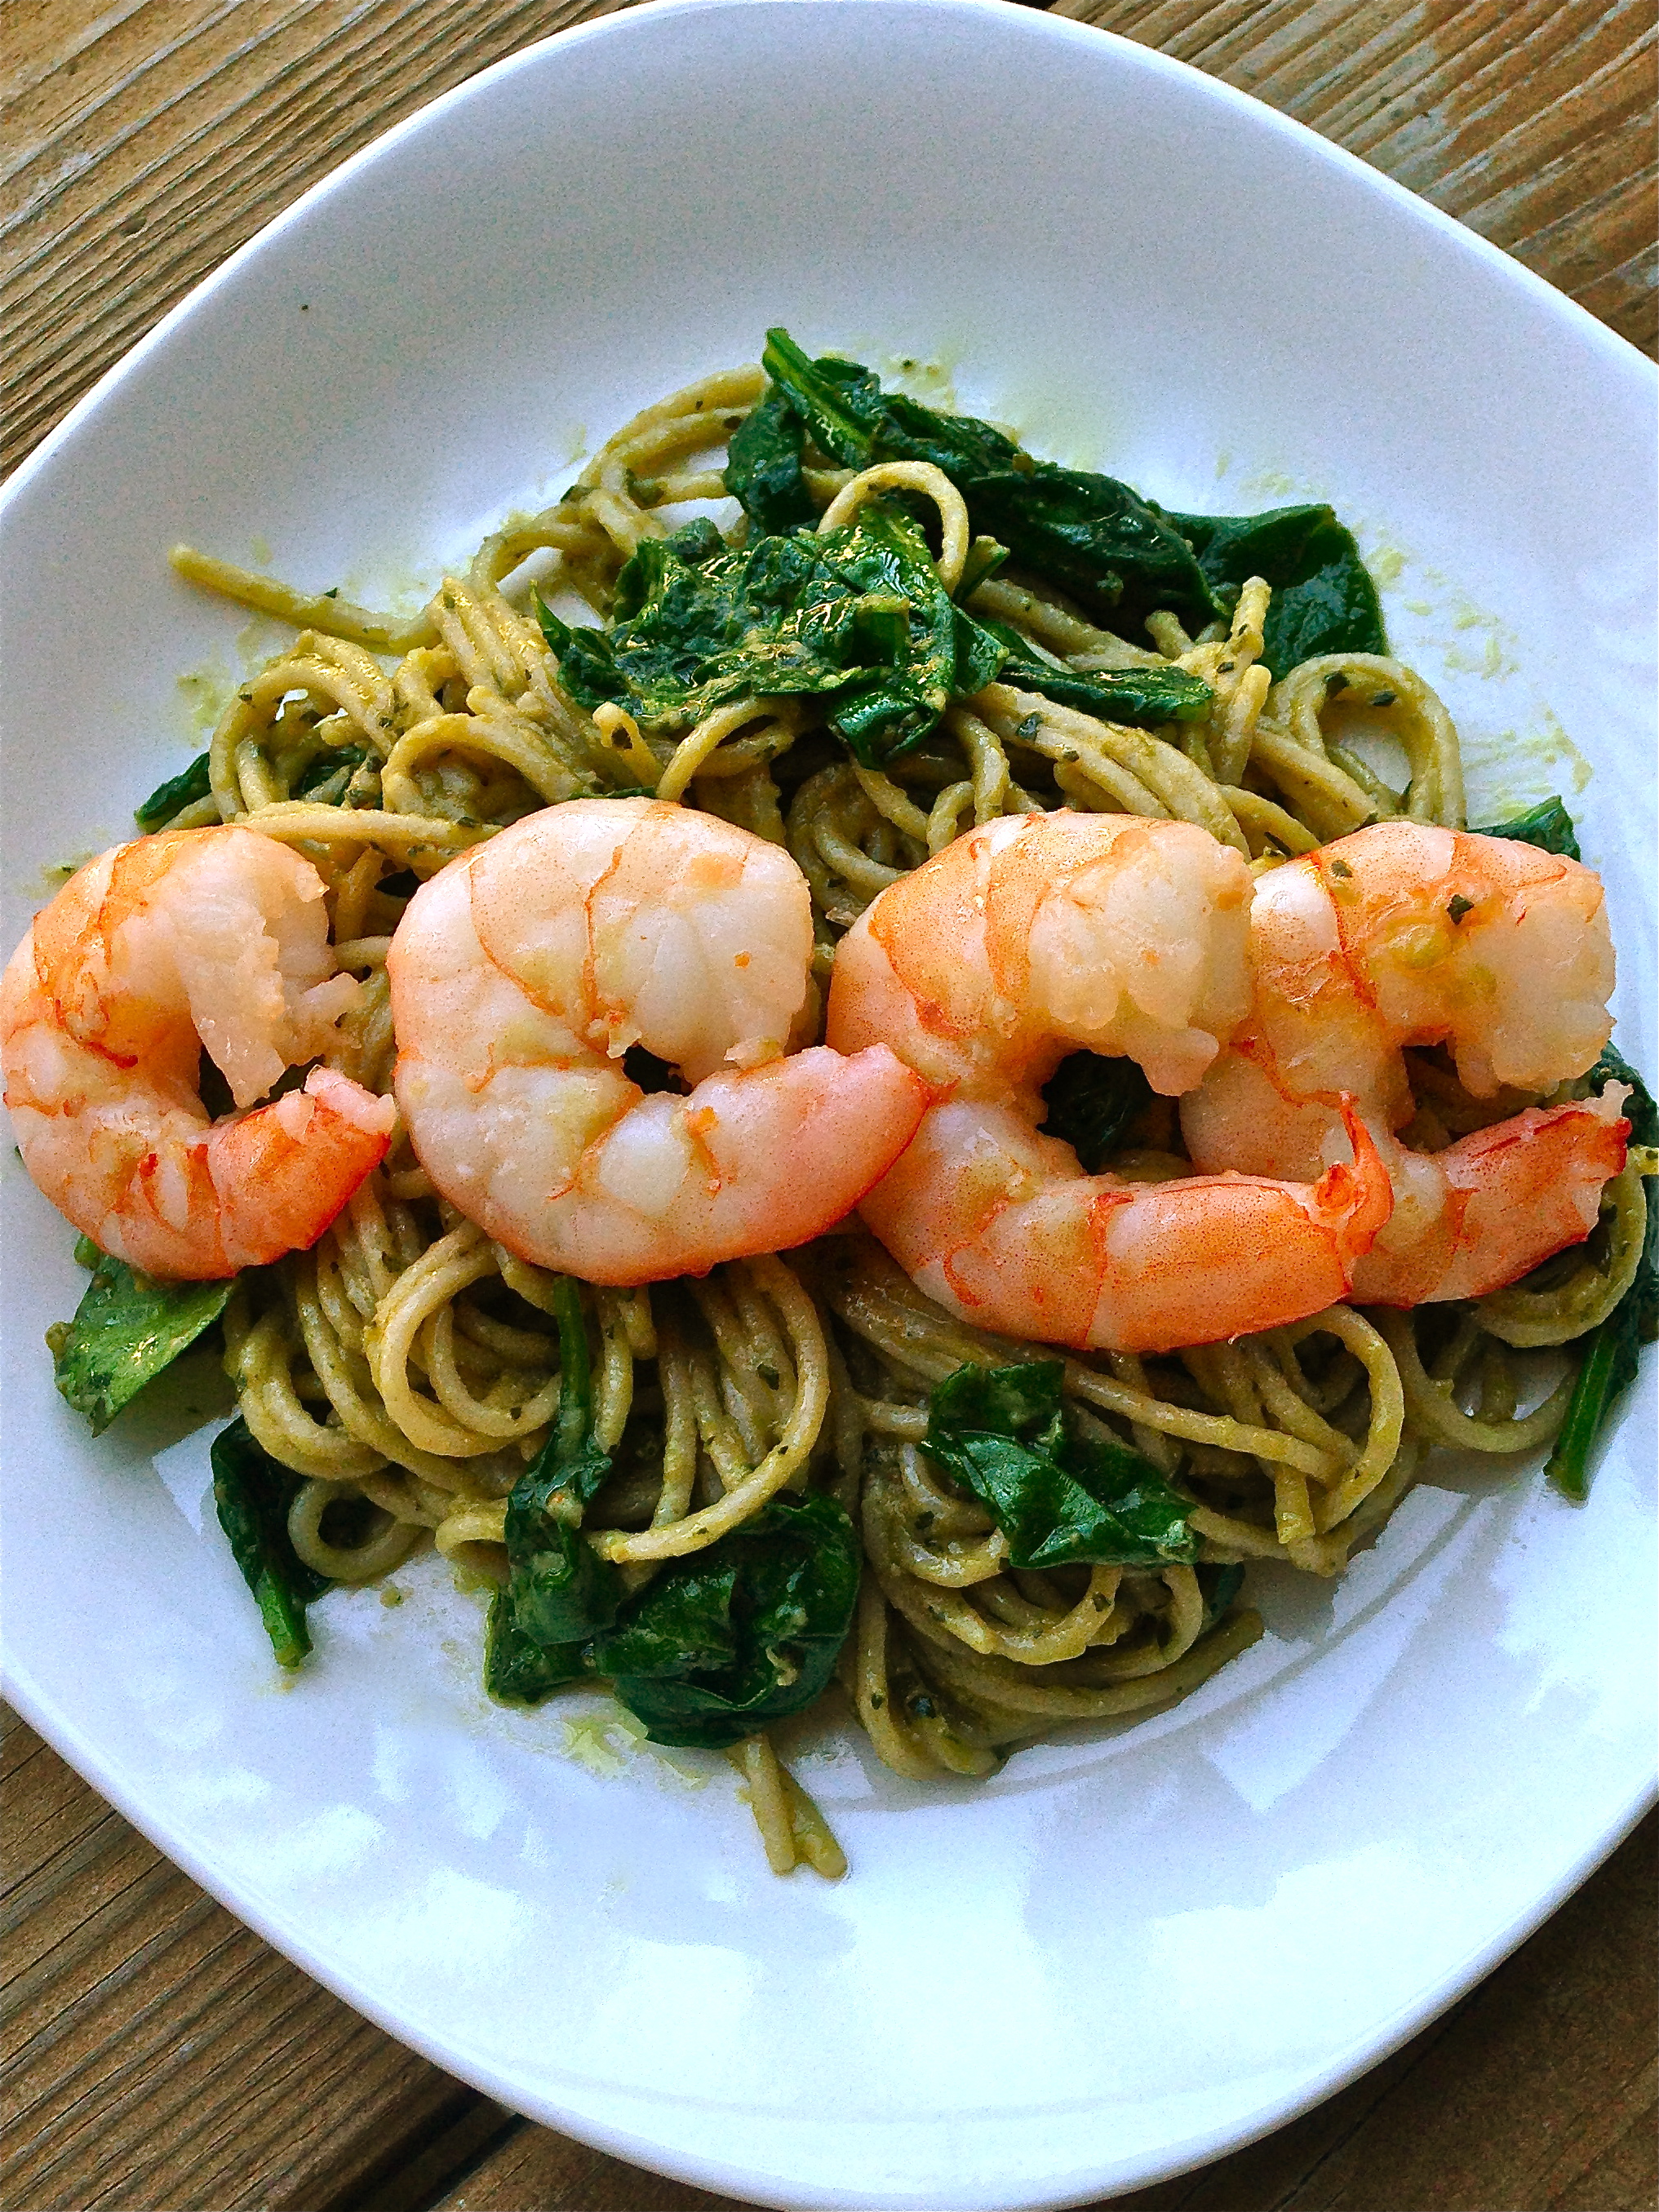
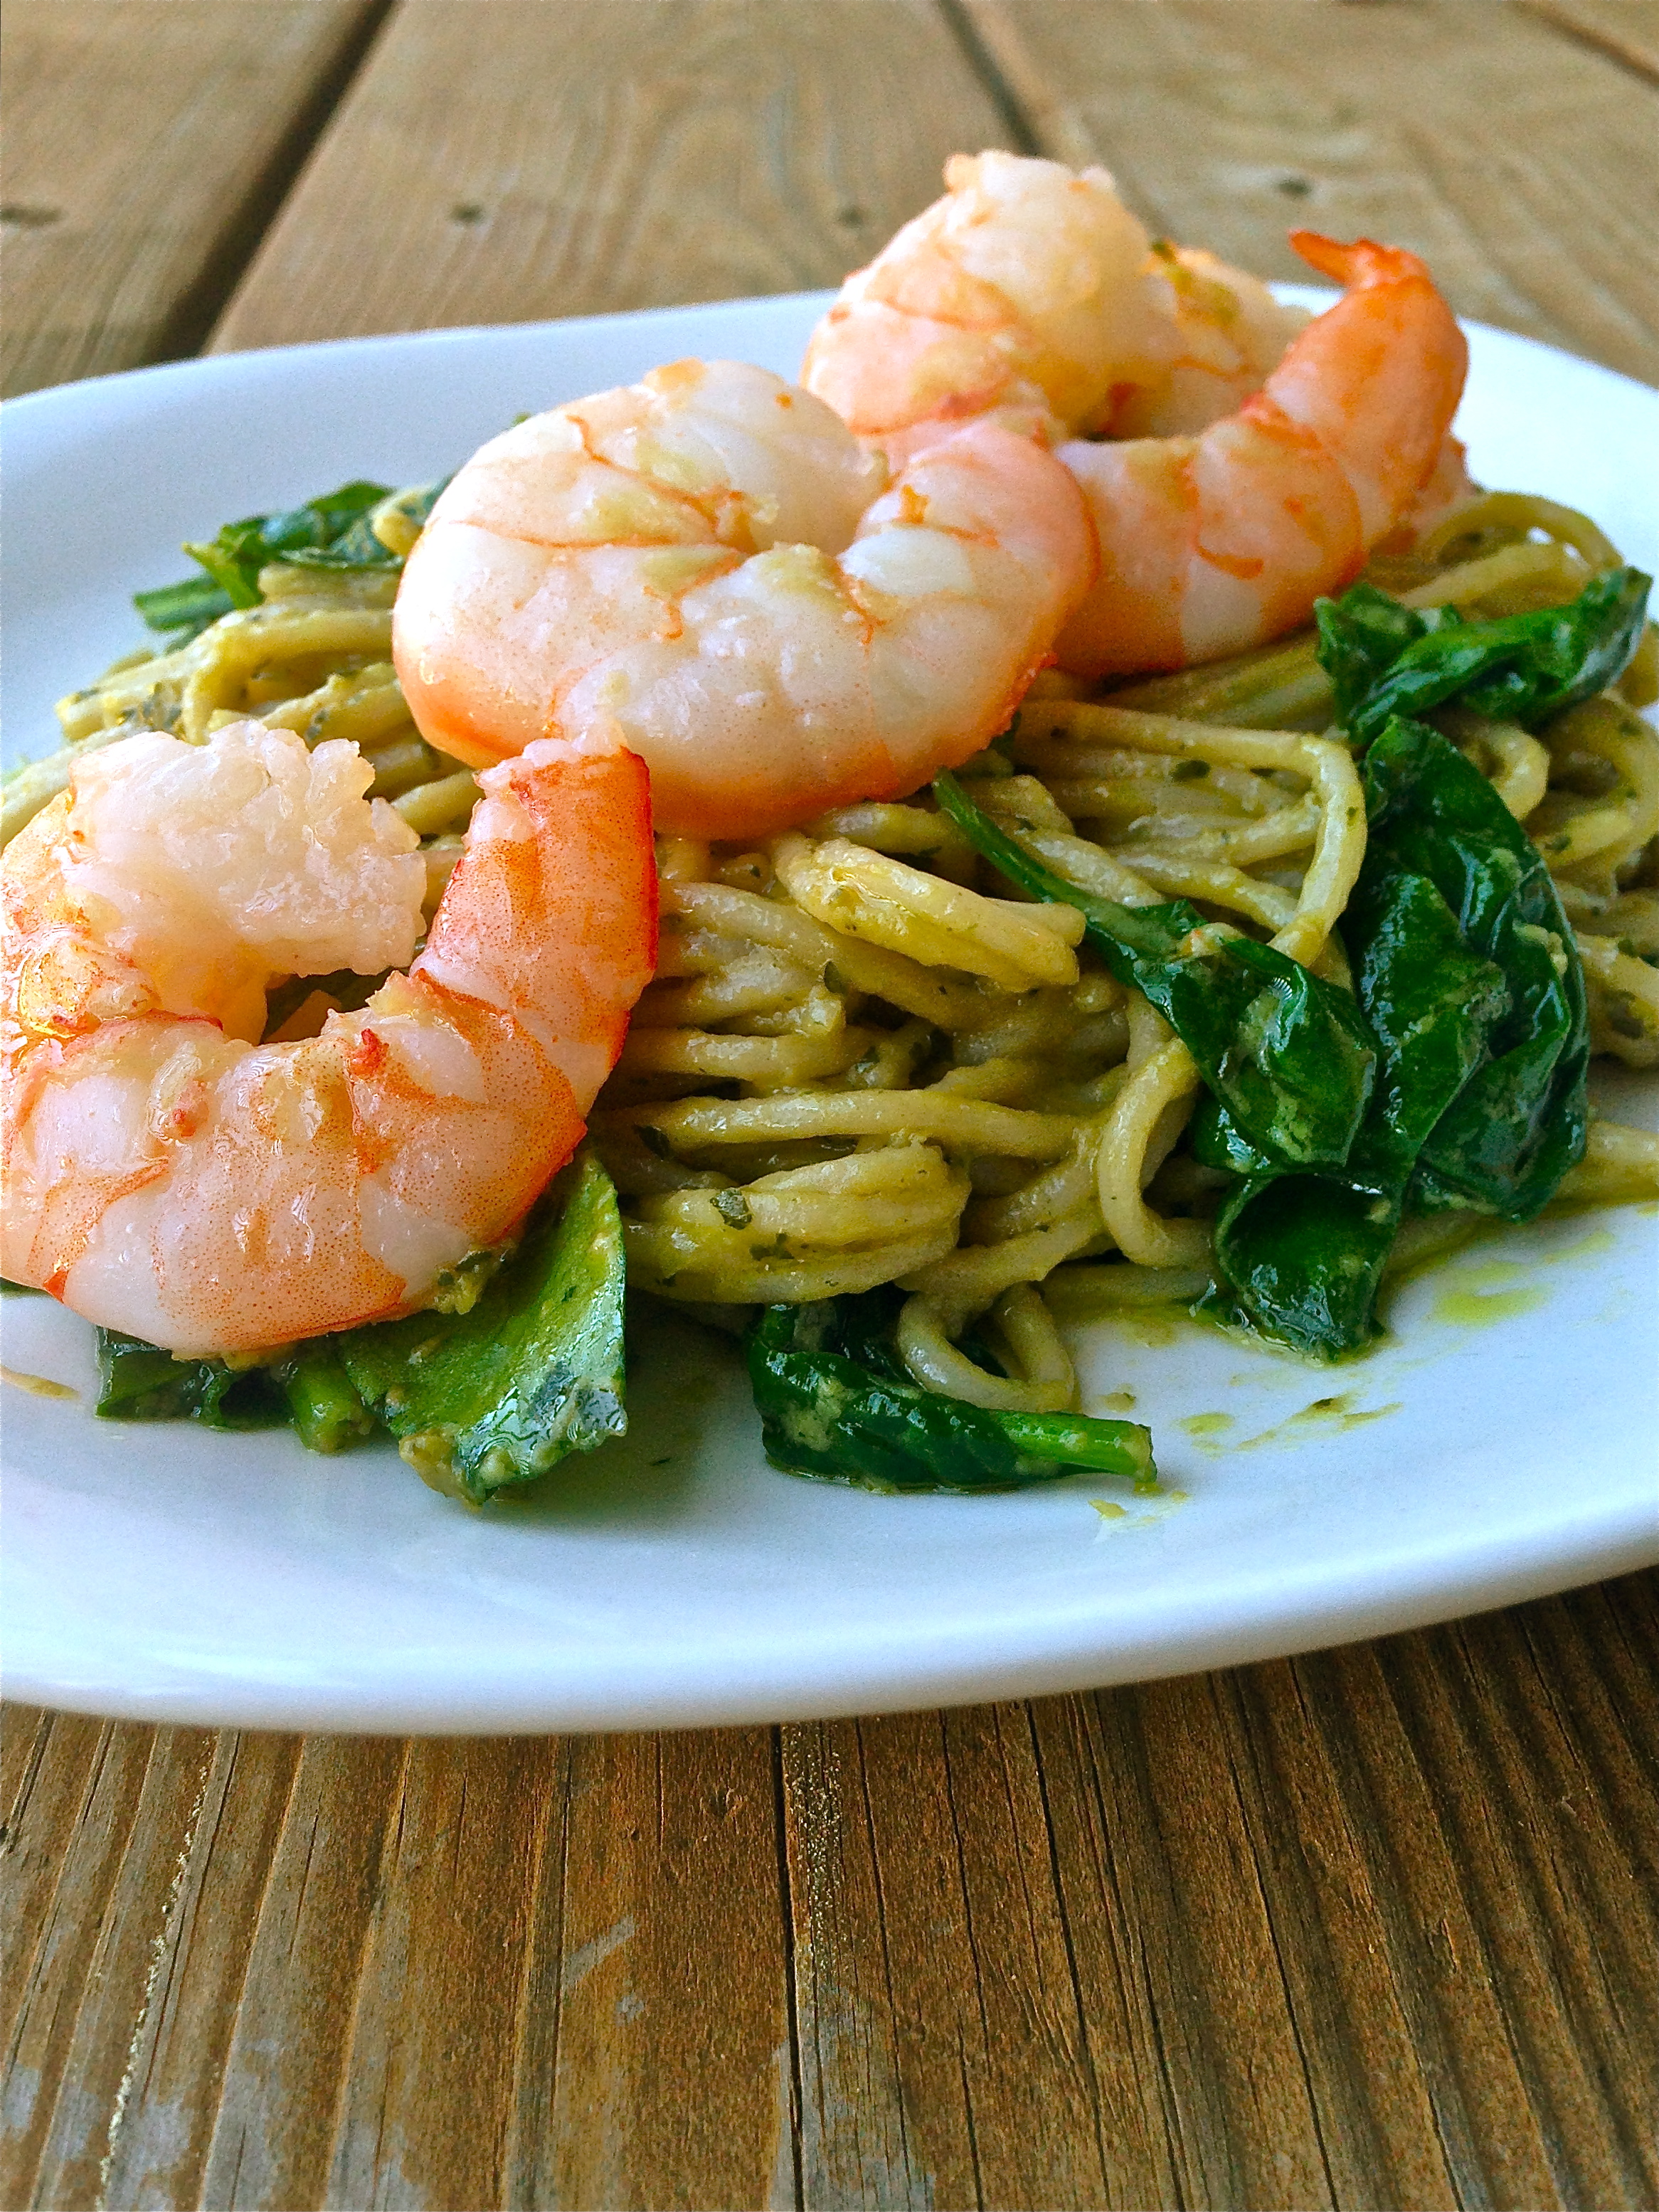
 I'll be honest here, this is not a grain-free meal (although it could be-- substitute zoodles [zuchini noodles] and voila!). I have gotten very strict about gluten-free, but we're slightly more lenient on the non-gluten grains. Mainly these vices are sushi (brown rice, about once a week) and pasta (sprouted wild rice, about once a month). The pasta can sometimes upset my digestive system, so that's why it's a rarity, but sometimes it just feels NECESSARY, ya know? Pasta, comfort, yum. The necessity here was to comfort from the stress of the US World Cup came against Portugal. Stress. Alcohol. Soccer. Pasta. This happened. Also, it's so quick and easy that it almost feels like a trap. What do you mean dinner is ready in 15 minutes? Too good to be true... but no! Easy peasy dinner, done and ready for cuddling up on the couch and yelling at our defensive line, and the ref, and Ronaldo, and whomever else needed to be yelled at. And the last 20 seconds of that game... yeah I don't want to talk about it either. Soooo... pasta! Greens! Shrimp! Yum. Noms away.
Shrimp and Spinach Creamy Pesto Pasta
 , but you can also use zoodles or even spaghetti squash to make it grain-free)

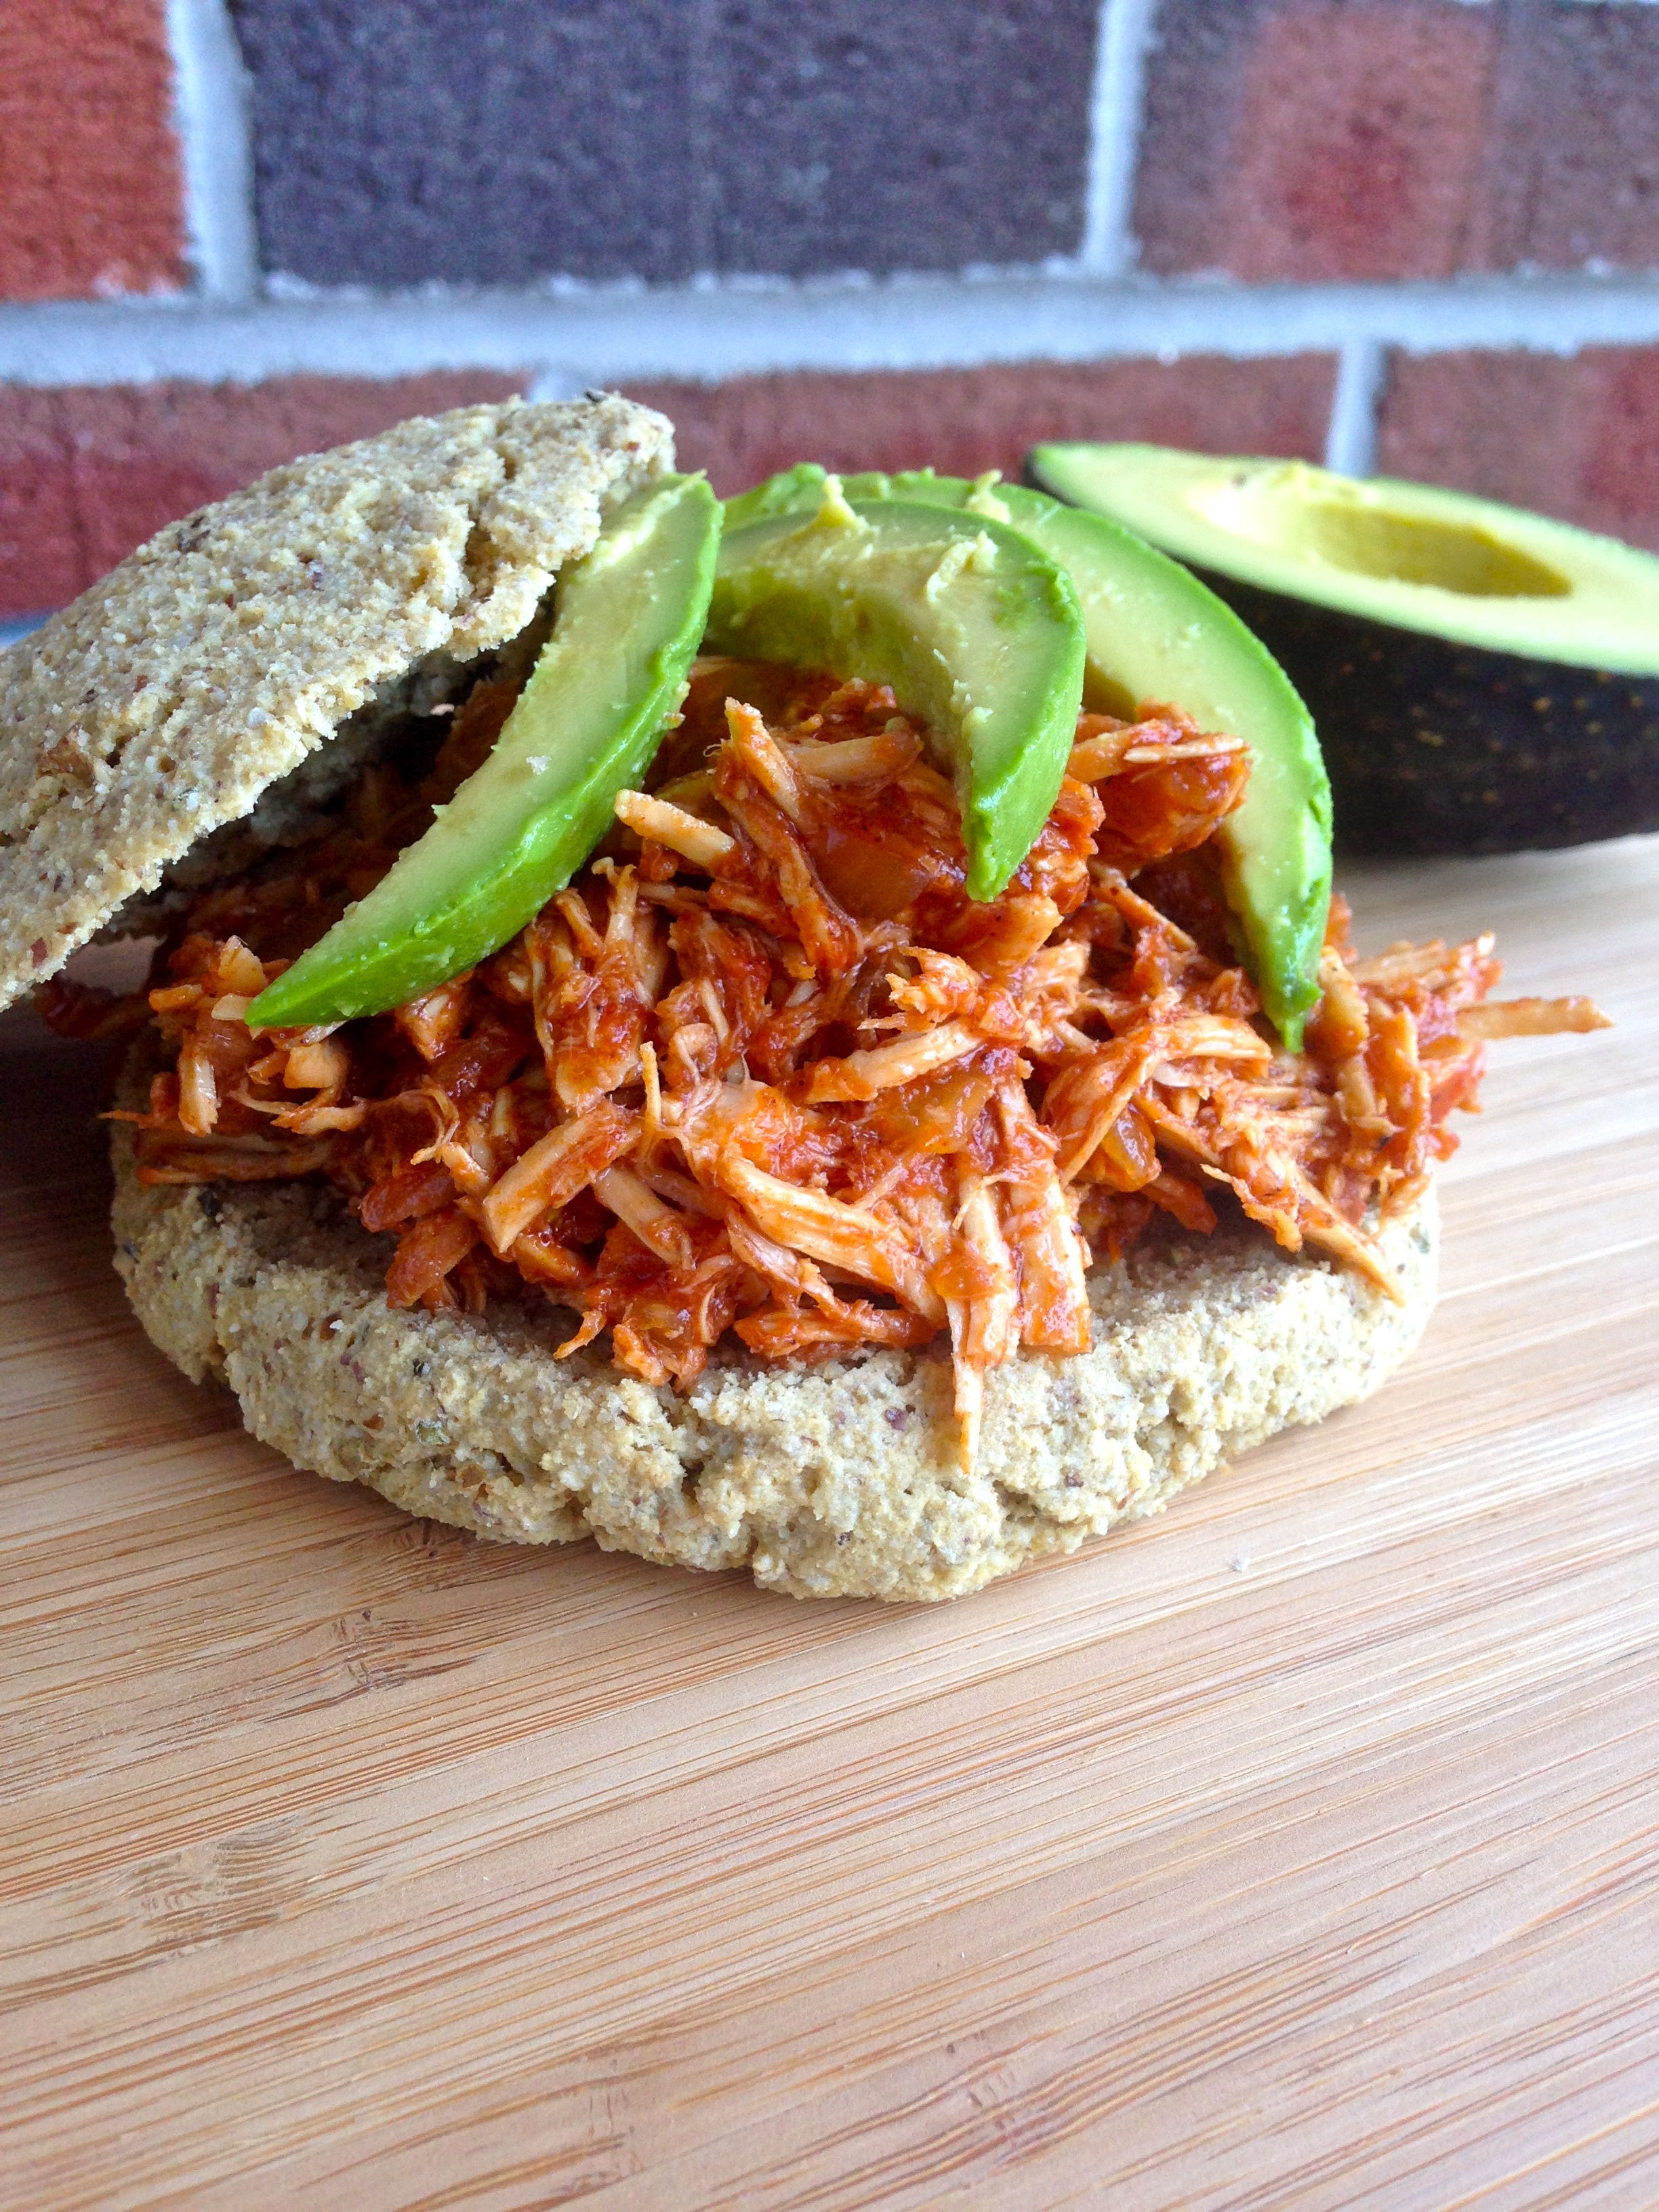
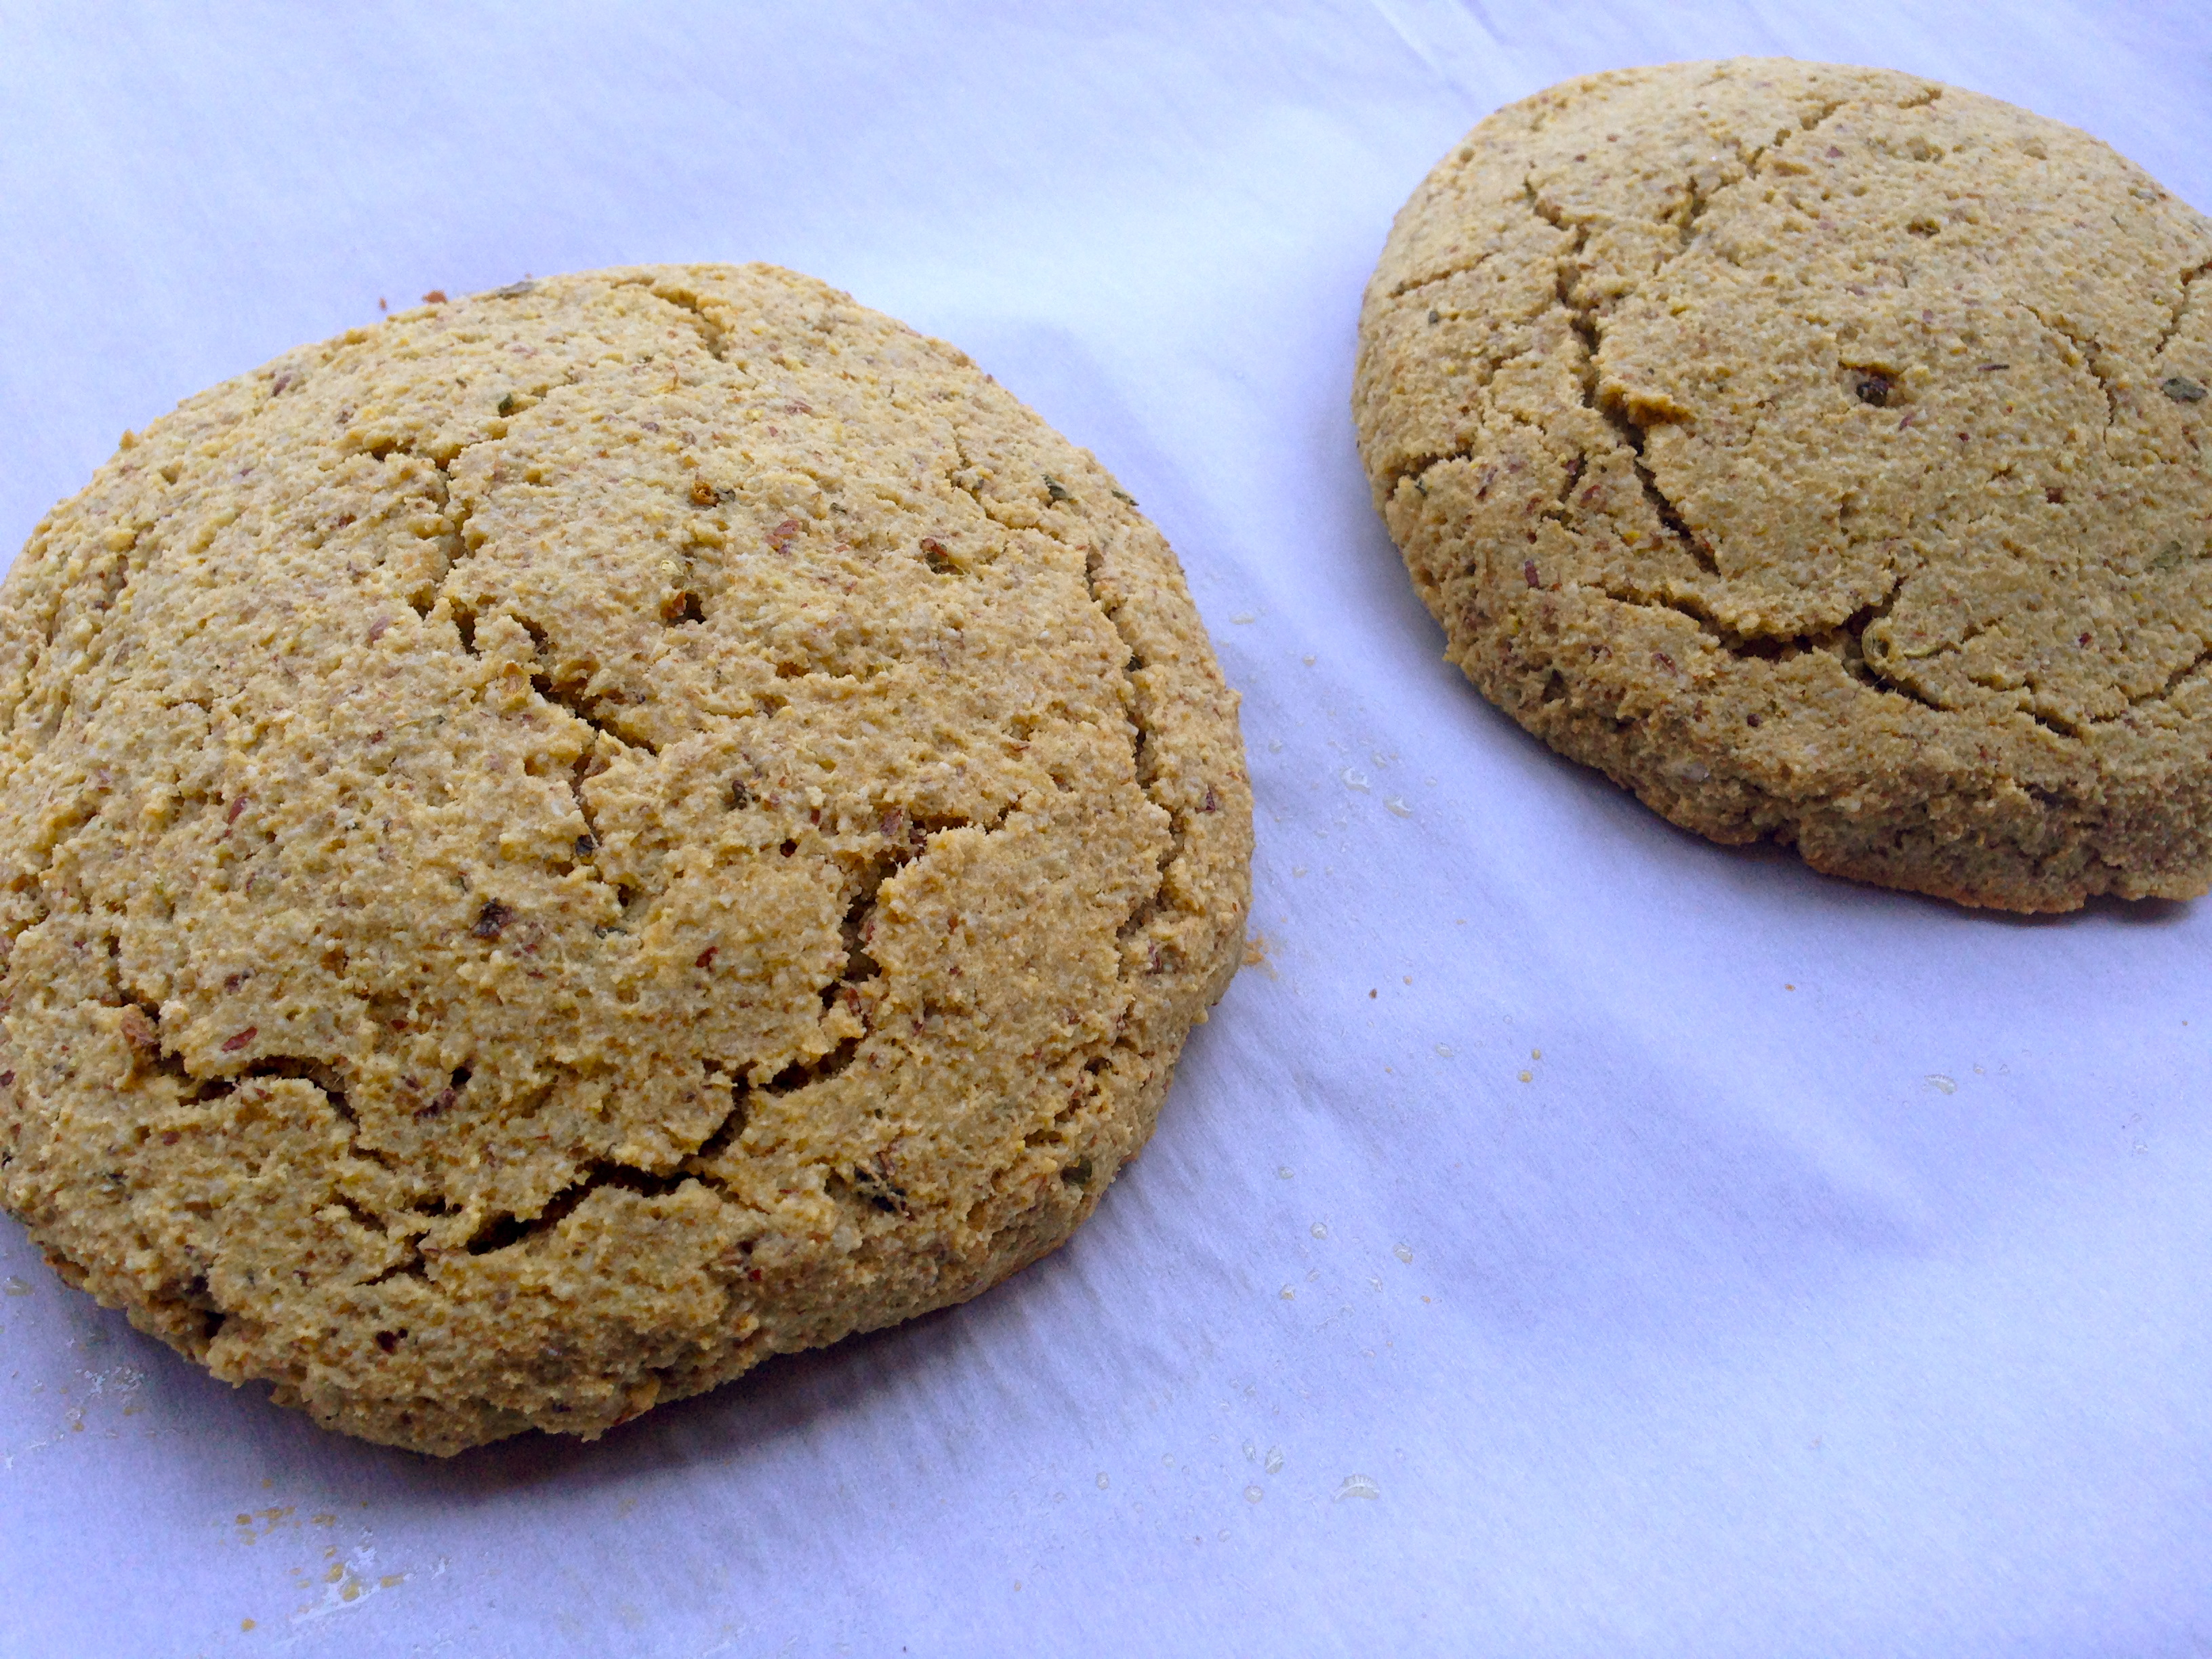
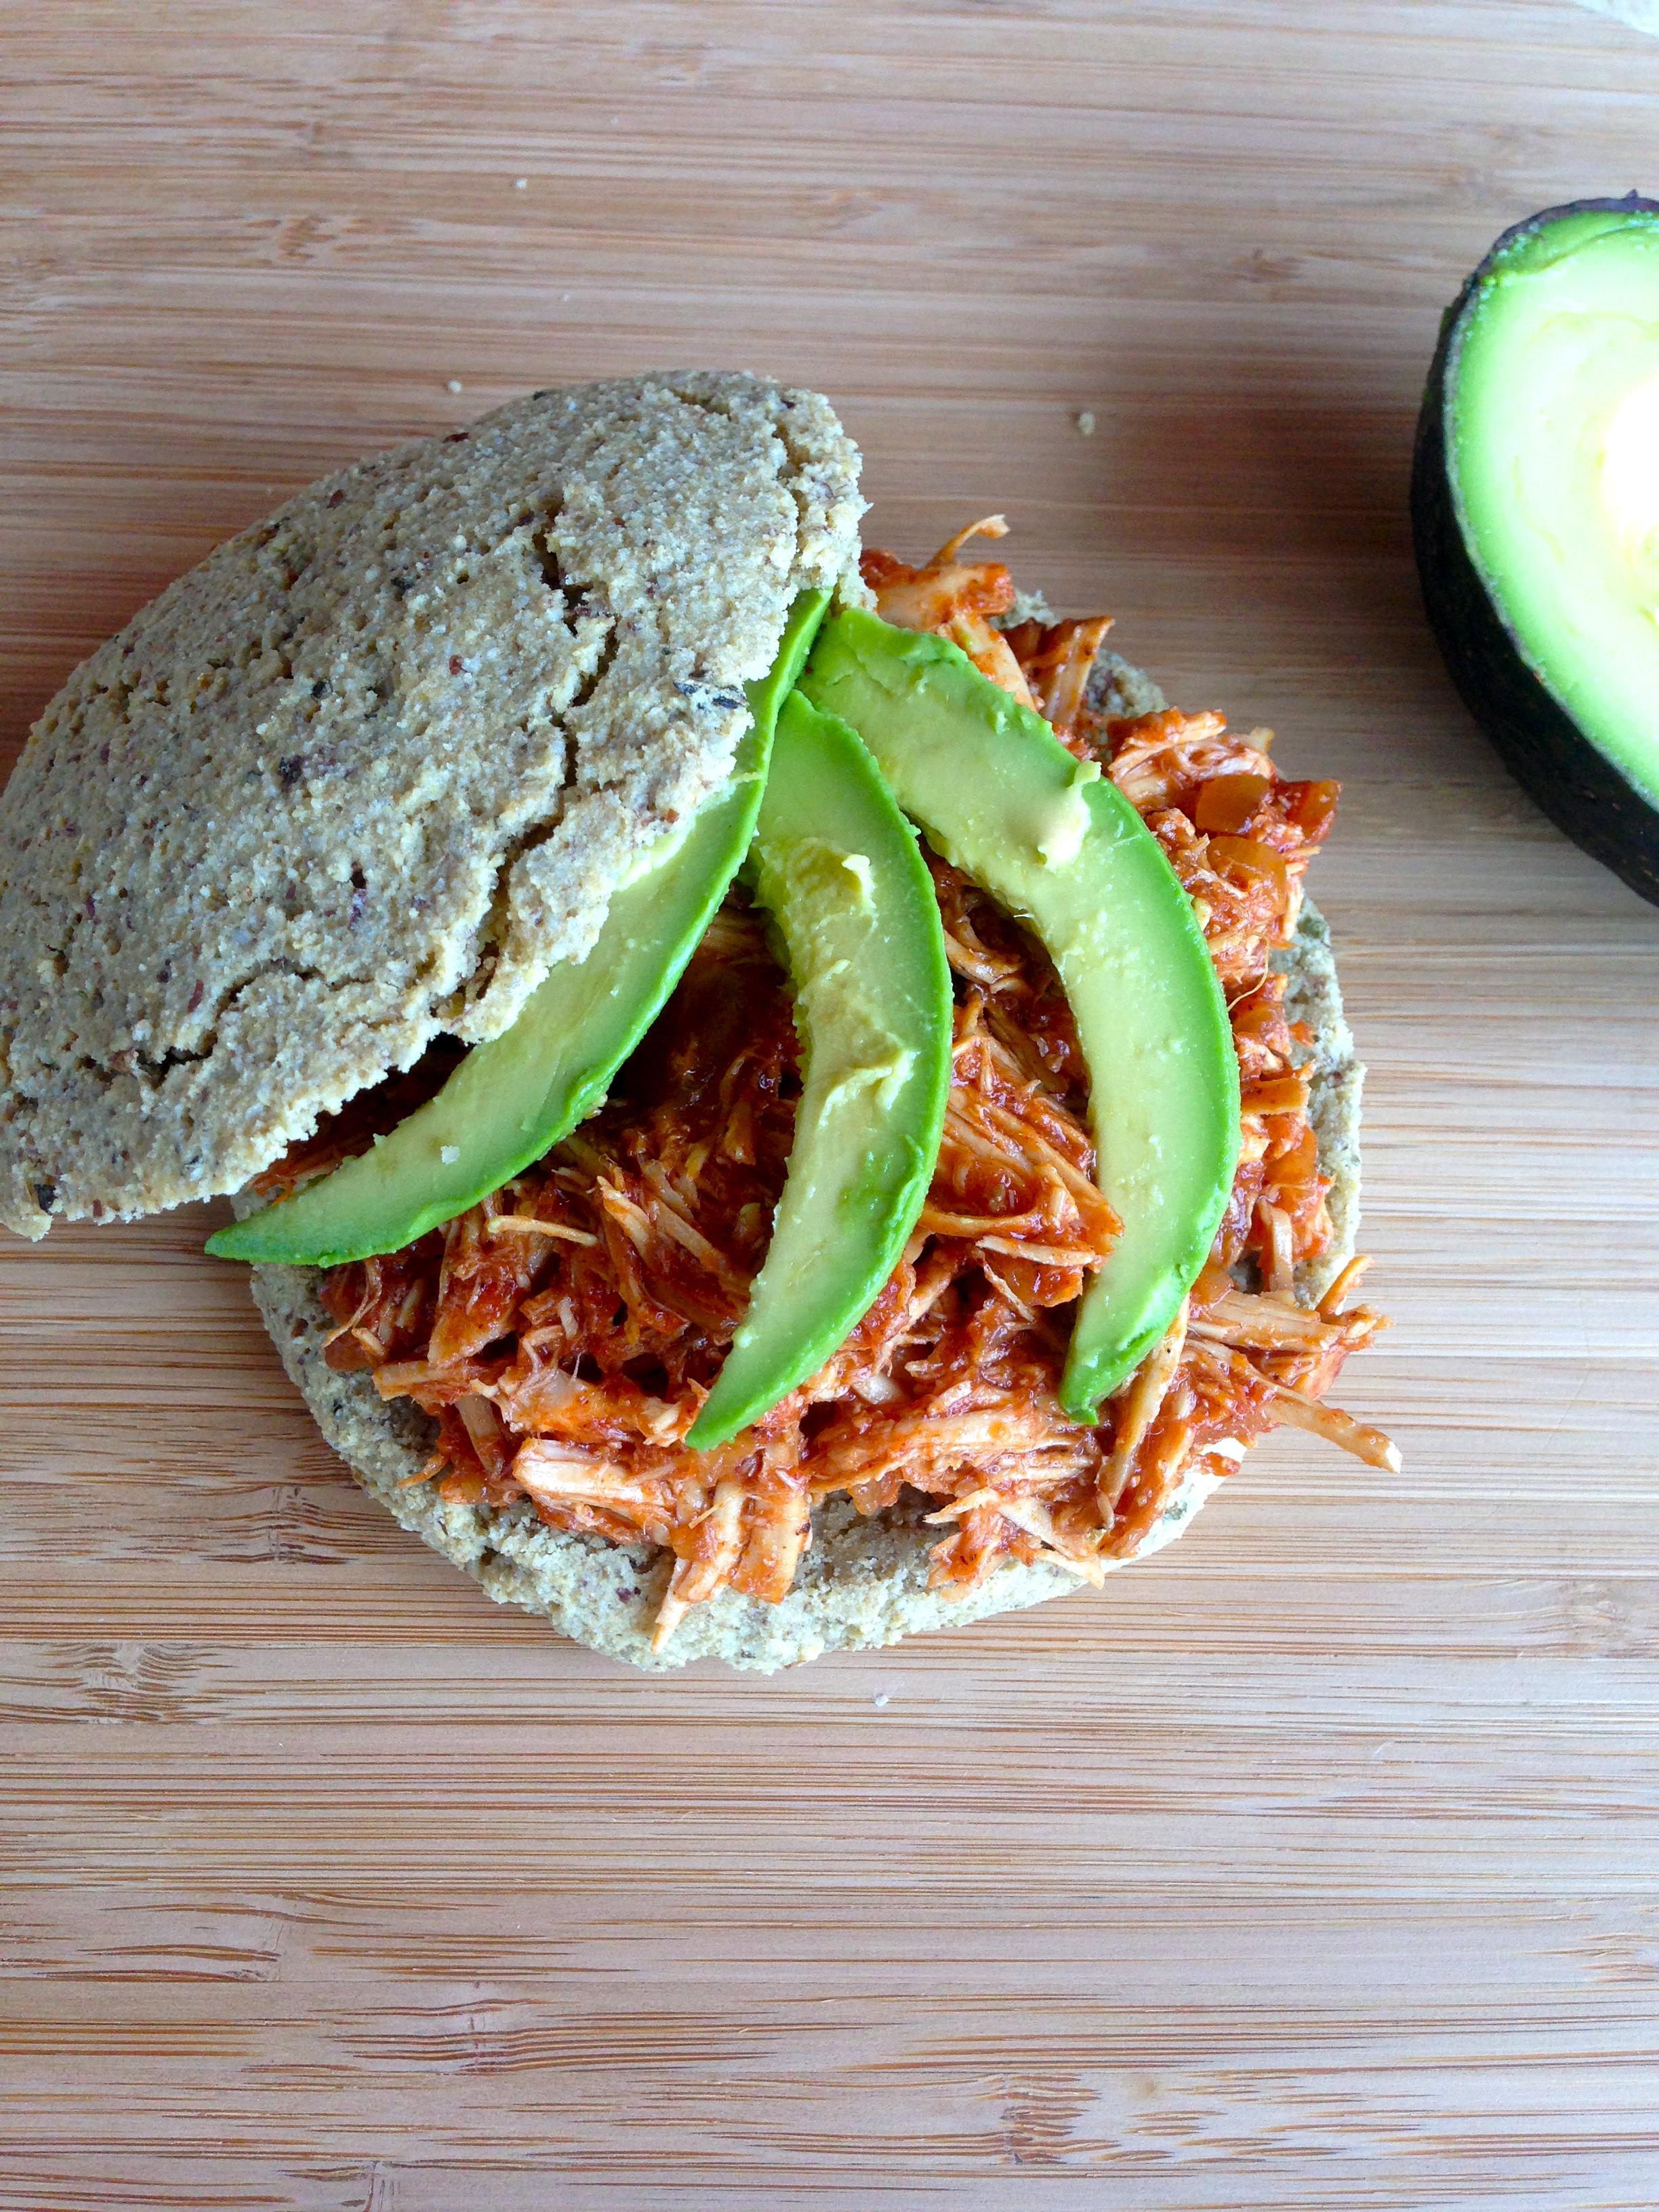
 Pulled pork/chicken is one of my greatest weaknesses, which is interesting for someone who usually couldn't care less about meat in general. I don't know what it is, but I could eat BBQ every single day... perhaps it's the Virginia in me. I had yet to venture into the world of making mine own, however, until recently. I had NO idea how easy it is to throw together your own sauce. Now, I know this is one of those things that people devote their lives to: Creating the WORLD'S BEST BBQ. But I'm not too hard to please, and this one ticks all the right boxes in my book. My one necessity is that it needs to be more vinegary than tomato-y, but still have some of the tomato flavor to it. The super sweet, tomato versions just do not do it for me. And neither do the bottle versions as they are often packed with sugar and who knows what else. The best thing about this recipe is that it is super whole-foody (as opposed to recipes that recommend ketchup or a bottle of BBQ sauce), and also super easy to just throw together and forget! Vinegar, a hint of tomato and sweetness, but also a kick of spice... sign me up! Often times we will mash up some potatoes (mixed with sauteed kale), and eat this chicken on top. THAT my friends, is a hearty meal. But for the purpose of having it in a sandwich, I baked up a couple of bun. For these I just used my Clean Eating Breadstick recipe, but formed them into two, round bun-shaped...buns. Then I cooked those for about 20 min or until cracked on top and golden on the bottom. Note that if you do use the buns for this, they do fall apart rather easily (bye bye gluten), but that kind of makes it fun. Andrew and I have competitions with who can keep their sandwich together longest. But at least you still get the sandwich feel!
Crockpot BBQ Chicken
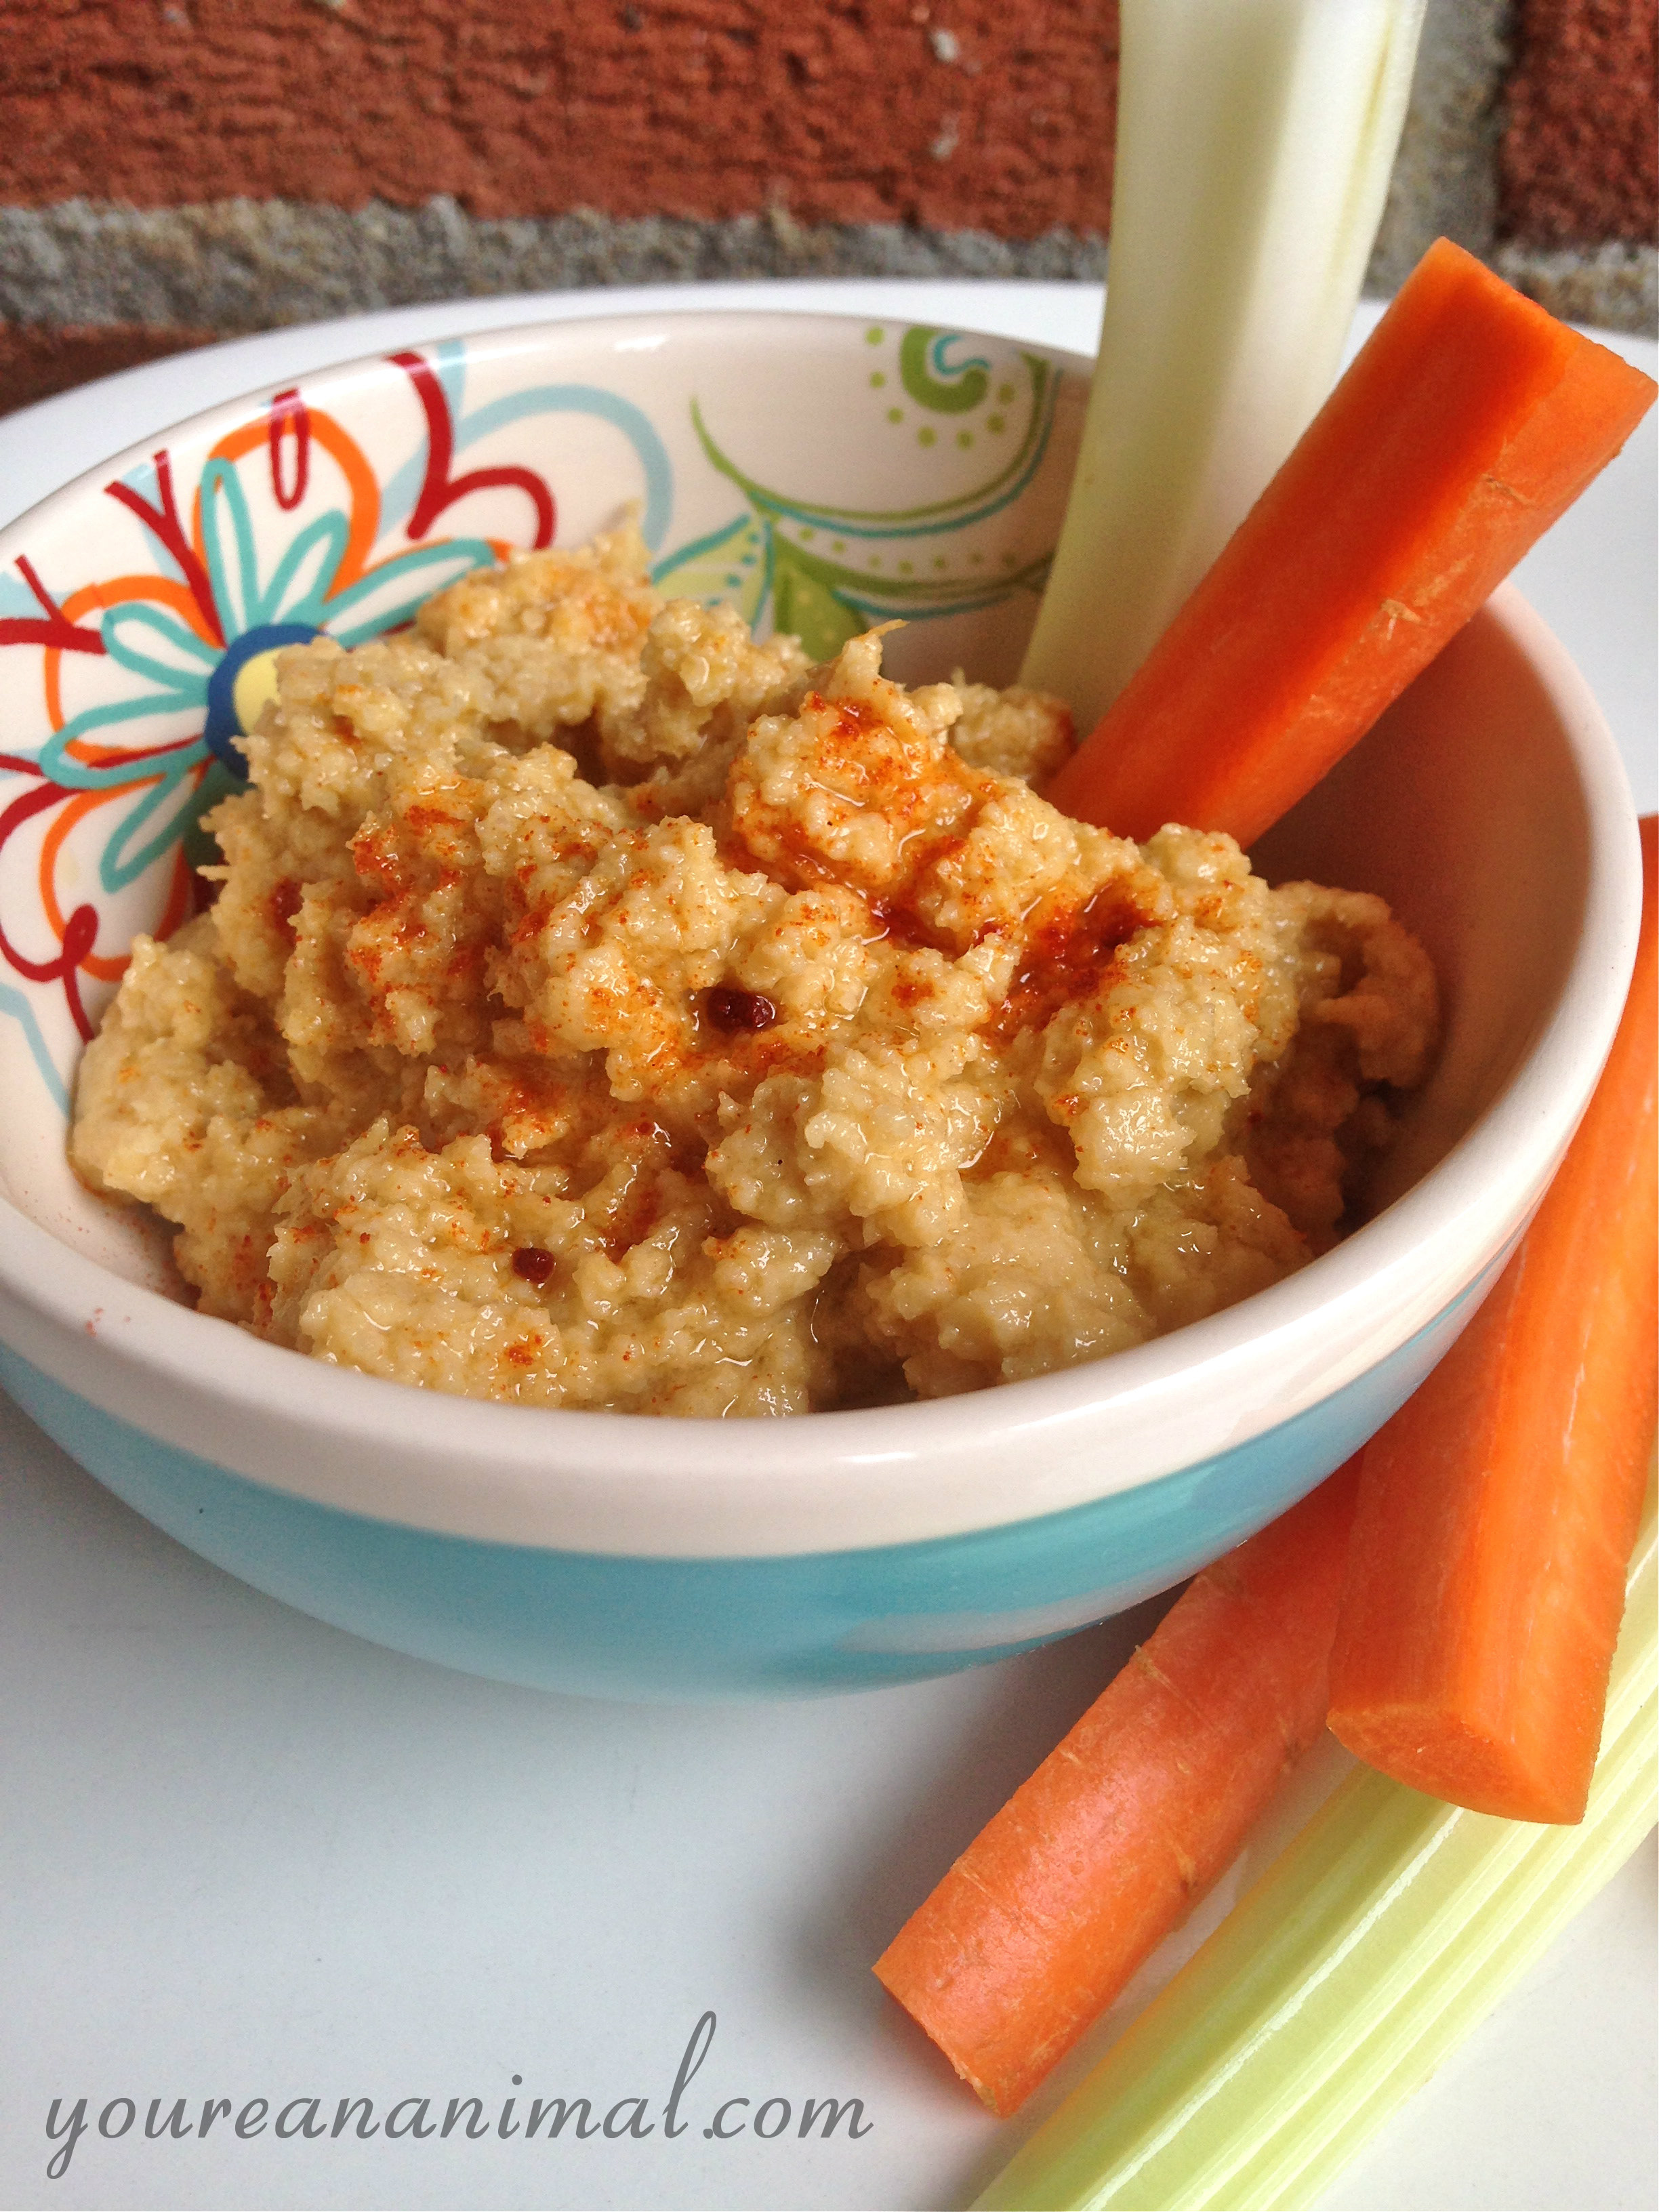
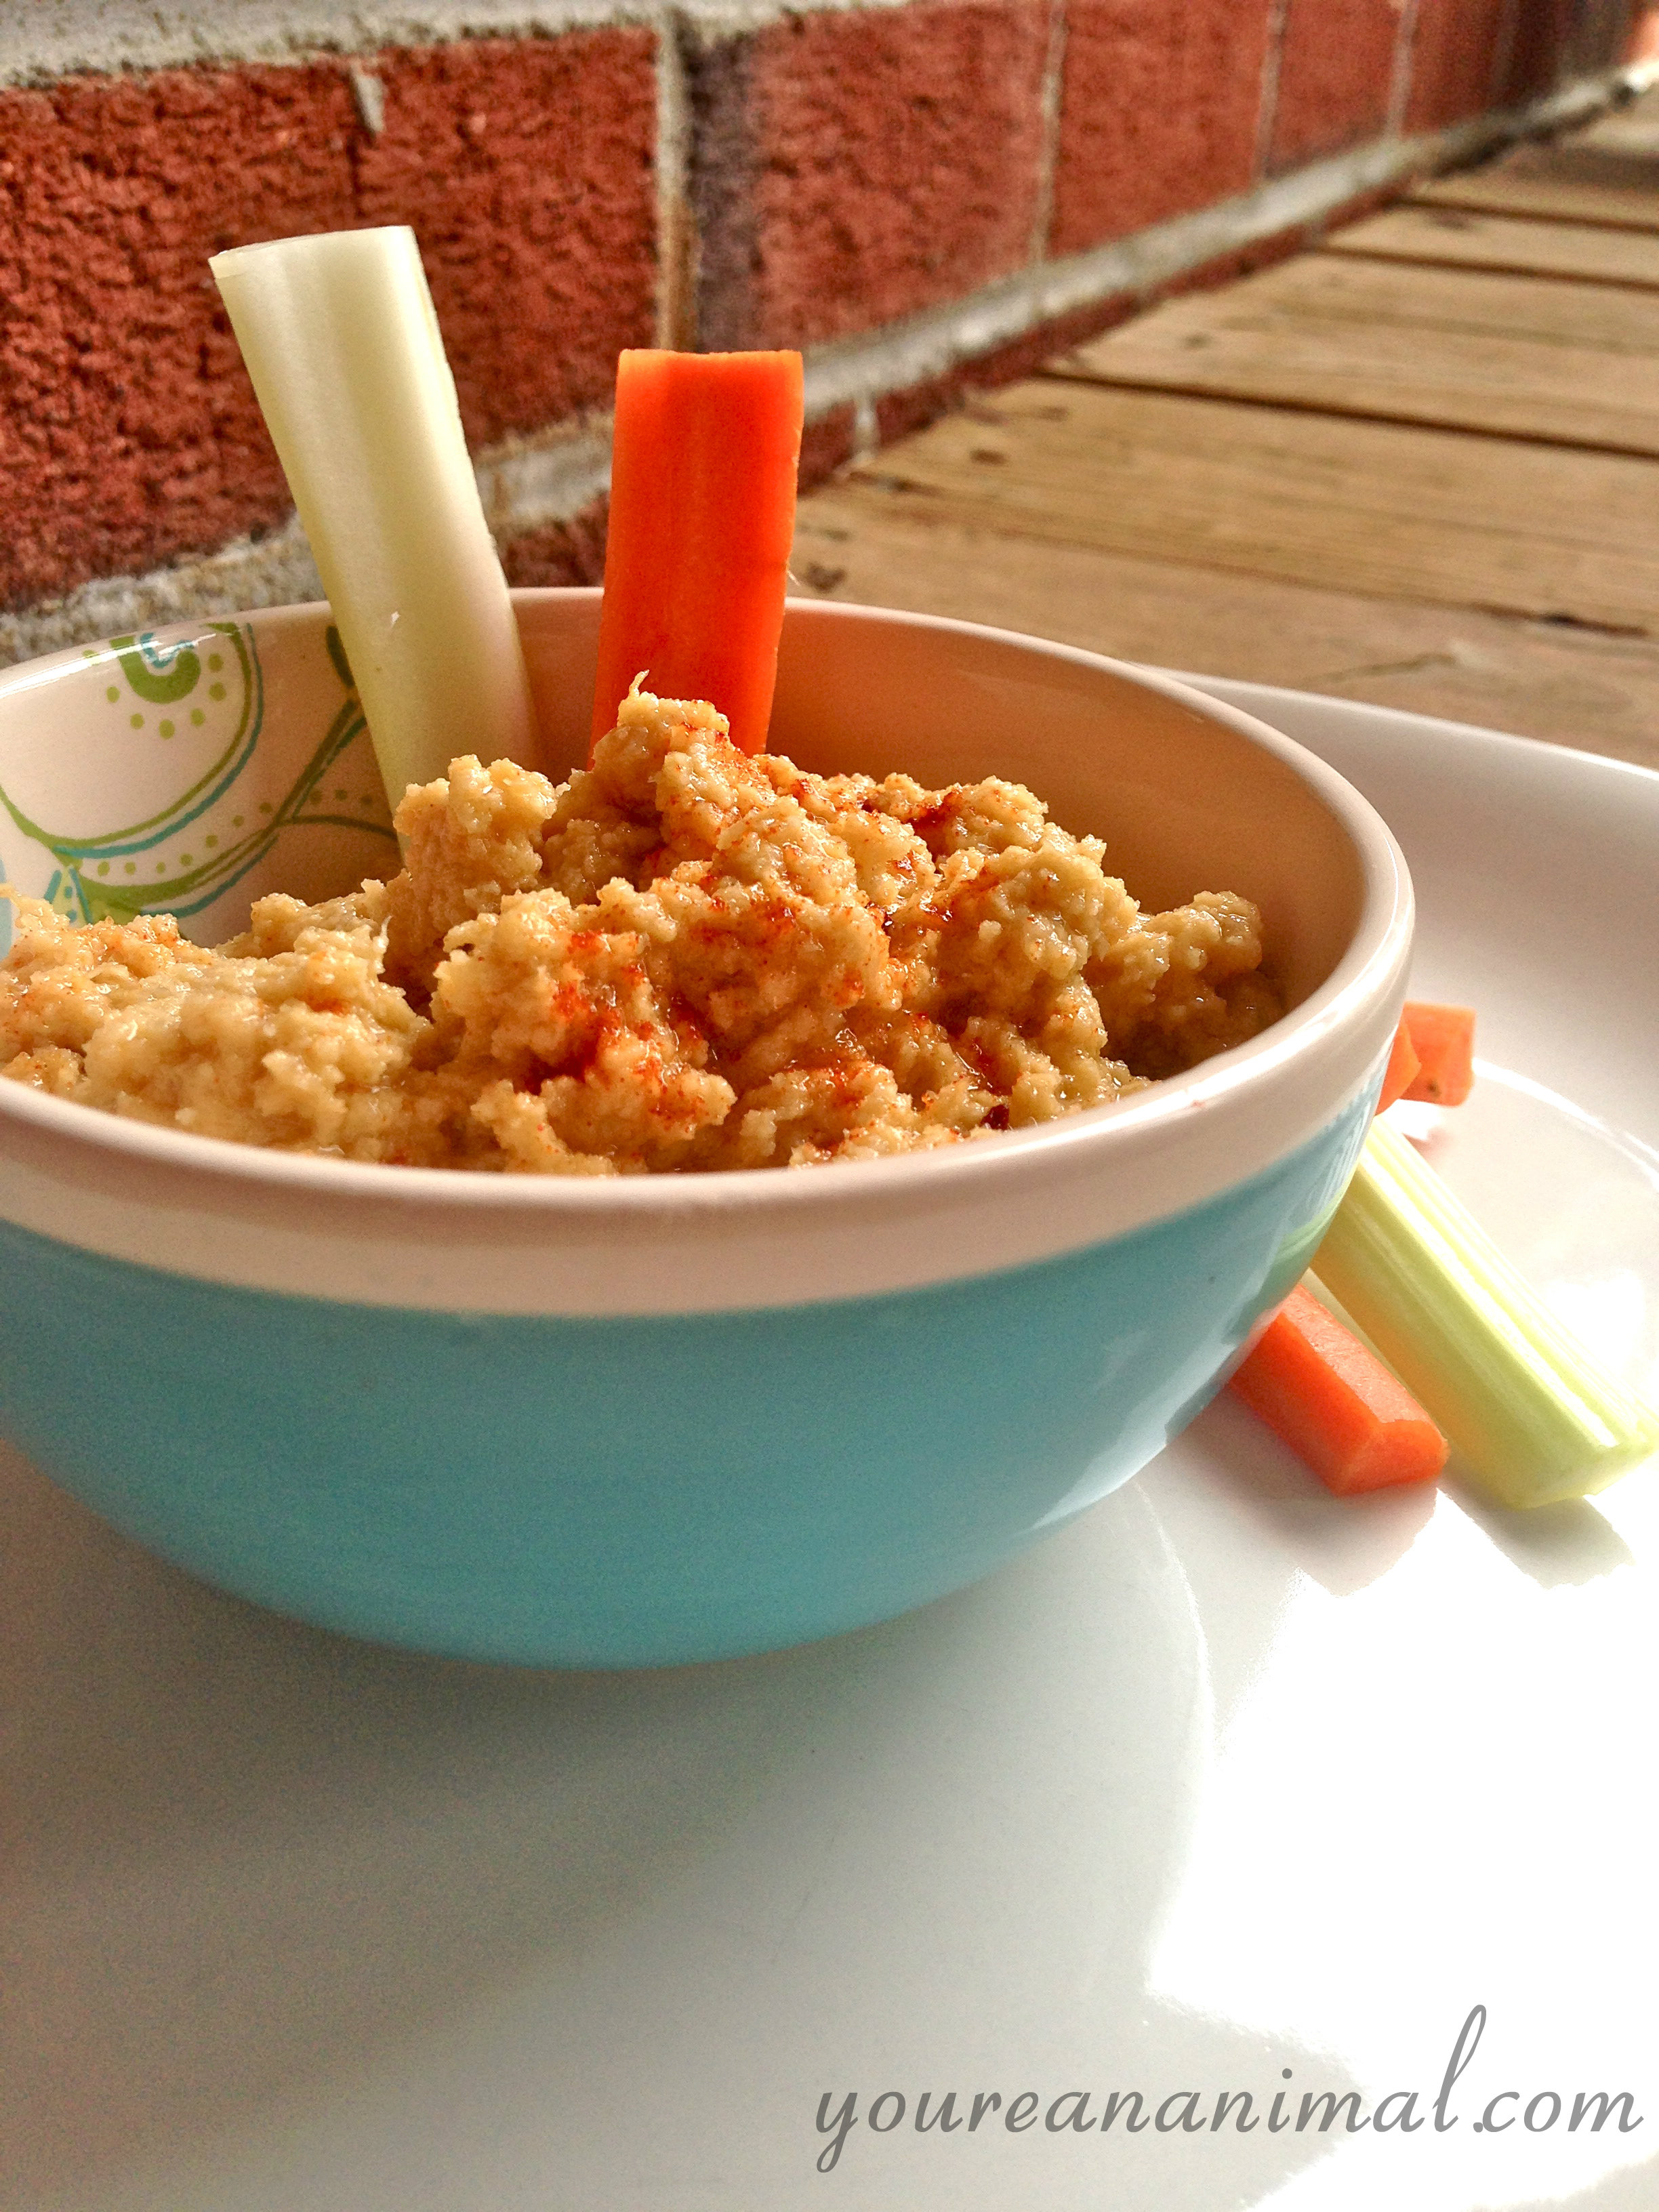
 Ah hummus, one of the things I miss greatly about no longer eating beans/lentils. I tend to avoid beans and lentils because of their anti-nutrient properties, and also because they usually give me extreme stomach pain (not terribly uncommon for beans--they do tend to have that, ahem, reputation--but often times it is literally unbearable for me.) But I was missing the veggies dip aspect, so I did some tinkering to figure out what I could come up with. I'd seen hummus made from cauliflower, and cashews, but I chose to go a different route: Watermelon seeds. Say what? you ask. Yep. Let me give you a brief synopsis of watermelon seeds. They are a plant-protein powerhouse. We're talking 11 grams of protein in 1 ounce. That's 2 tablespoons. That's about half of a handful. That's A LOT of protein. Oh and 15% of your daily iron value in the same 1 ounce. Um yes please and thank you. You can learn more about these little bundles of nutritional joy in my Watermelon Seed ingredient post. So because not only do I use these watermelon seeds for this "hummus," but also tahini (sesame seed paste), there are about 13 grams of protein in 2 tablespoons of this stuff. Compare this to 2 grams of protein in your traditional, chickpea hummus. (Um, was anyone else disillusioned by this? I was under the impression that hummus was a good source of protein for oh I don't know, my entire life...) This makes this dip the perfect afternoon snack if you ask me! Now, don't expect this to be the texture of your traditional hummus. Try as I did, it's just not the creaminess you're used to. But the flavor profile is hummus-y indeed, and if you ask me, for the added benefits, I would gladly take a difference in texture. Snack away!
No Bean, Watermelon Seed Hummus
Watermelon Seeds
I have a new favorite discovery, and they go by the name of Watermelon Seeds. Raw, sprouted watermelon seeds in fact. (You can find more in-depth information on raw foods and sprouted seeds on my Raw, Unfiltered Honey, and Sunbutter posts) They are absolutely addictive. We found them in our local Fresh Market one day, decided to give it a try, and haven’t looked back since. They vaguely remind us of oyster crackers, interestingly enough, because they are light, crunchy, and the Go Raw brand (the only kind I’ve actually ever found so far) are slightly salty. My favorite on the go snack (usually before a workout) is a handful of these guys, a banana, and a few chocolate chips. That classic salty-sweet combo is enough to make that snack into an unbreakable habit. I’ve also recently created a Watermelon Seed “Hummus” which is an amazing mid-day snack to pair with veggies. Why are they so great you ask? Well, if the taste wasn’t enough, let me talk about the PROTEIN. Oh watermelon seeds, oh watermelon seeds, how lovely are your proteeeeins! Eleven grams of protein in 1 ounce. Let me go over that again. ELEVEN GRAMS of protein in TWO TABLESPOONS. In case you were wondering, that’s about 1 shot glass full of seeds. Which is pretty much nothing in the world of snacking. So you could easily get in 2 servings and be at 22 grams of protein, just from these seeds. WHICH, my friends, is why I deemed my Watermelon Seed Hummus as a wonderful afternoon snack to pair with veggies. Easy protein, easy satisfaction. Oh and another benefit: Iron. In the same 1 ounce, or 2 Tbsp, you get 15% of your daily value for iron. Again, you could easily double this. Now granted, out bodies don’t absorb iron from plants quite as well as they absorb iron from animal protein, but hey, every little bit counts. If you’re looking for a new edition to your pantry, I wholeheartedly suggested seeking out these little nuggets of greatness.
Preparing Garlic to Maximize Benefits
Garlic can be a powerful super food, but it needs a little forethought in order to get all of its wonderful benefits. Allicin is a compound in garlic that has been shown to be incredibly potent in the health world. Allicin is responsible for many of the cardiovascular, anti-cancer, and anti-bacterial benefits associated with garlic. However, allicin only forms when the sulfoxide alliin and its enzyme alliiase come into contact. While both substances are naturally occurring within garlic, we must break the barriers between the two in order to maximize their potential and form allicin. We do this by slicing, crushing, mincing or chewing raw garlic. Once alliin and alliiase are released, they must be given time to combine and form allicin. Therefore, once you crush/mince/slice garlic, you must give it a 10 minute rest before exposing it to high heat or acid. This also means that you should never cook a garlic clove whole, because by doing so, you do not allow allicin to ever form. Luckily, if you crush garlic and then cook it after giving it a 10 minute rest, the majority of the health benefits are maintained at this point!
So to conclude, to maximize the health benefits of garlic, always crush or mince your garlic first, and then allow it to rest for 10 minutes before proceeding with any cooking. Or eat it raw! Enjoy keeping those vampires at bay!
Source:
Eating on the Wild Side: The Missing Link to Optimum Health
Products Featured In This Post:

Coconut Flour
Coconut flour is becoming a popular “alternative” flour in the world of gluten-free/grain-free baking. I use it often, but it took me a while to figure it out. My very first grain-free baking experience went horribly wrong when I incorrectly assumed you could sub coconut flour for almond flour in a 1:1 ratio. Nope. Can’t do that. Those poor cookies never stood a chance, and were promptly tossed in the trash due to their crumbly, dry nature. It was as if I had just eaten a spoonful of flour straight from the bag. Not exactly pleasant. So I next decided to actually follow a recipe that had coconut flour in it, in the proper ratios, and voila! It has been a staple in my kitchen ever since.
But what exactly is coconut flour? It’s essentially the byproduct of creating coconut milk. When the milk is squeezed from the flesh of a coconut, the meat can then be dehydrated and ground into a flour. Because of this, coconut flour is nutrient rich: Fiber galore, plus protein, a little fat, and minimal net carbs.
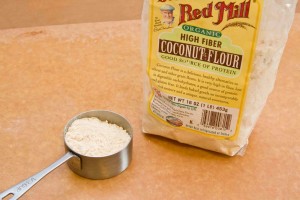
When buying coconut flour, look for the organic, cream colored kind. You definitely do not want to get any that has been bleached. I always stick to Bob’s Red Mill.
Be warned, however. As I mentioned above, coconut flour can be rather tricky to work with. It most certainly does NOT work as a 1:1 ratio substitute for other flours. Coconut flour is highly absorbent, which means not only is it typically used in small amounts, but it also requires additional moisture (usually in the form of eggs). I’ve read that in most recipes, you need at least 1 egg for ¼ cup of coconut flour. Therefore, my suggestion is if you are going to experiment with a recipe using coconut flour, do your research on what the typical liquid to flour ratio looks like, and also consider including an additional flour such as almond meal (or sunflower meal, or sunbutter as I often do). Good luck!
Sources:
Nourishedkitchen.com
Marksdailyapple.com
Products Featured In This Post:

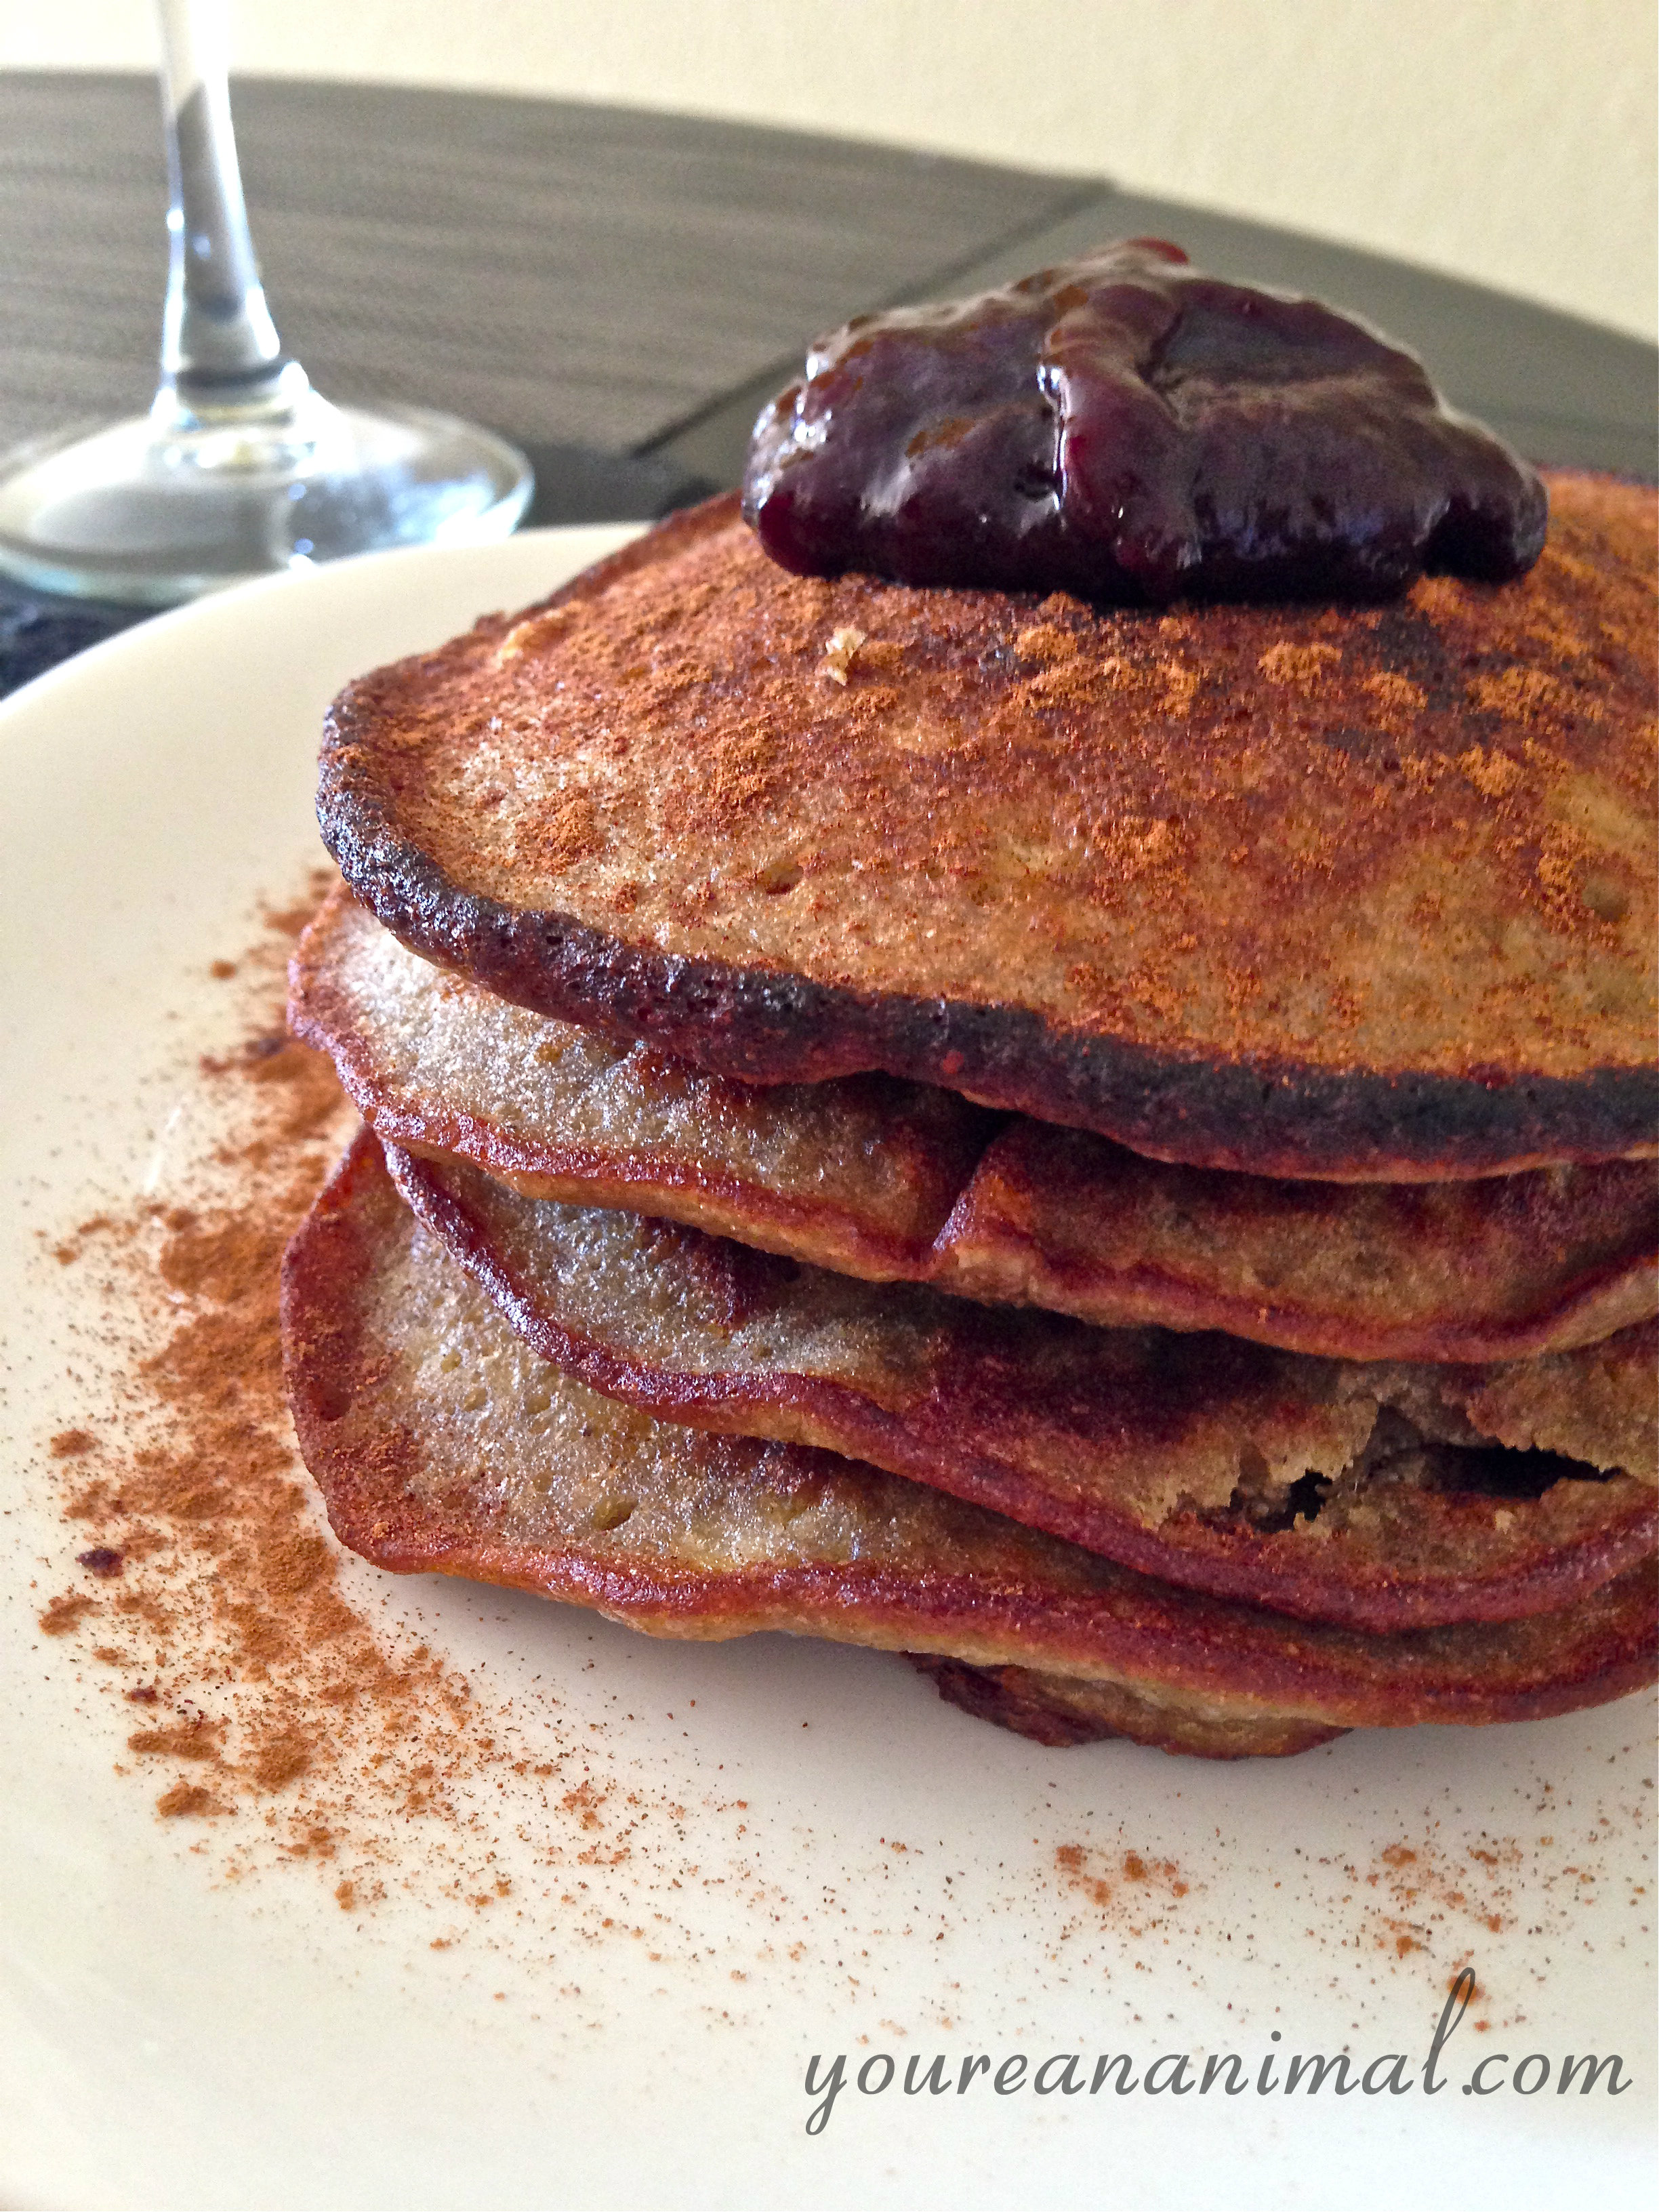
 Today is our anniversary, so I made a favorite around these parts: pancakes! But these are no ordinary pancakes, no sir. With only 3 main ingredients and 21 grams of protein per serving (4 pancakes, yessss) these little guys will leave you full and happy without the sugar coma and hunger pangs an hour later. And can we mention the importance of potassium and the positives of sunflower seeds? Plus they're simple to whip up! I mean, that's a given with only having 3 ingredients, right? Bananas, sunbutter and eggs. I use green-tipped bananas (less sugar development), pasture-raised eggs, and I made my own sunbutter using sprouted sunflower seeds. Sprouted seeds are much easier to digest, and are more nutrient rich than regular old hulled seeds. Plus I actually much prefer the taste of freshly made sunbutter to the jarred stuff! Annnnd it takes about 3 minutes to make. This recipe calls for 1/2 cup of sunbutter, so to make this I used 1 cup of the sprouted sunflower seeds, and processed them in a small food processor until it was a consistency of damp sand. Then I added about 1 Tbsp of avocado oil and processed again. I scraped down the sides, added one more Tbsp of avocado oil, then let the processor run until it was a creamy, sunbuttery texture. Yes, sunbuttery. Fast-forward to that golden stack of deliciousness, and I'd say this anniversary was off to a good start!
Three Ingredient Protein Pancakes (Grain-Free, Nut-Free)
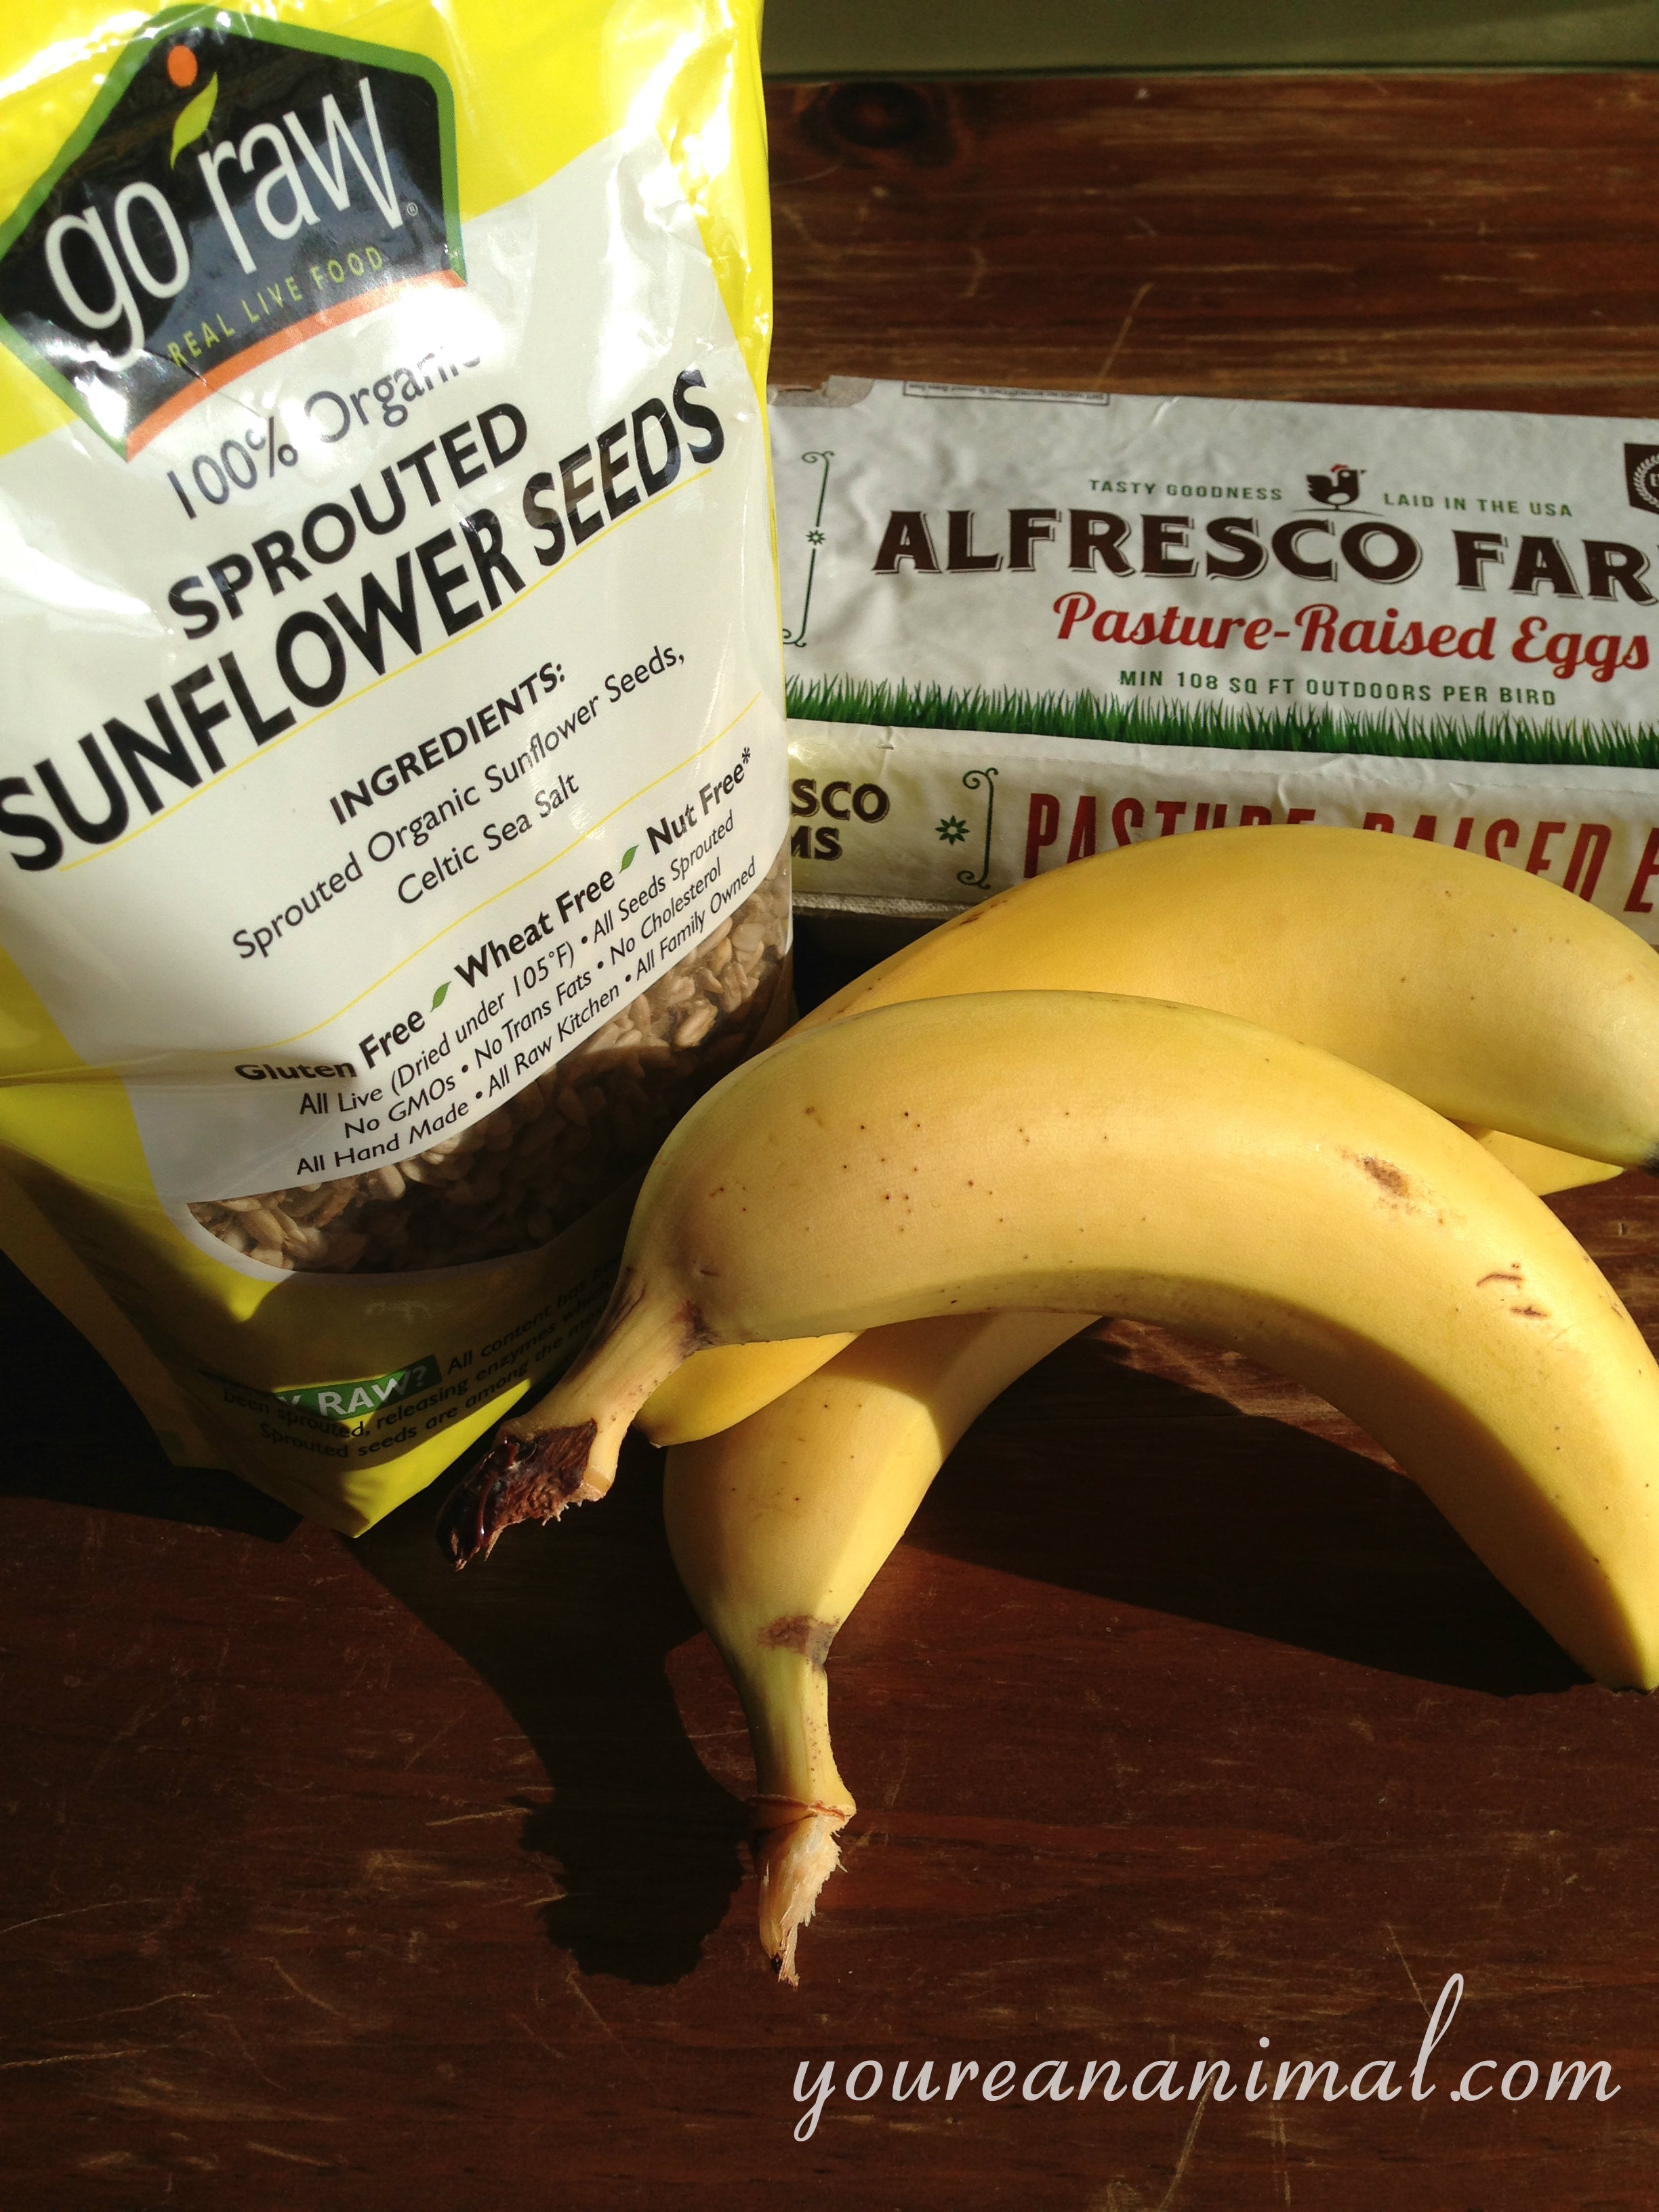
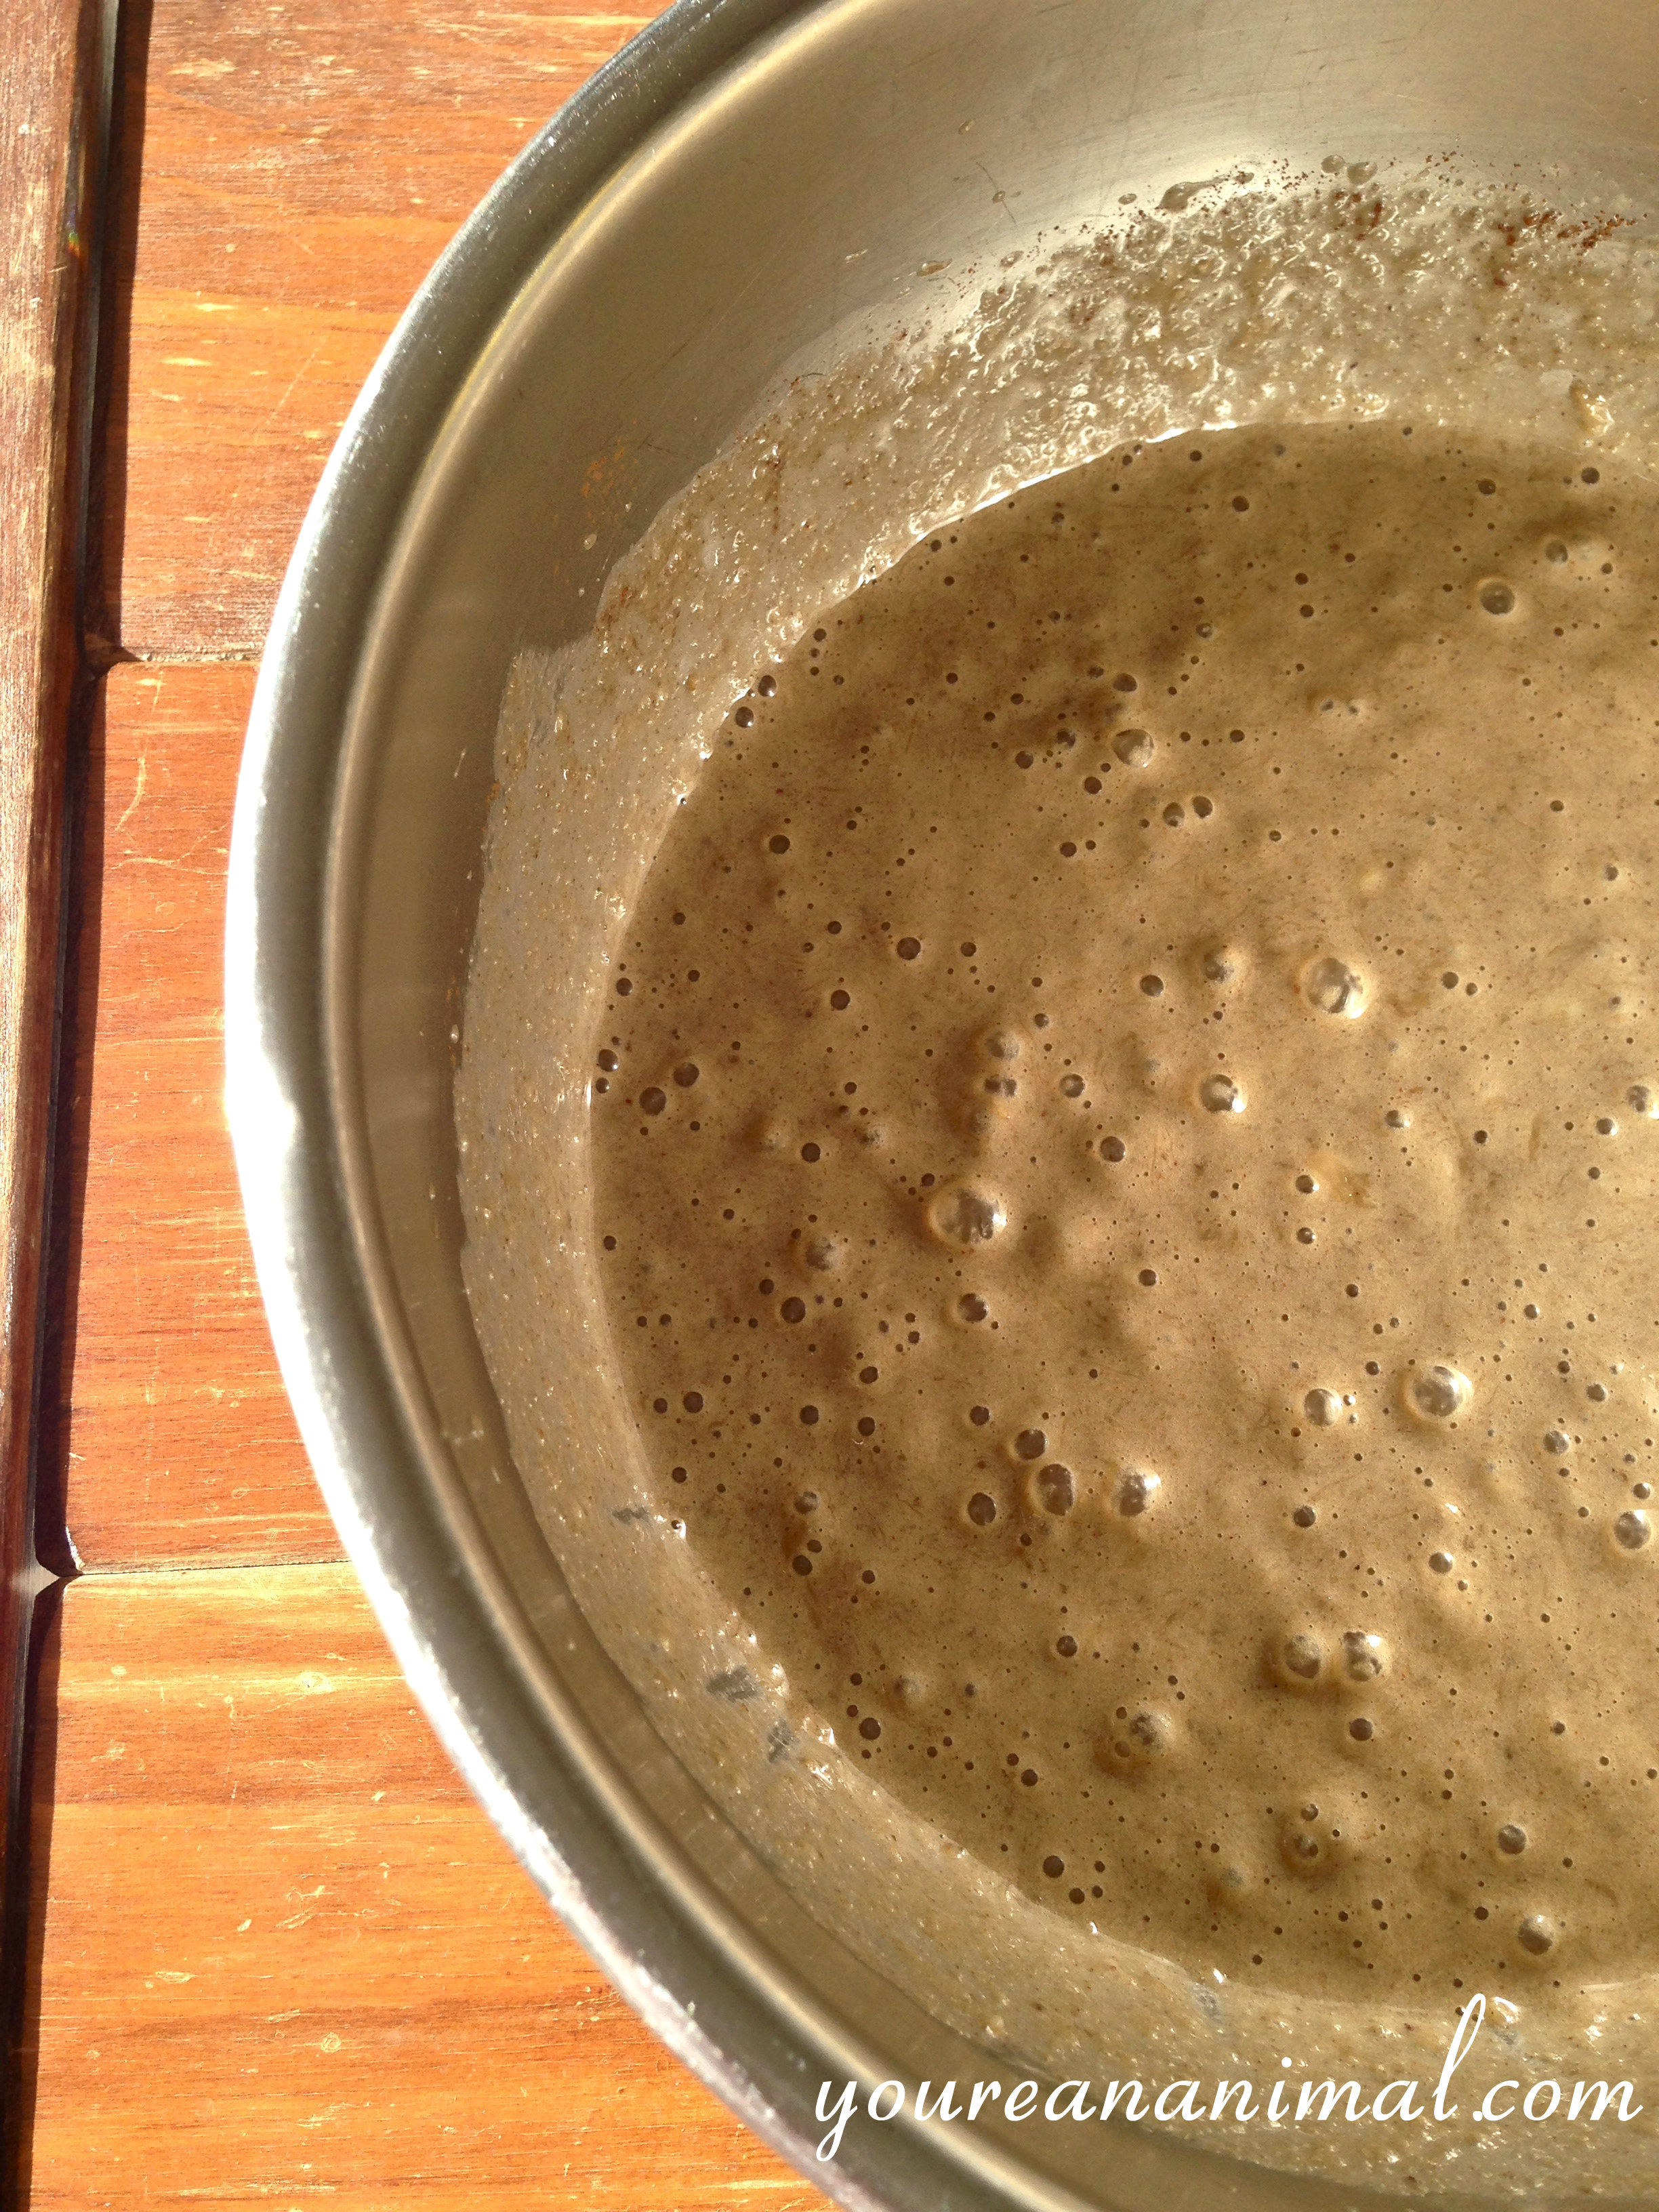
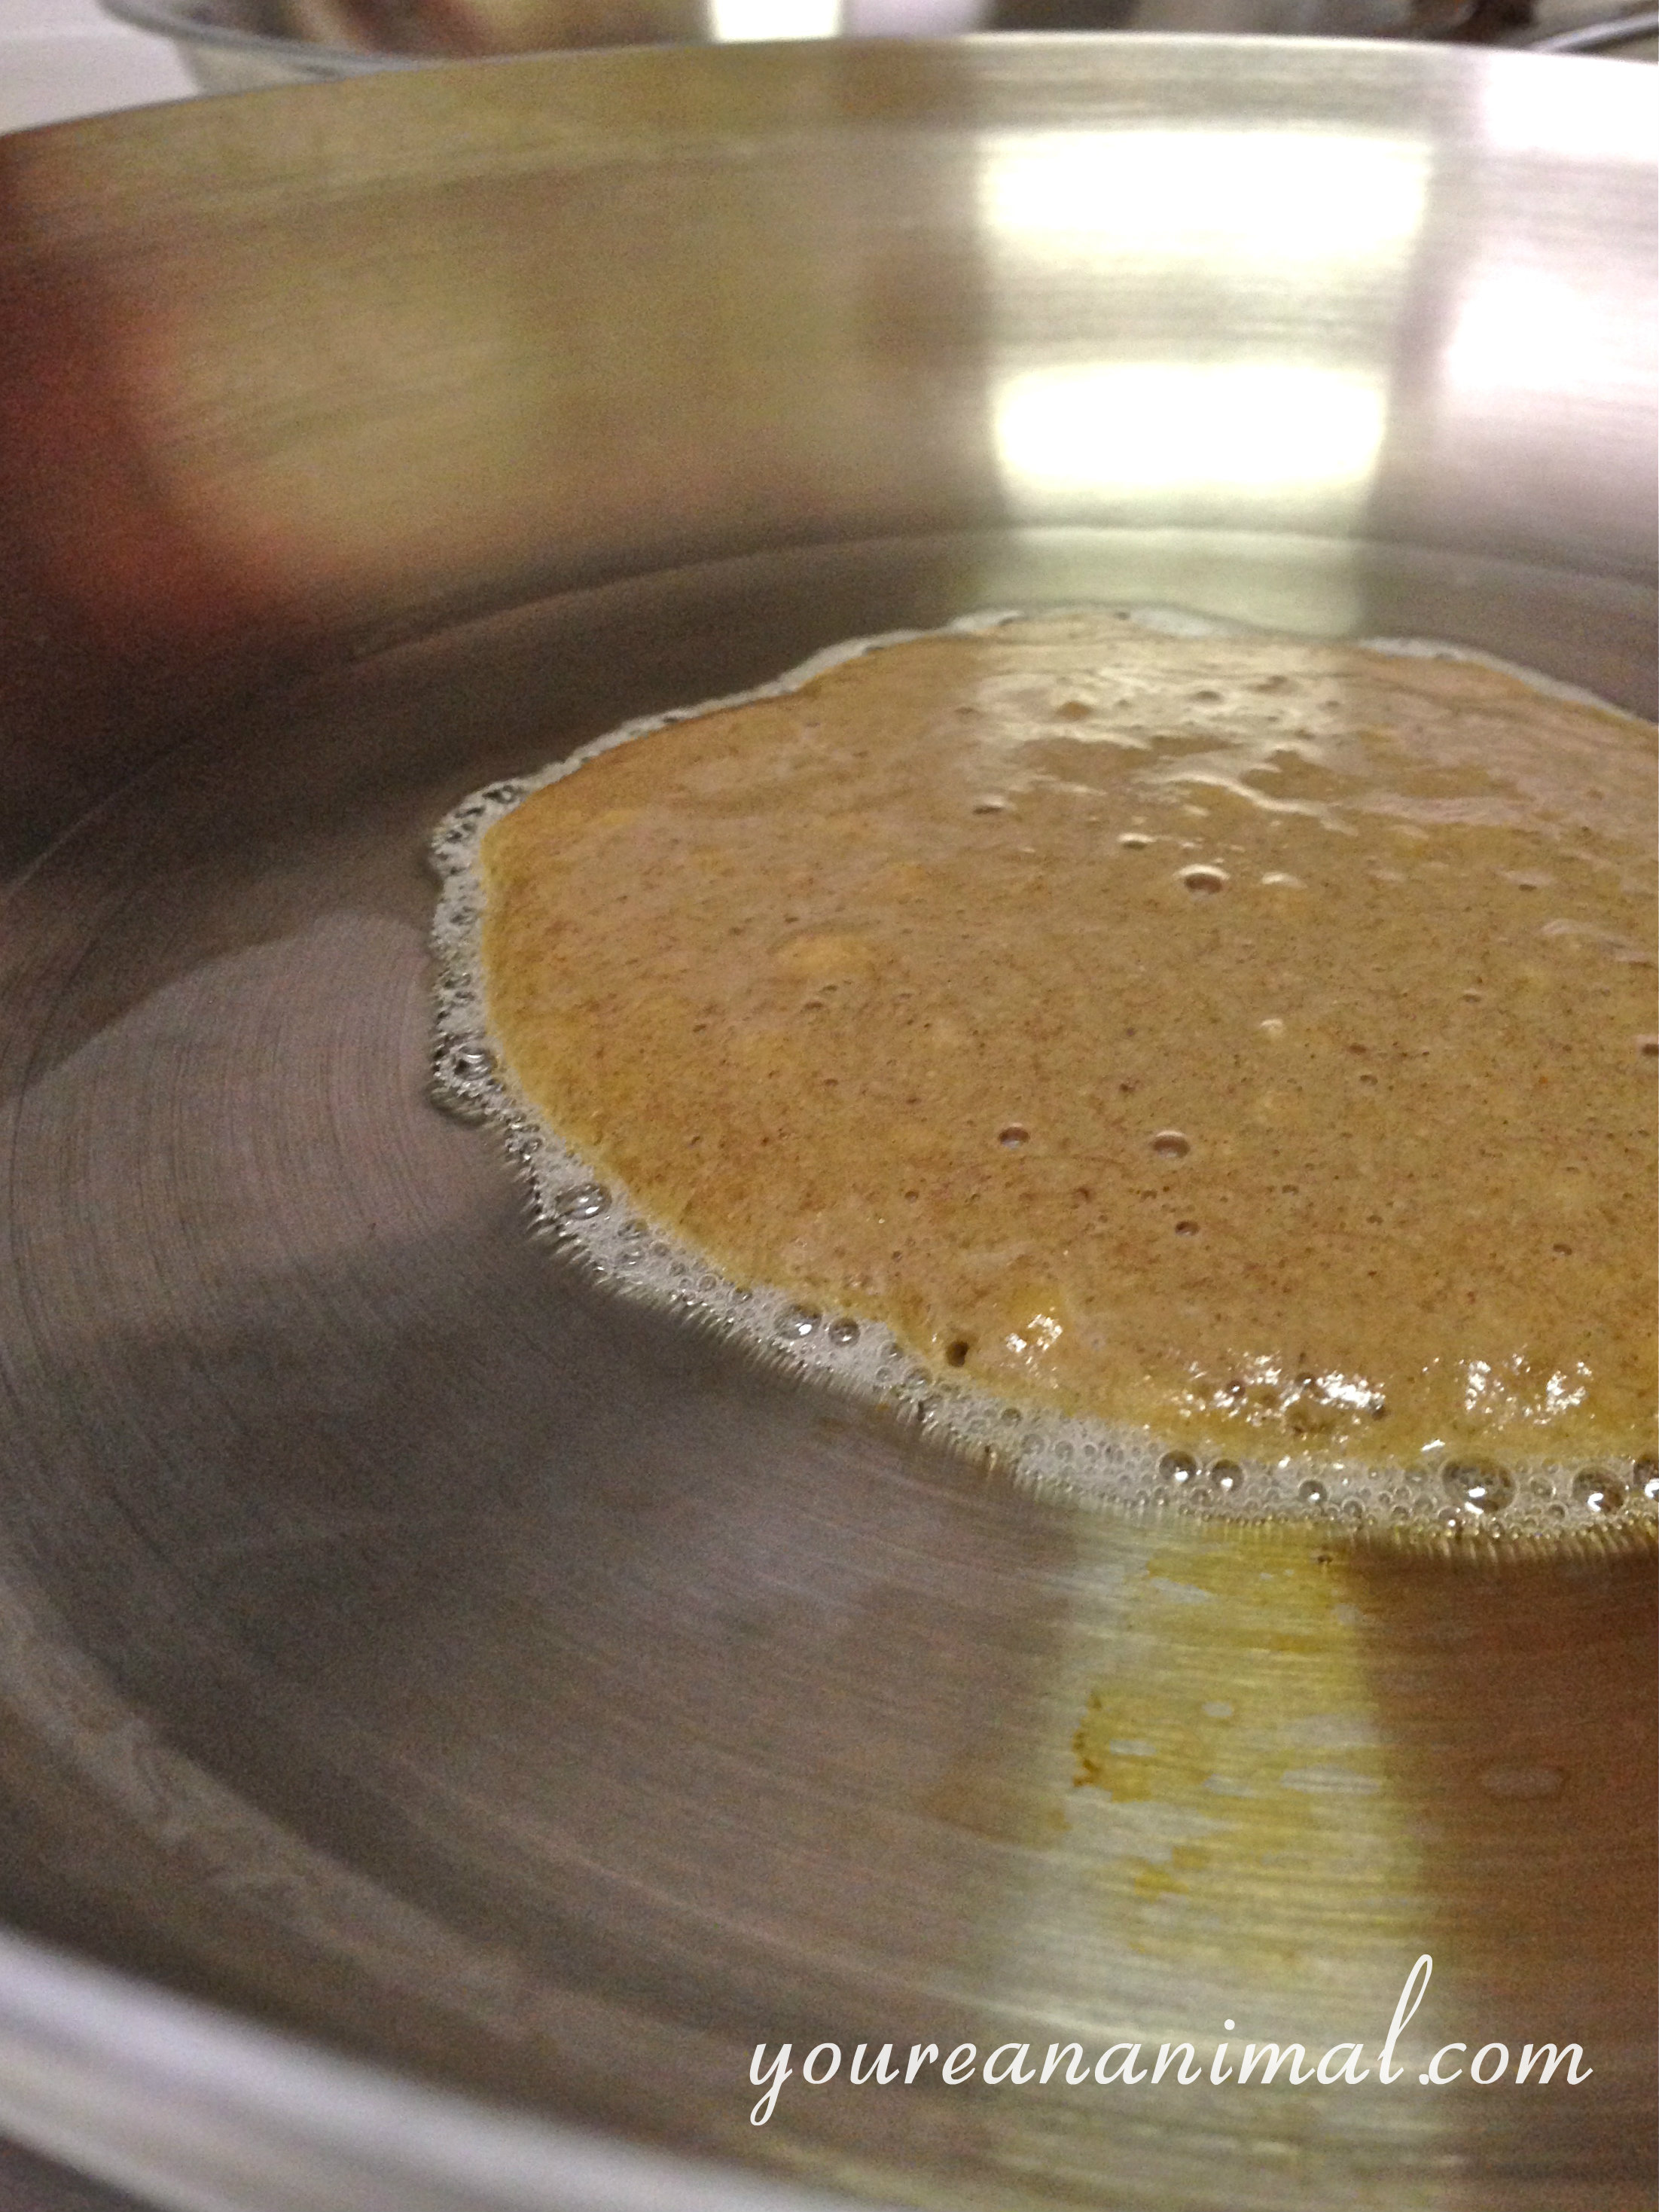
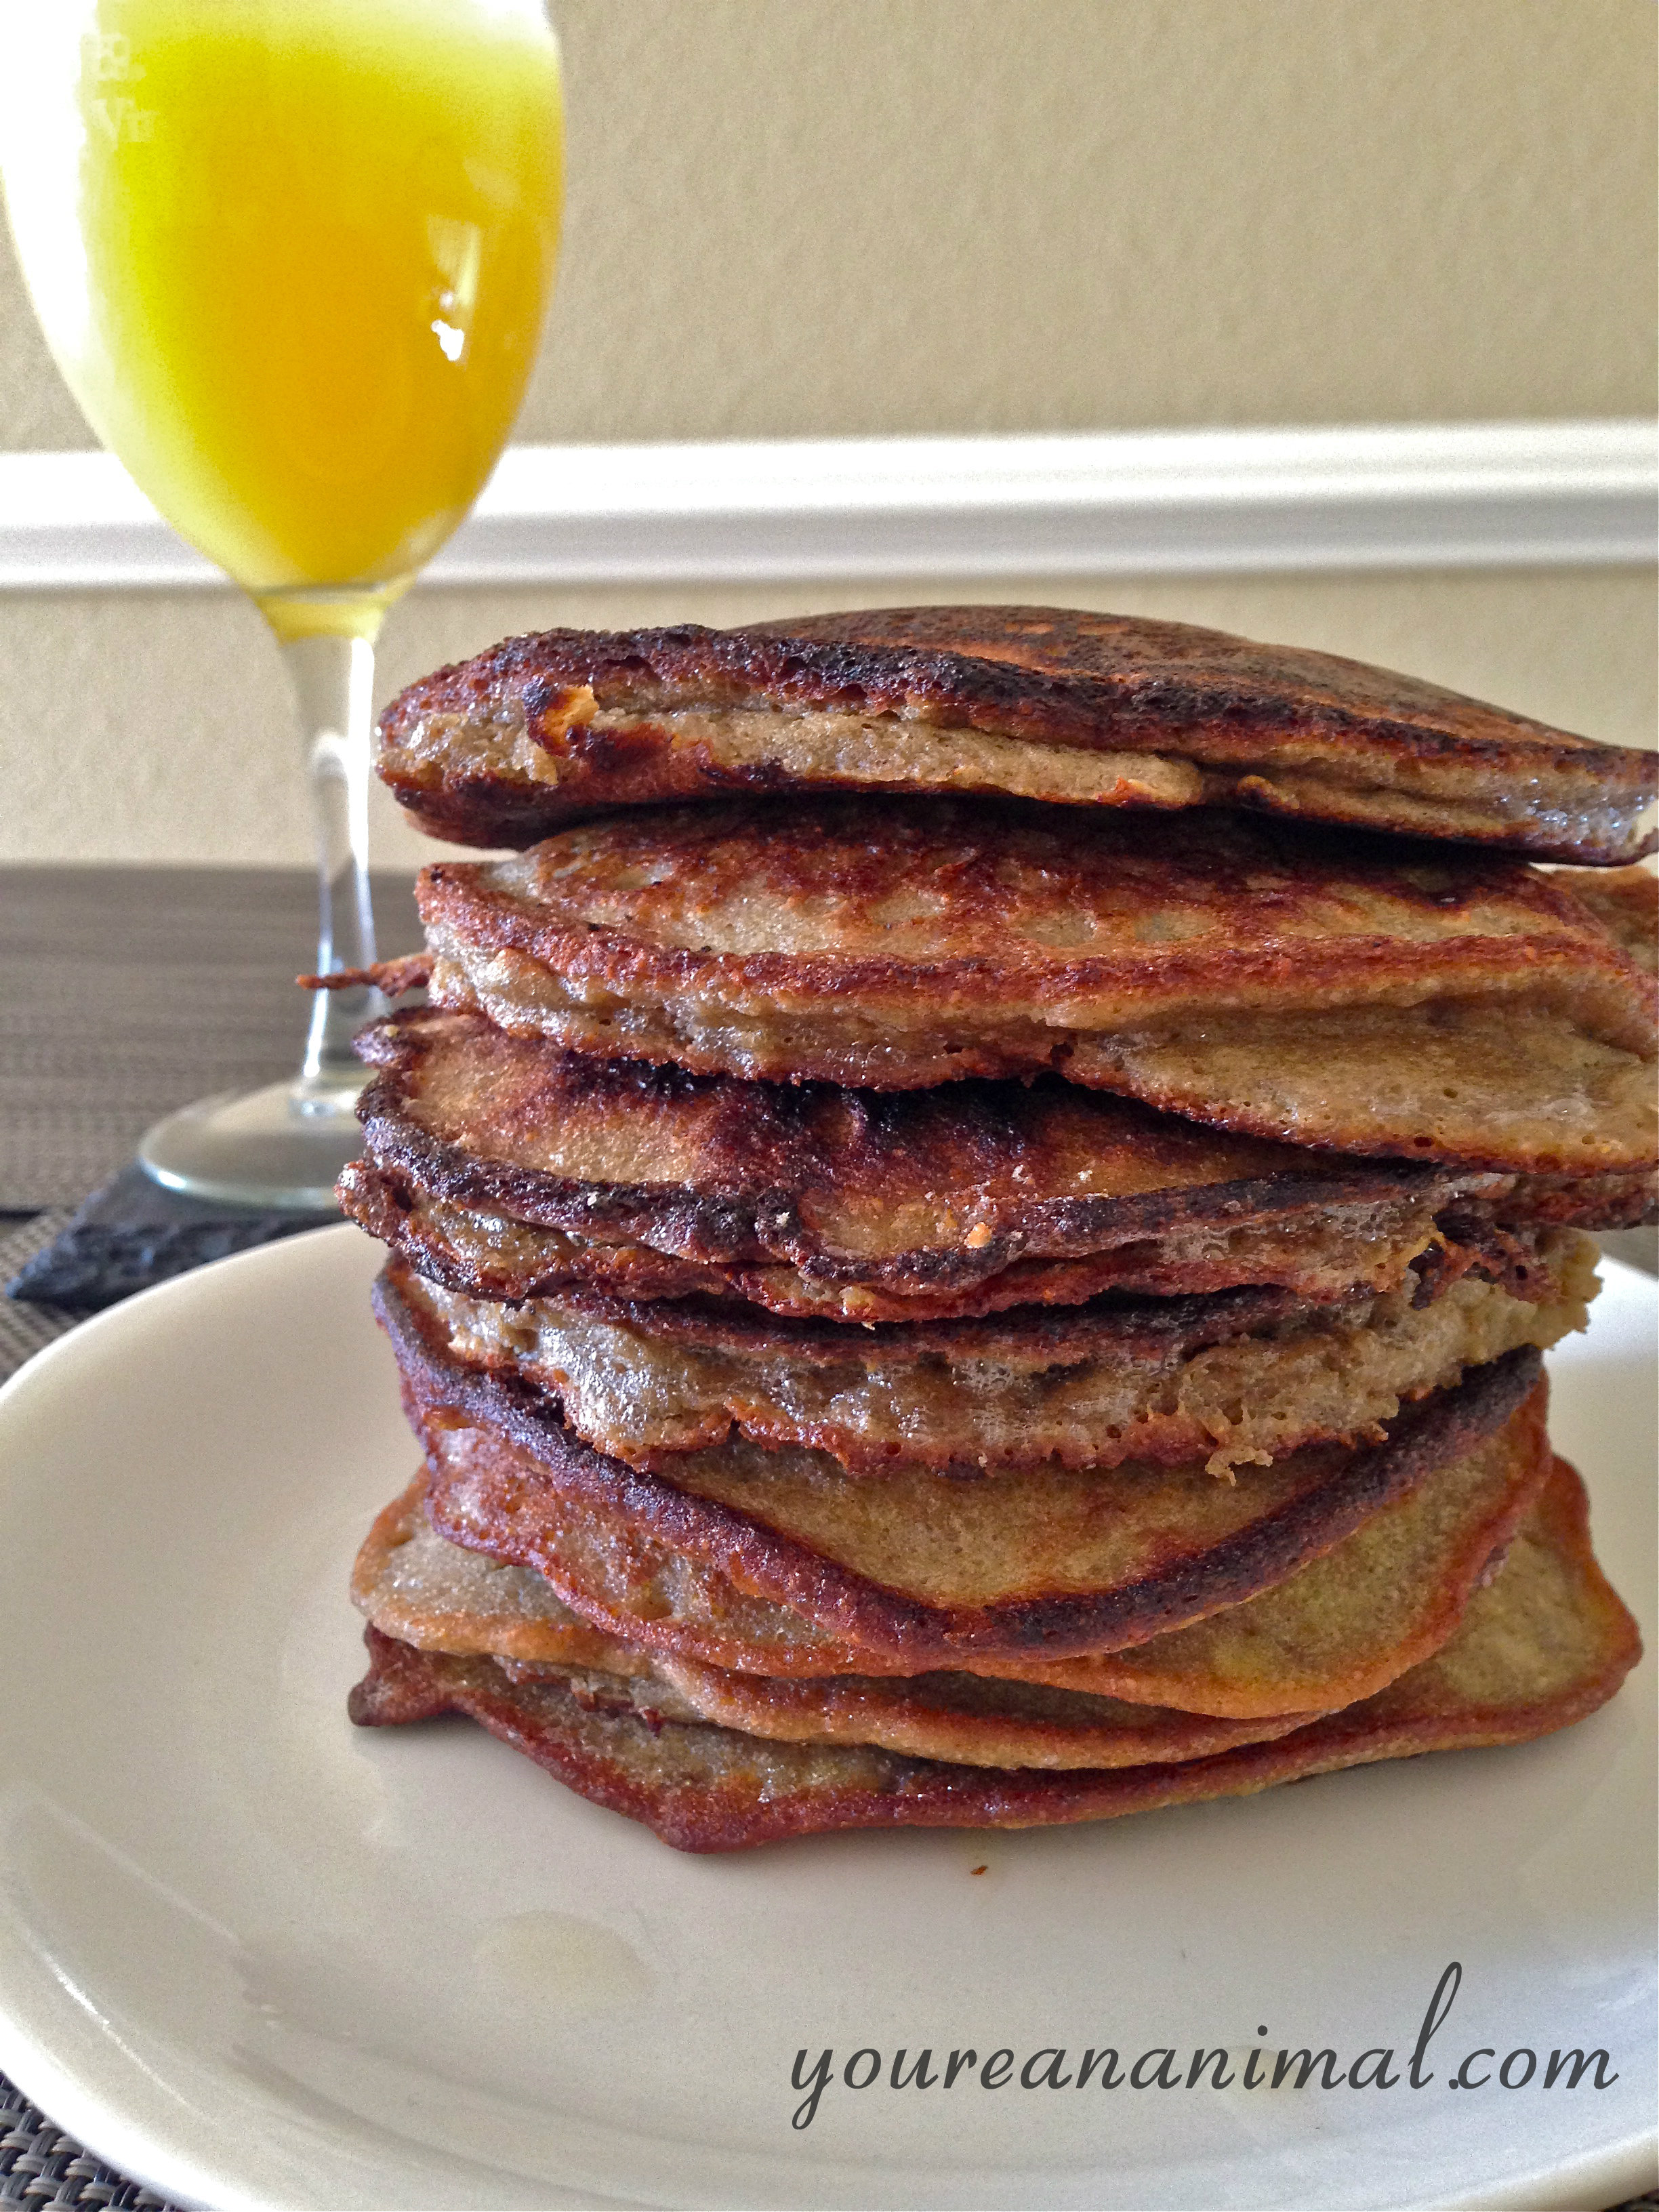
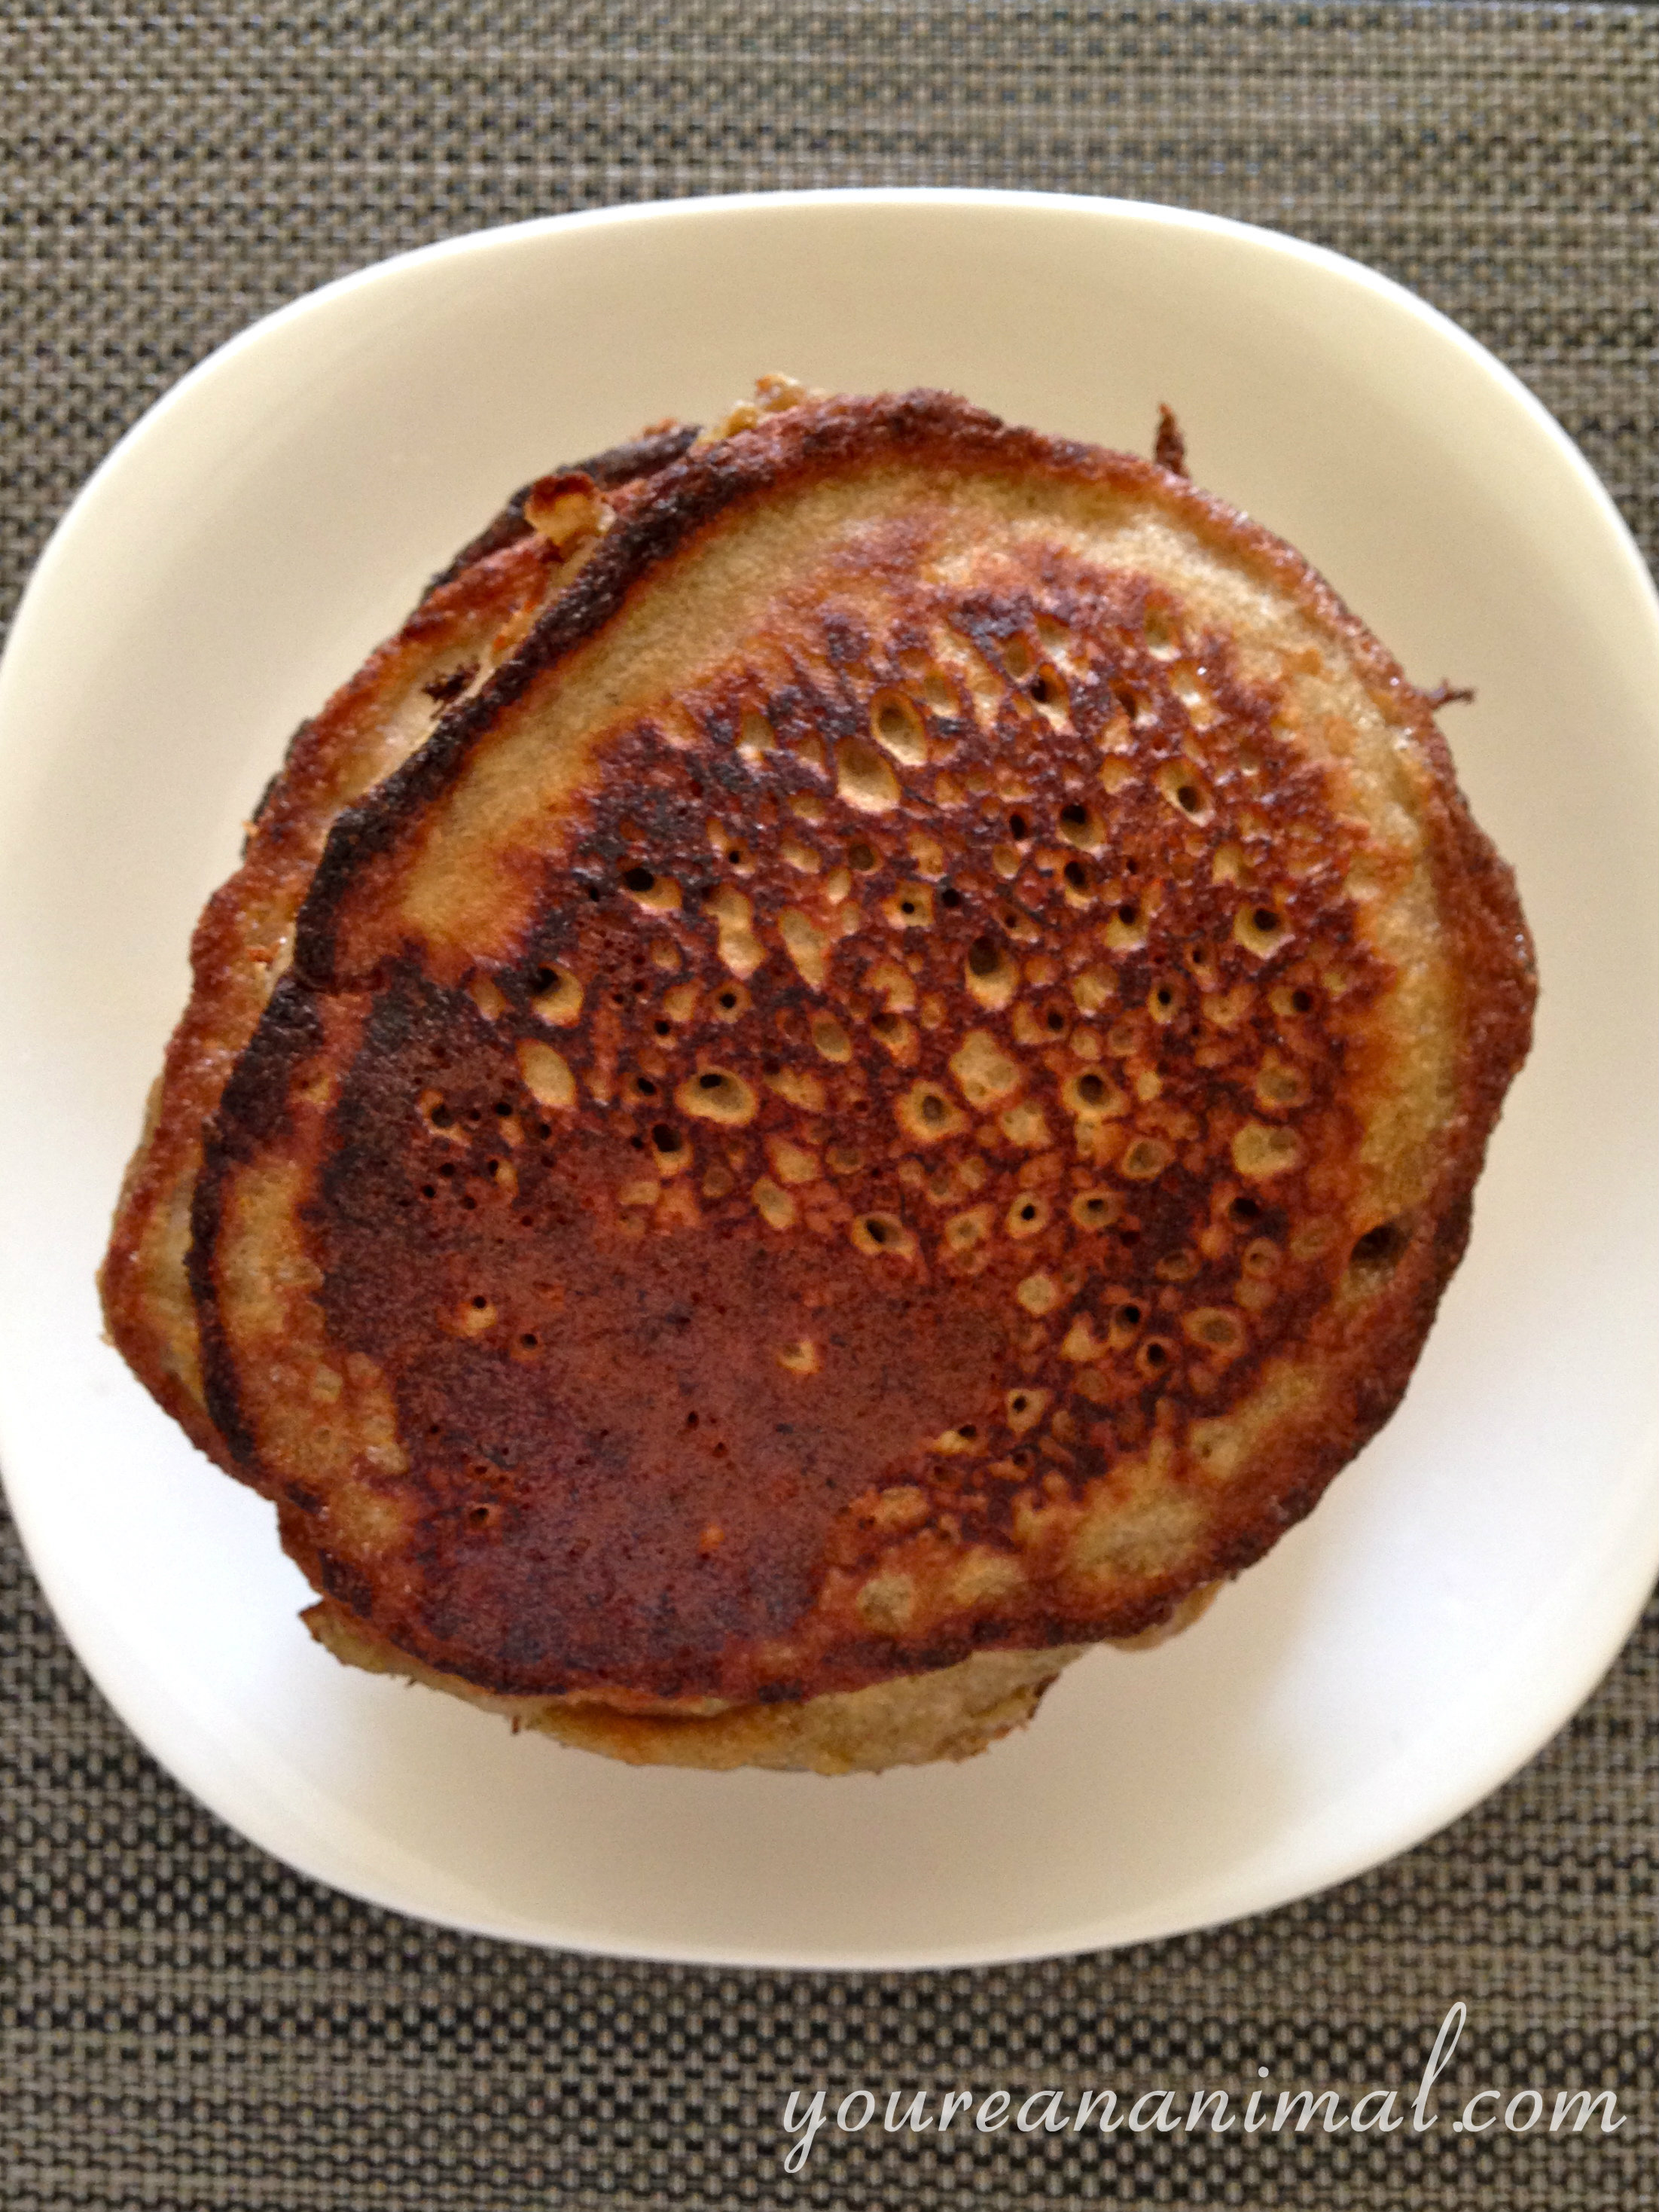
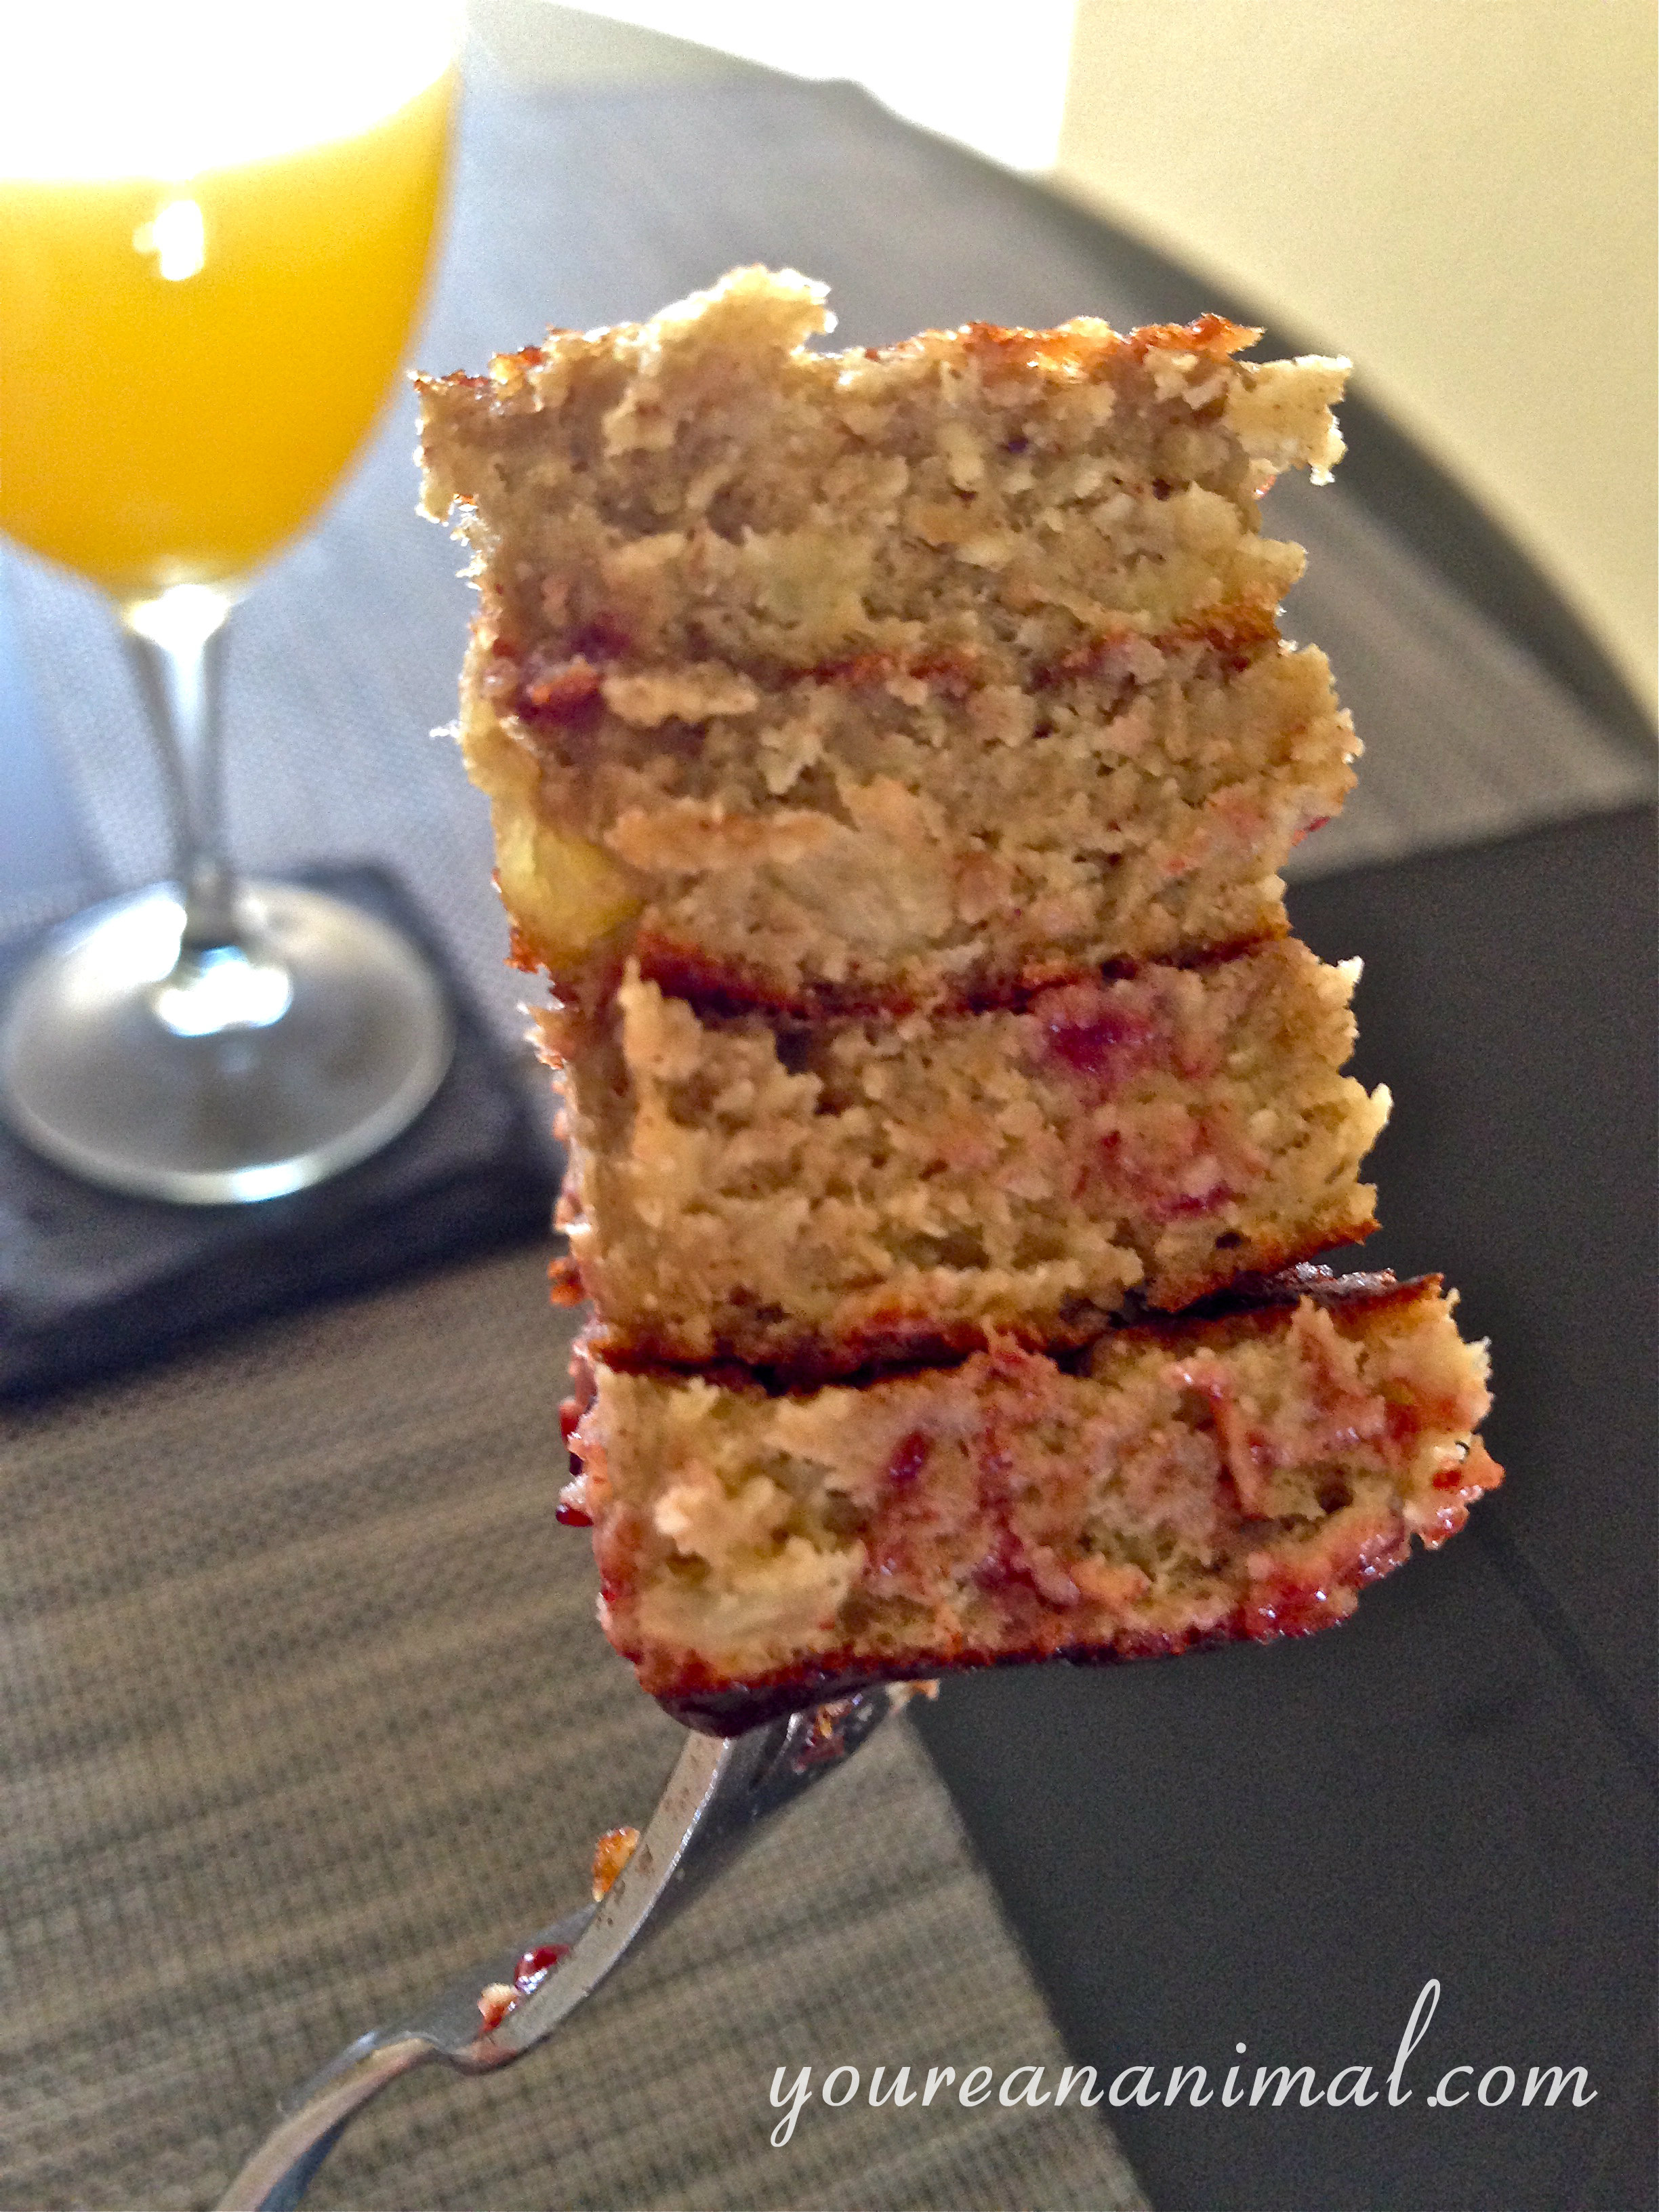 In case you were wondering, yes, yes I was taking pictures of my food throughout our anniversary breakfast. So romantic. Not sure if he knew what he was signing up for, but hey, at least he's getting fed.
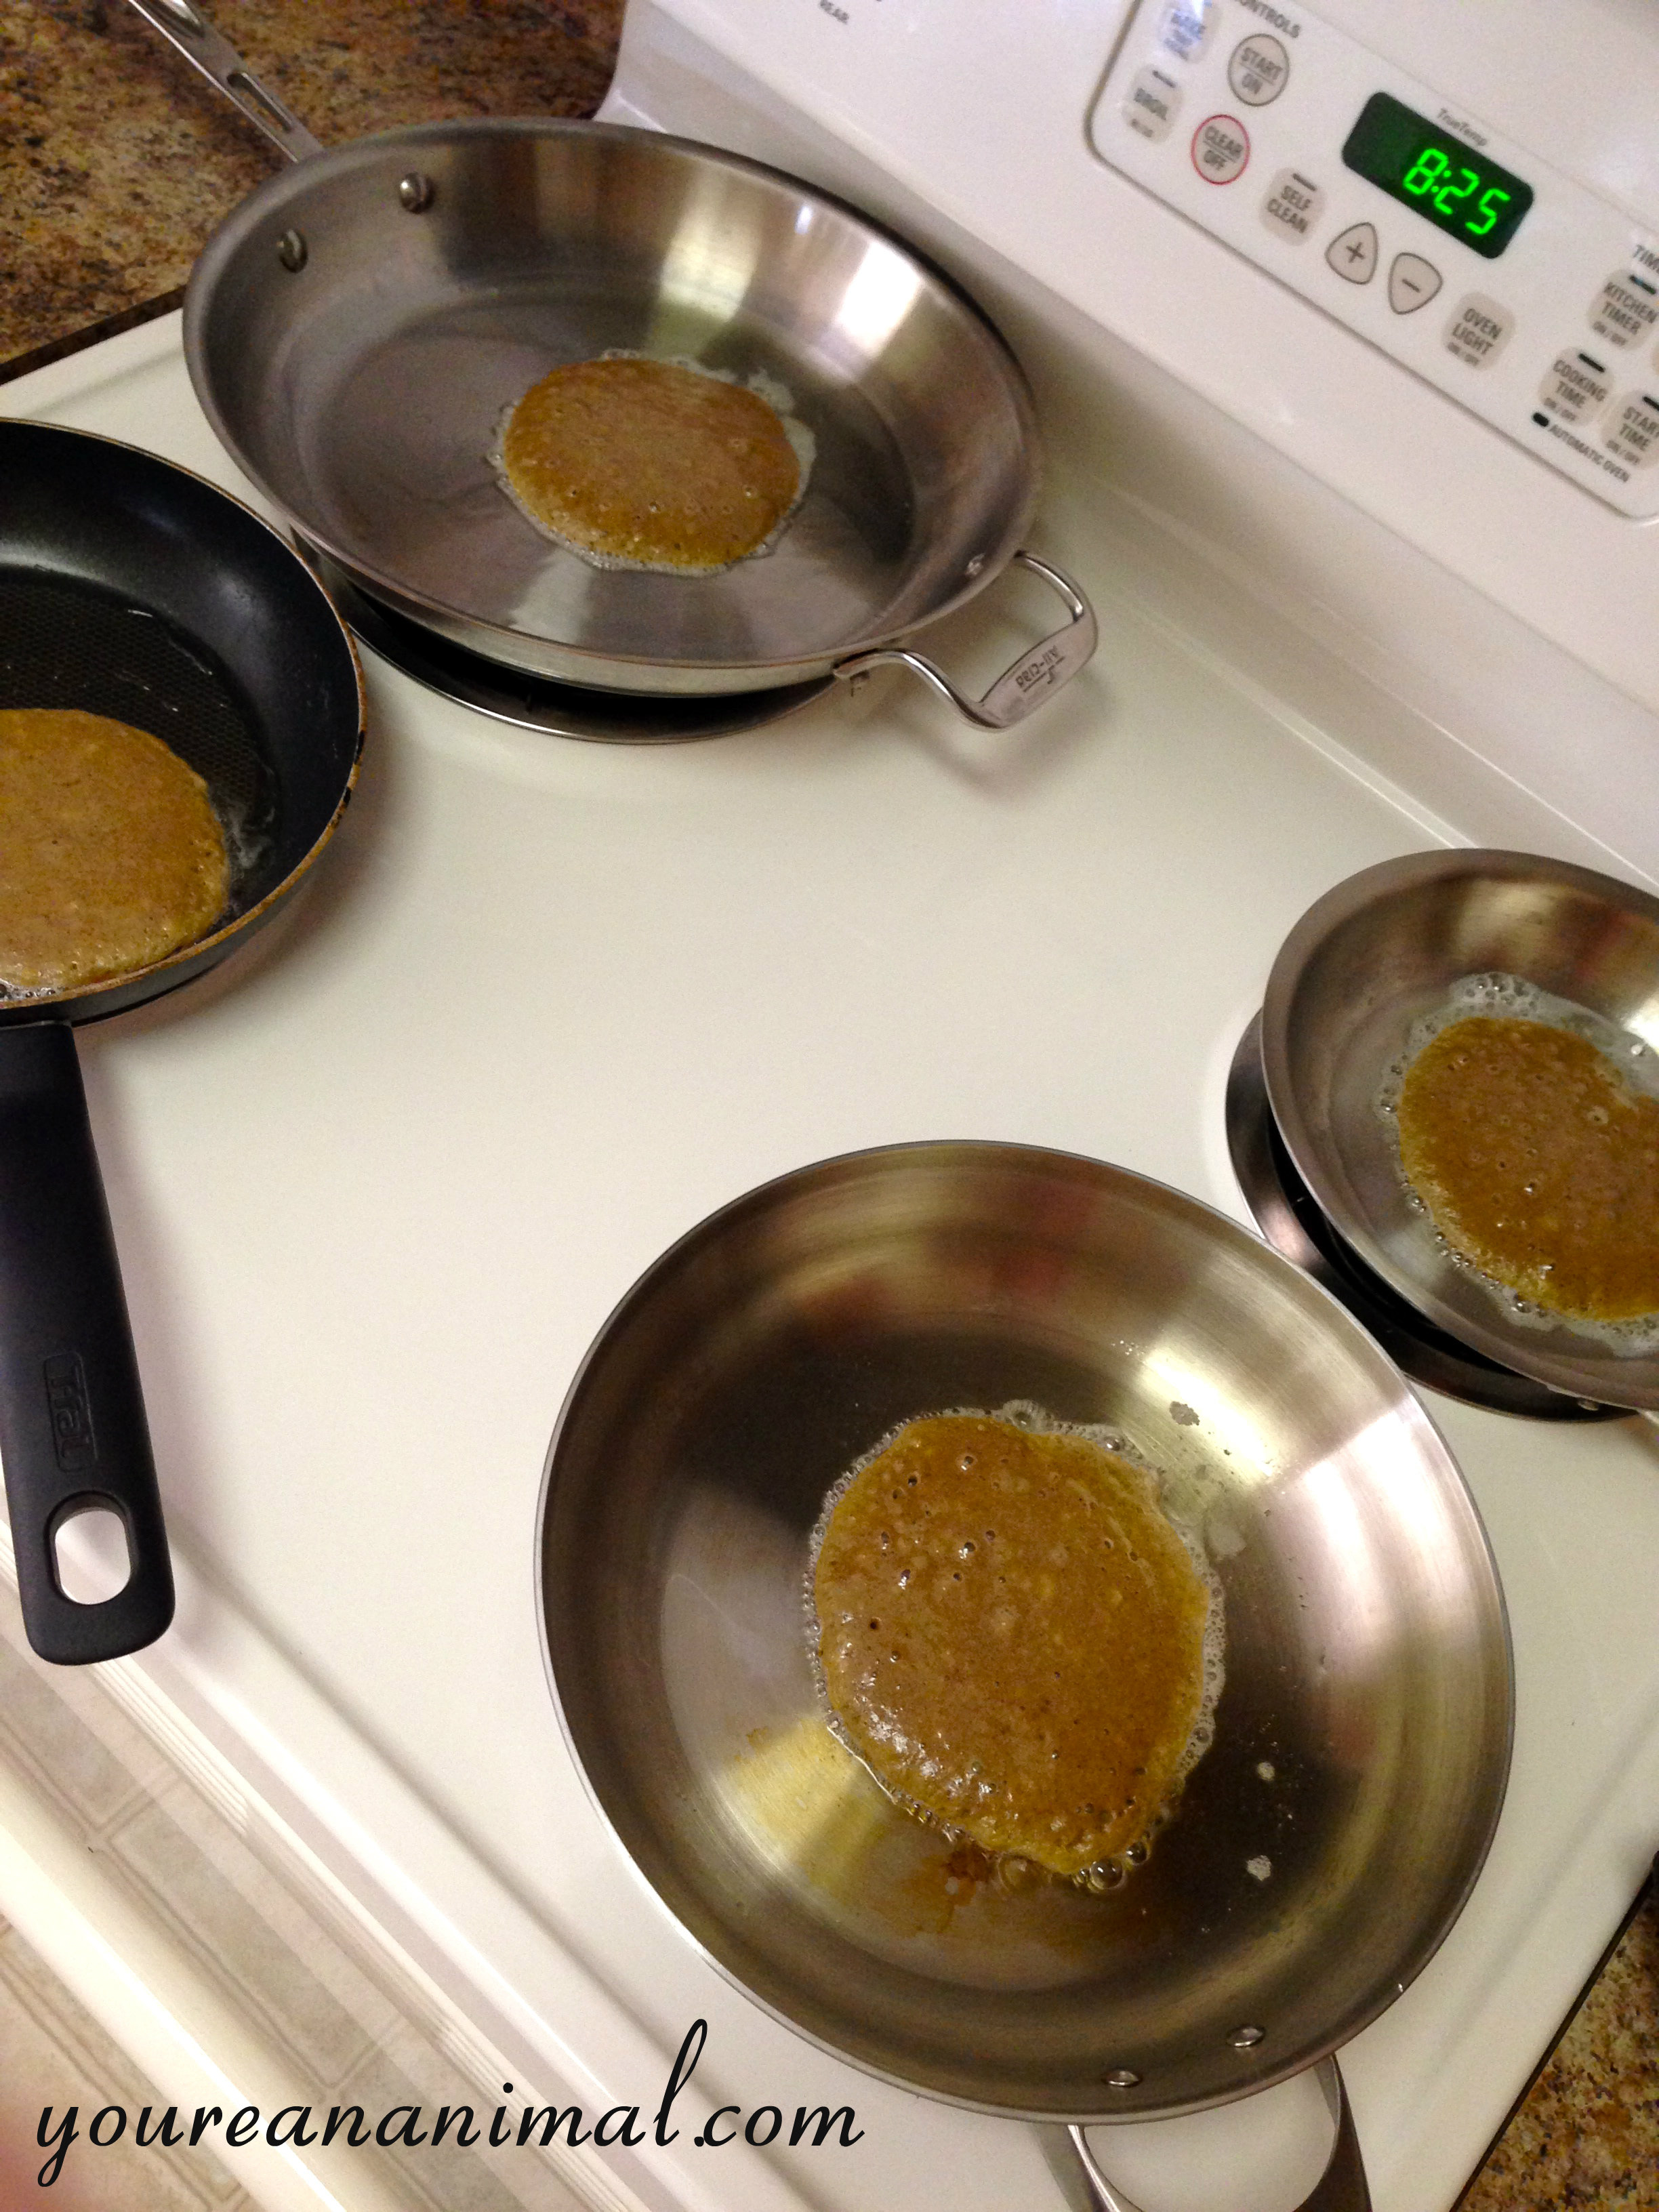
Also, a behind-the-scenes shot at how I cooked these dudes. More clean up, but less time before food is in my belly...
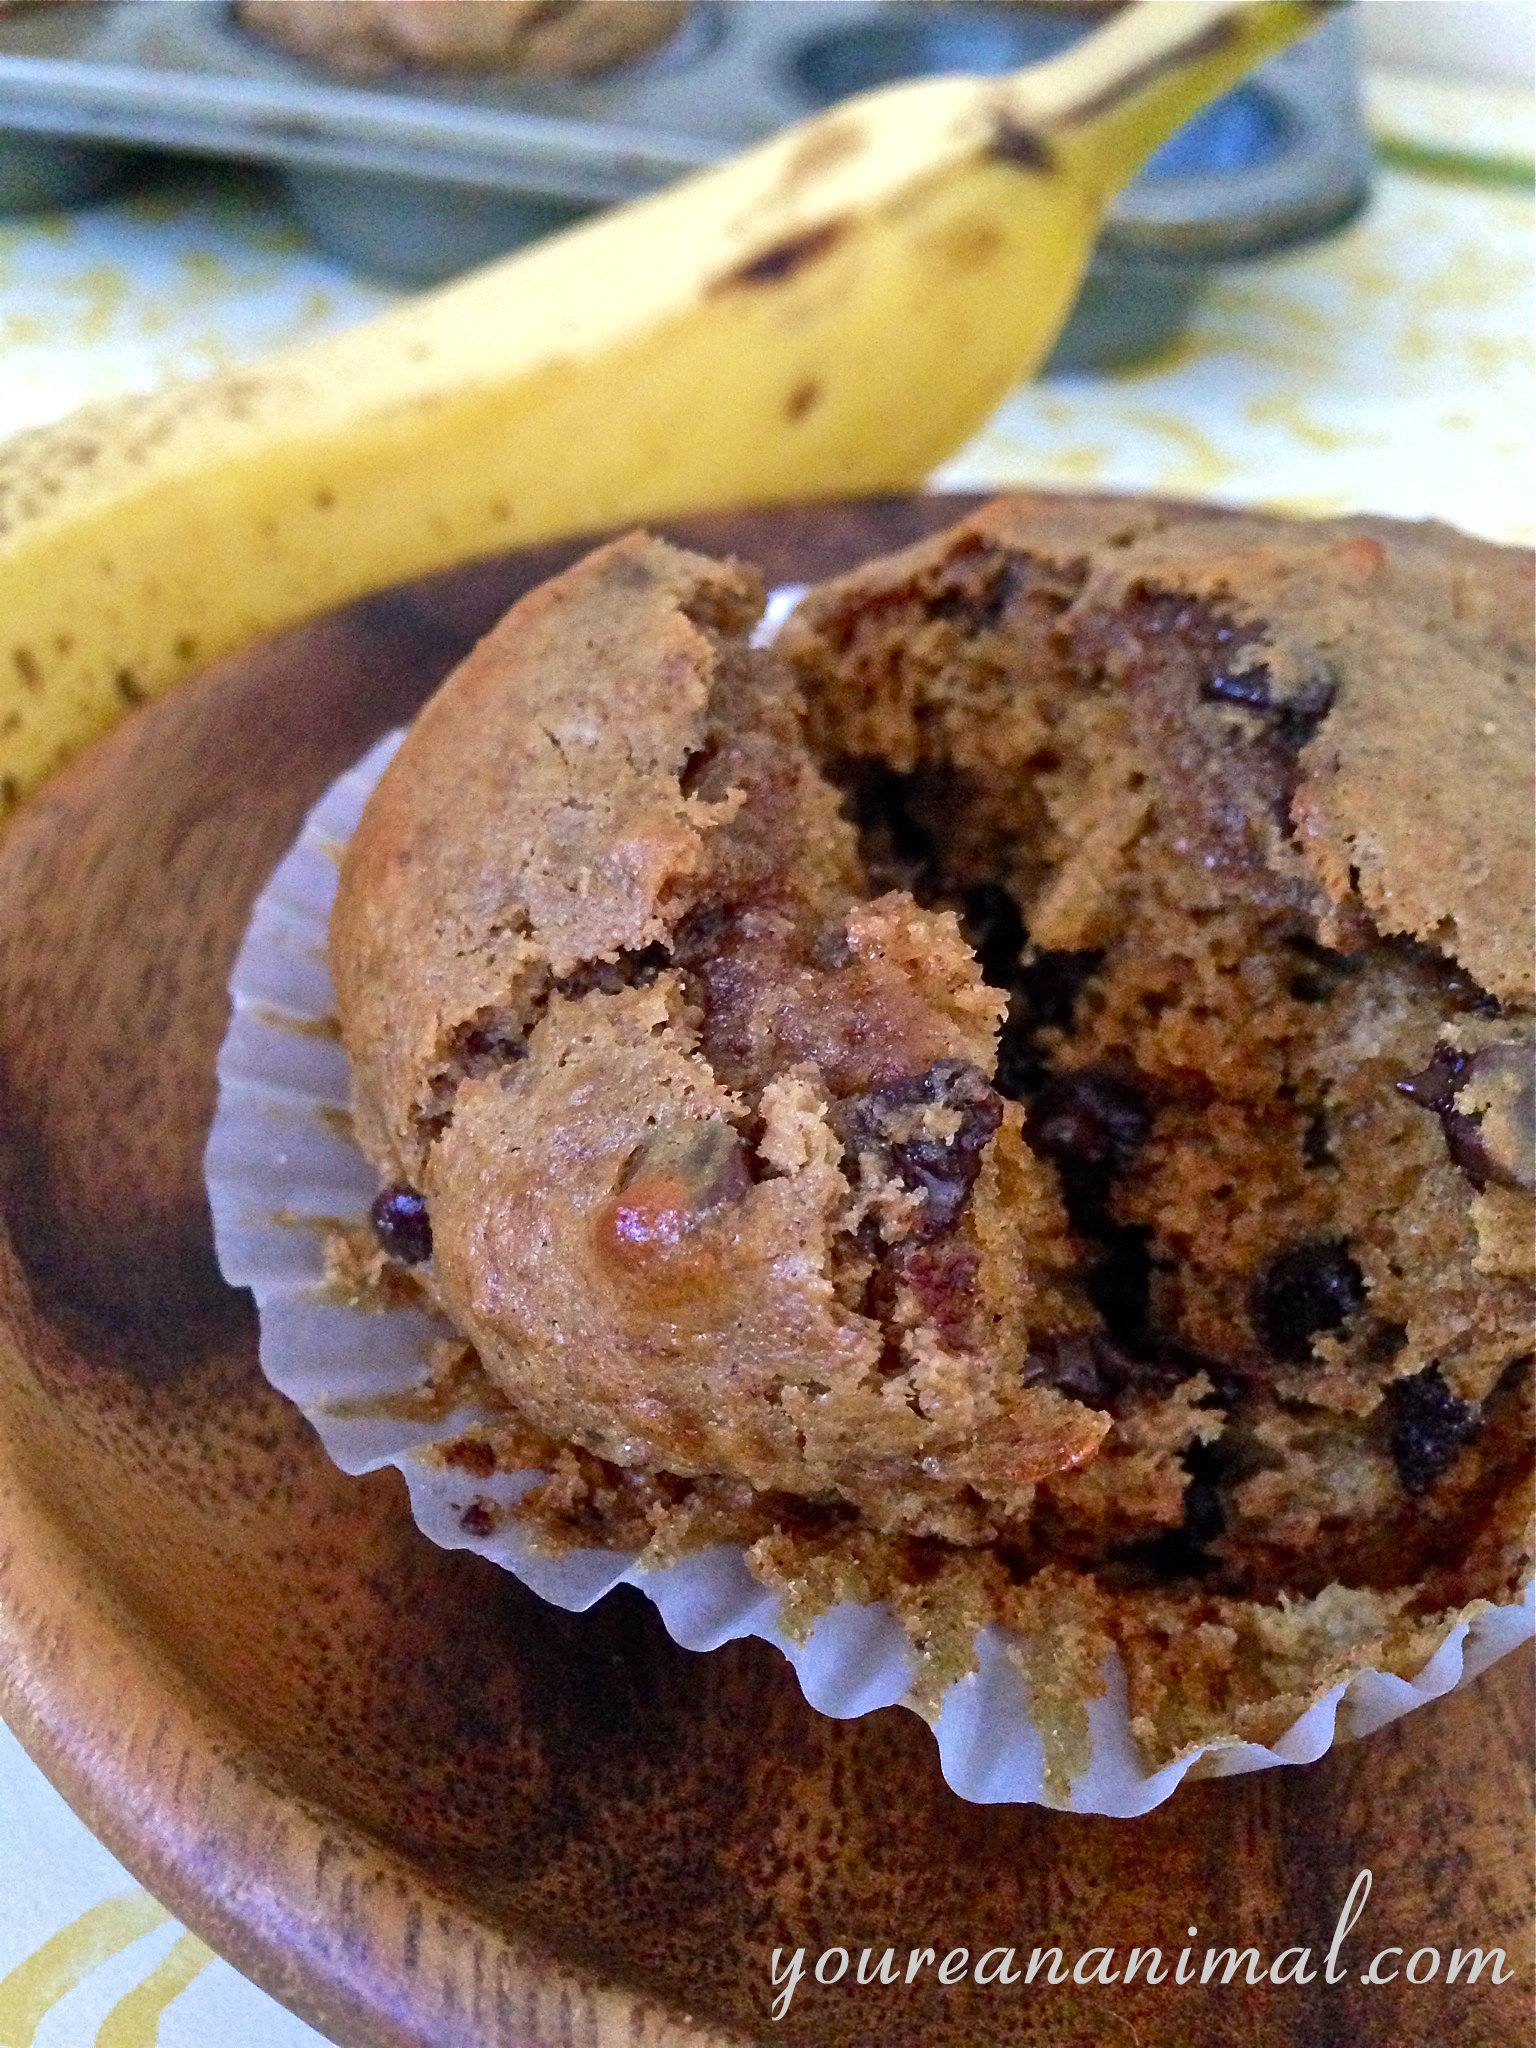
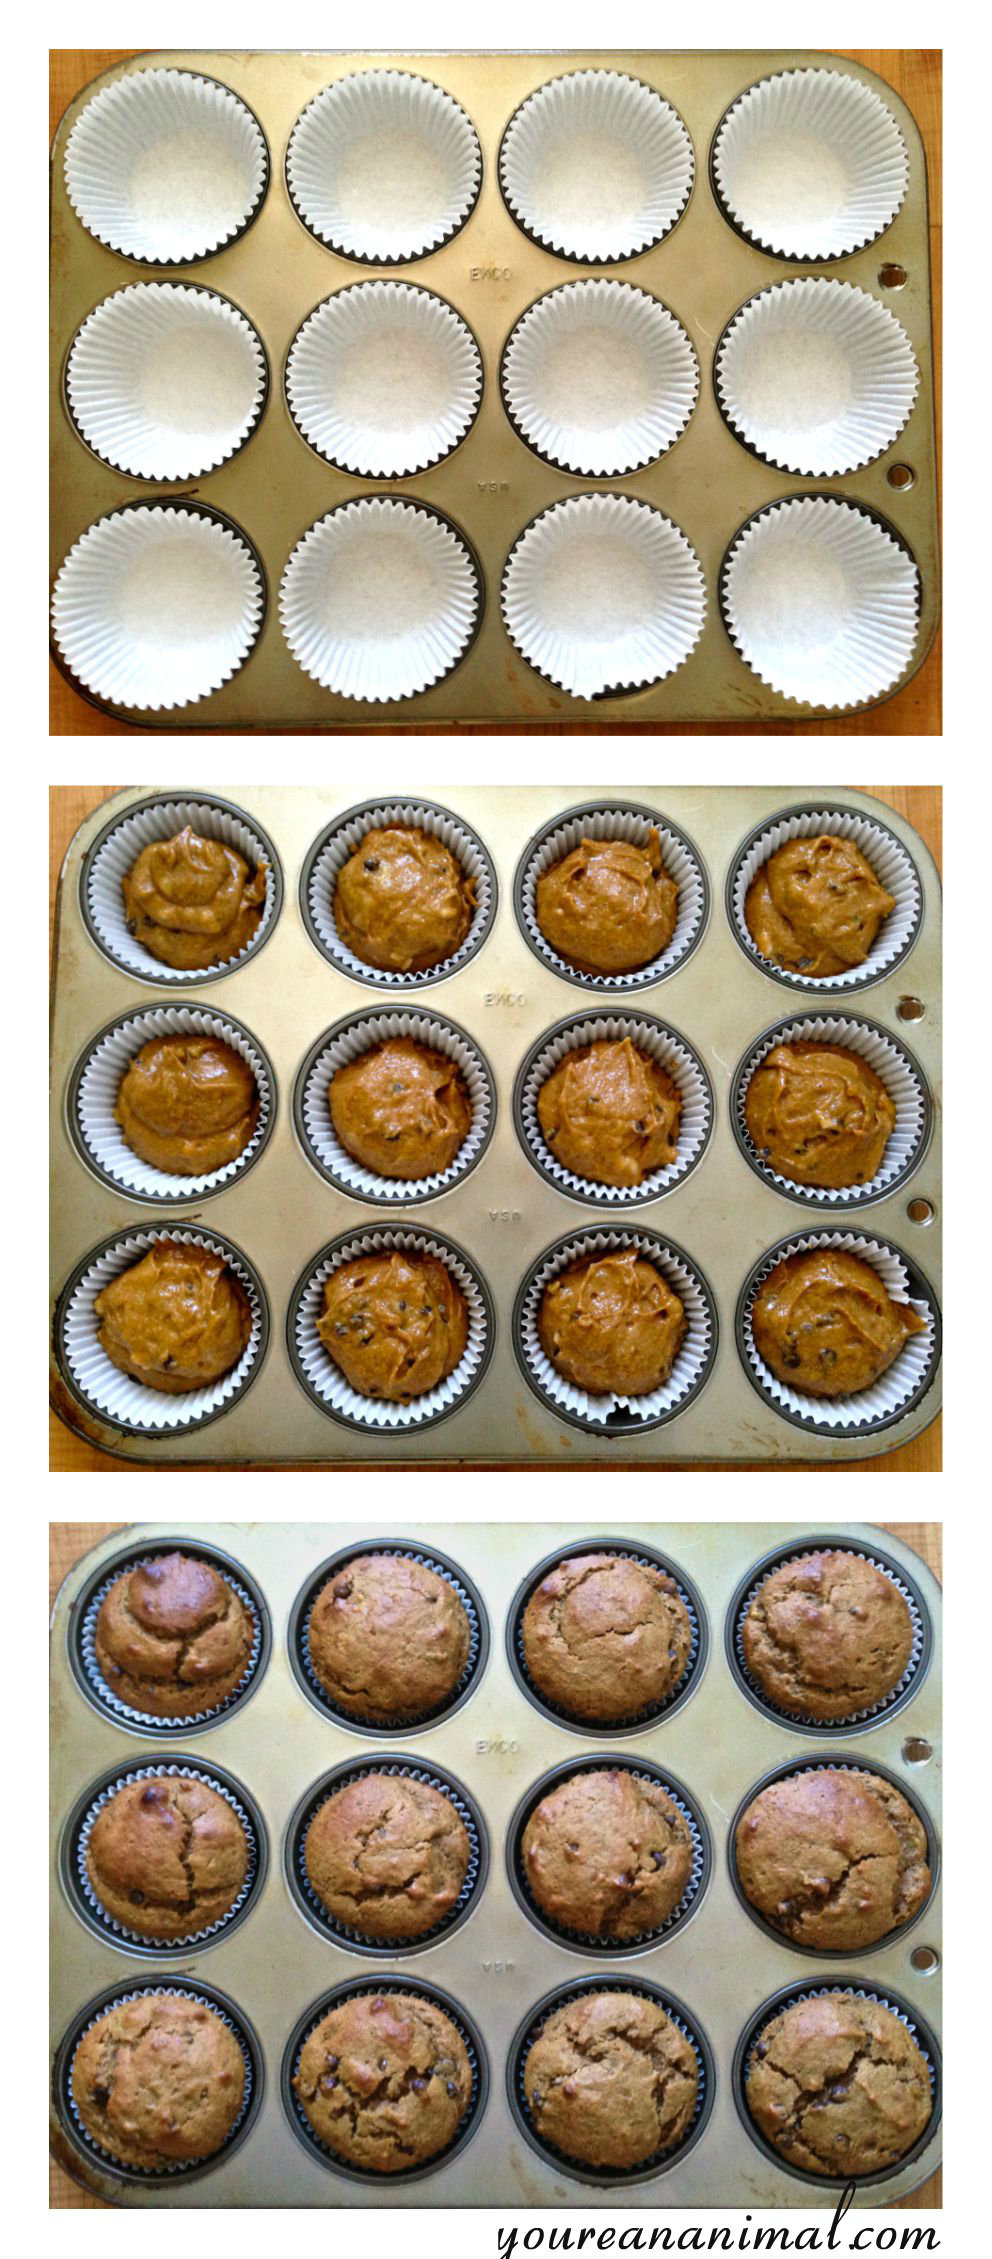
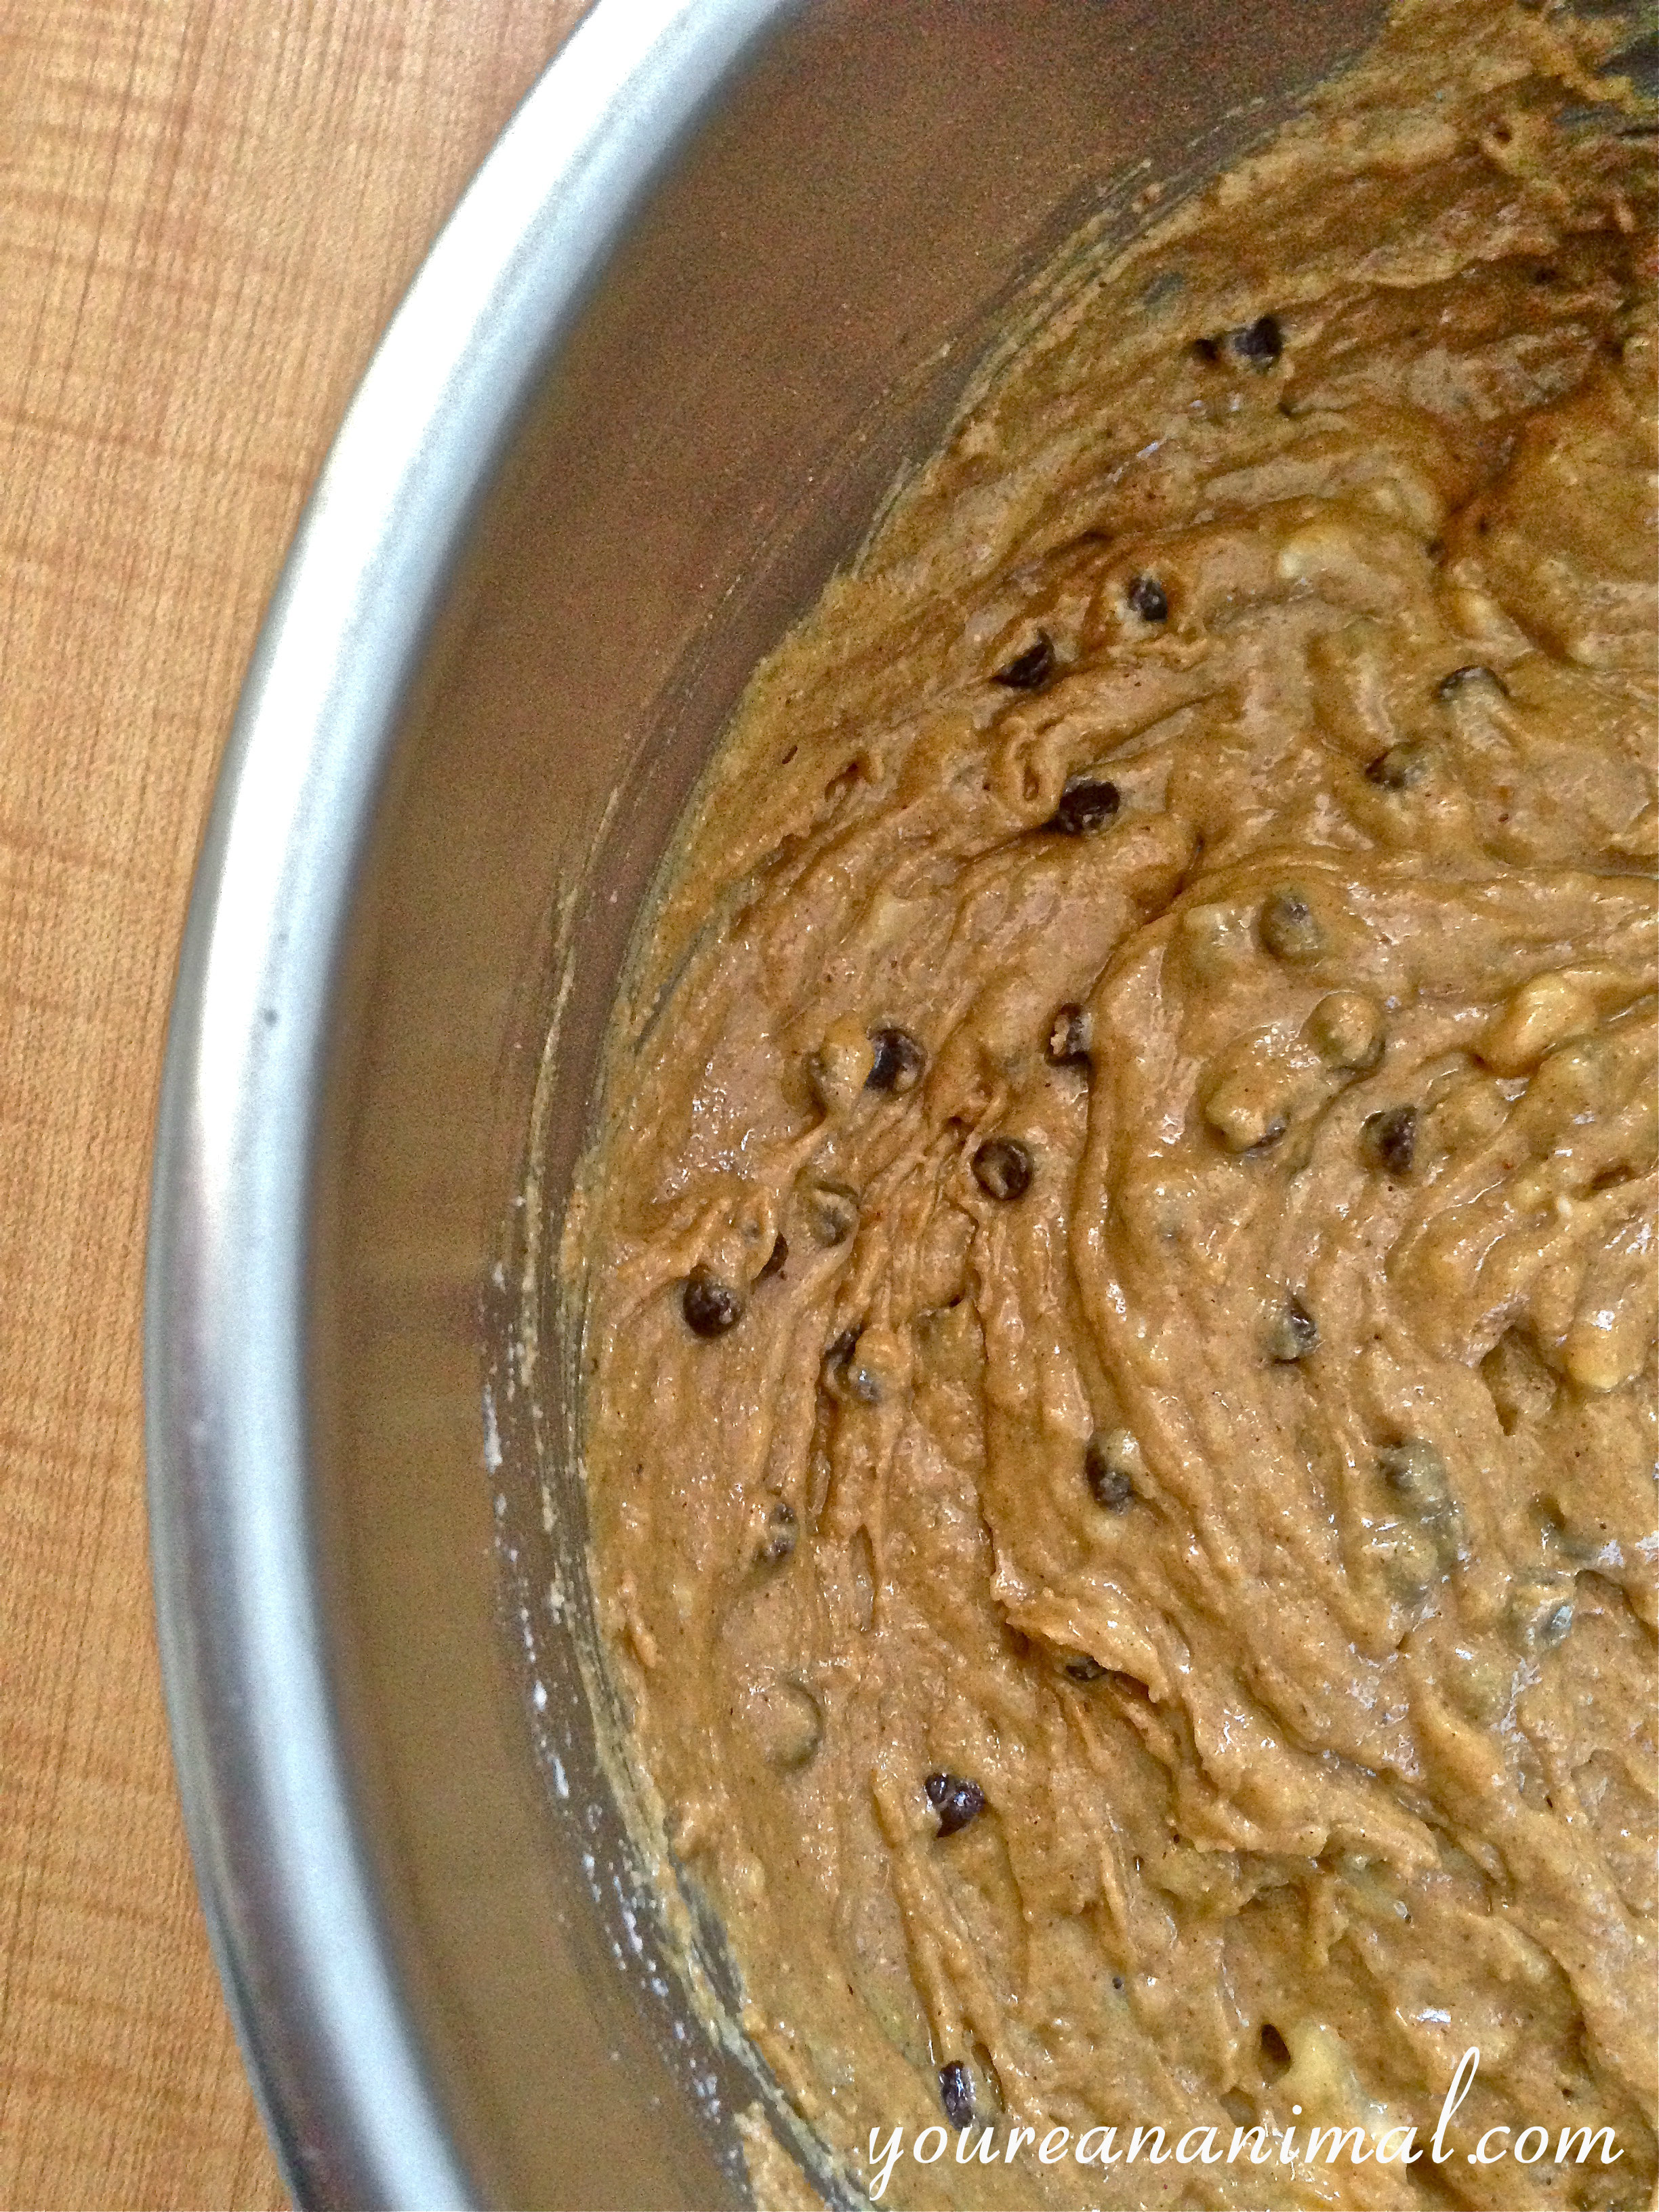
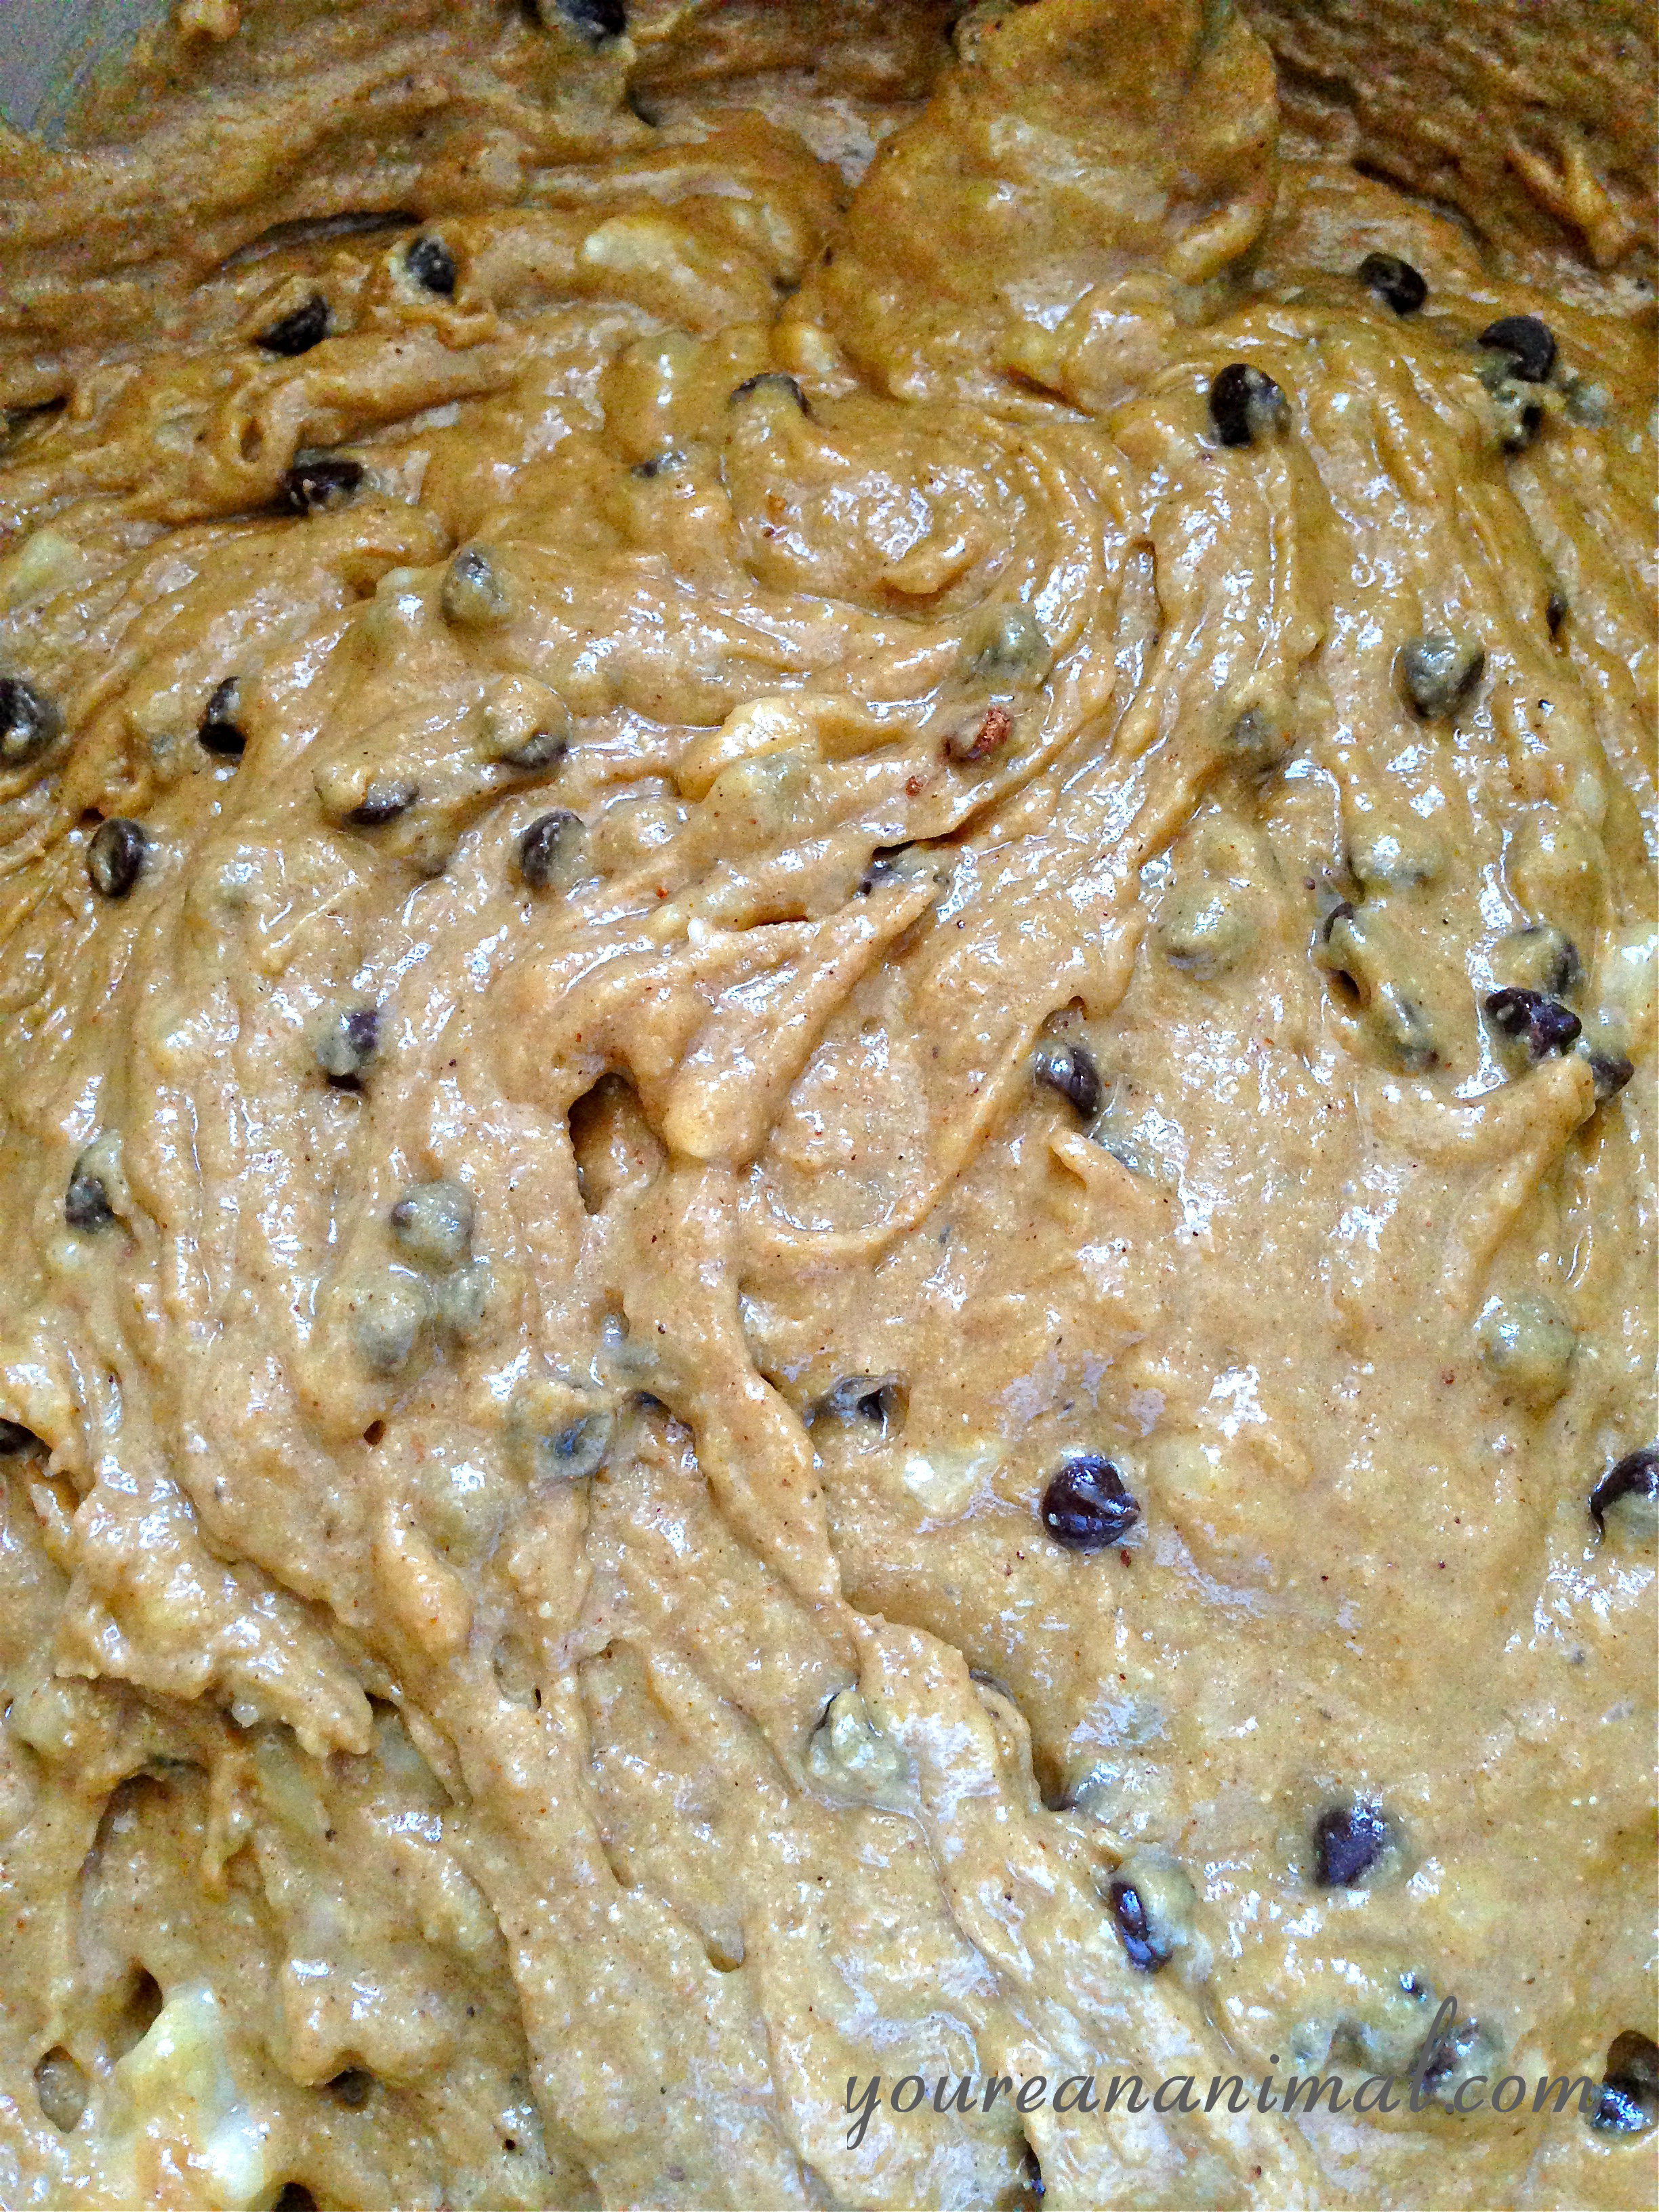
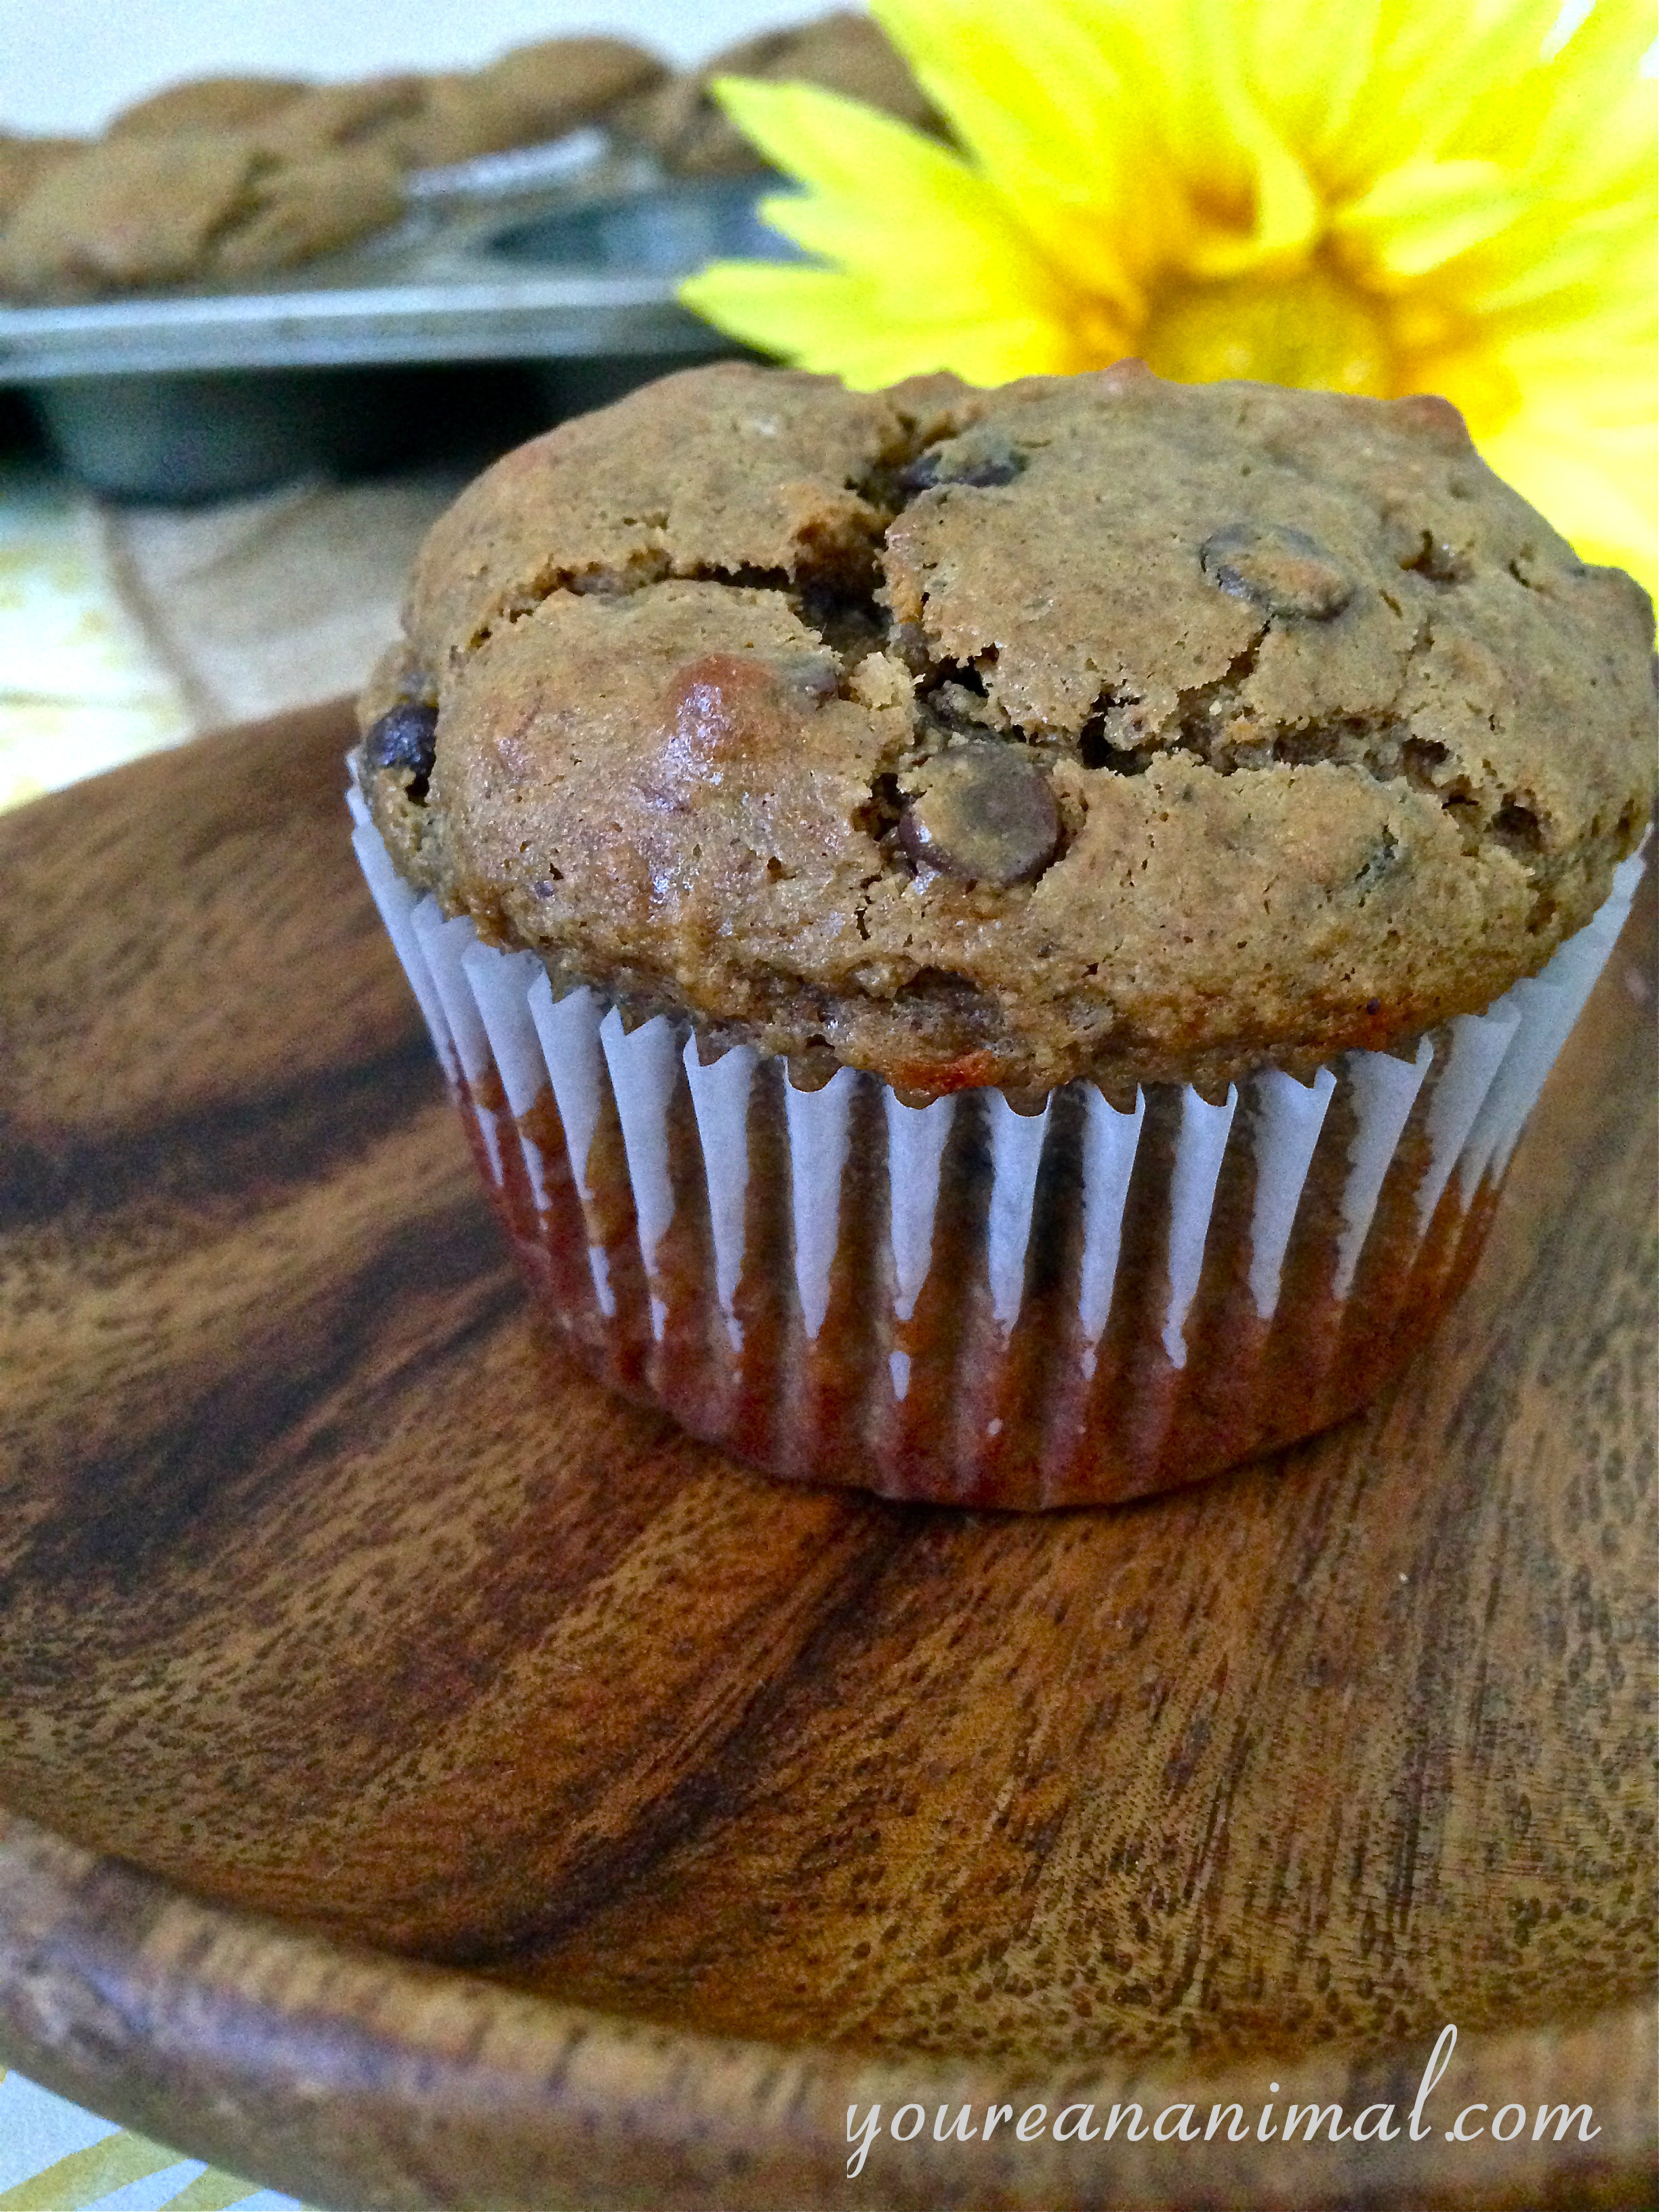
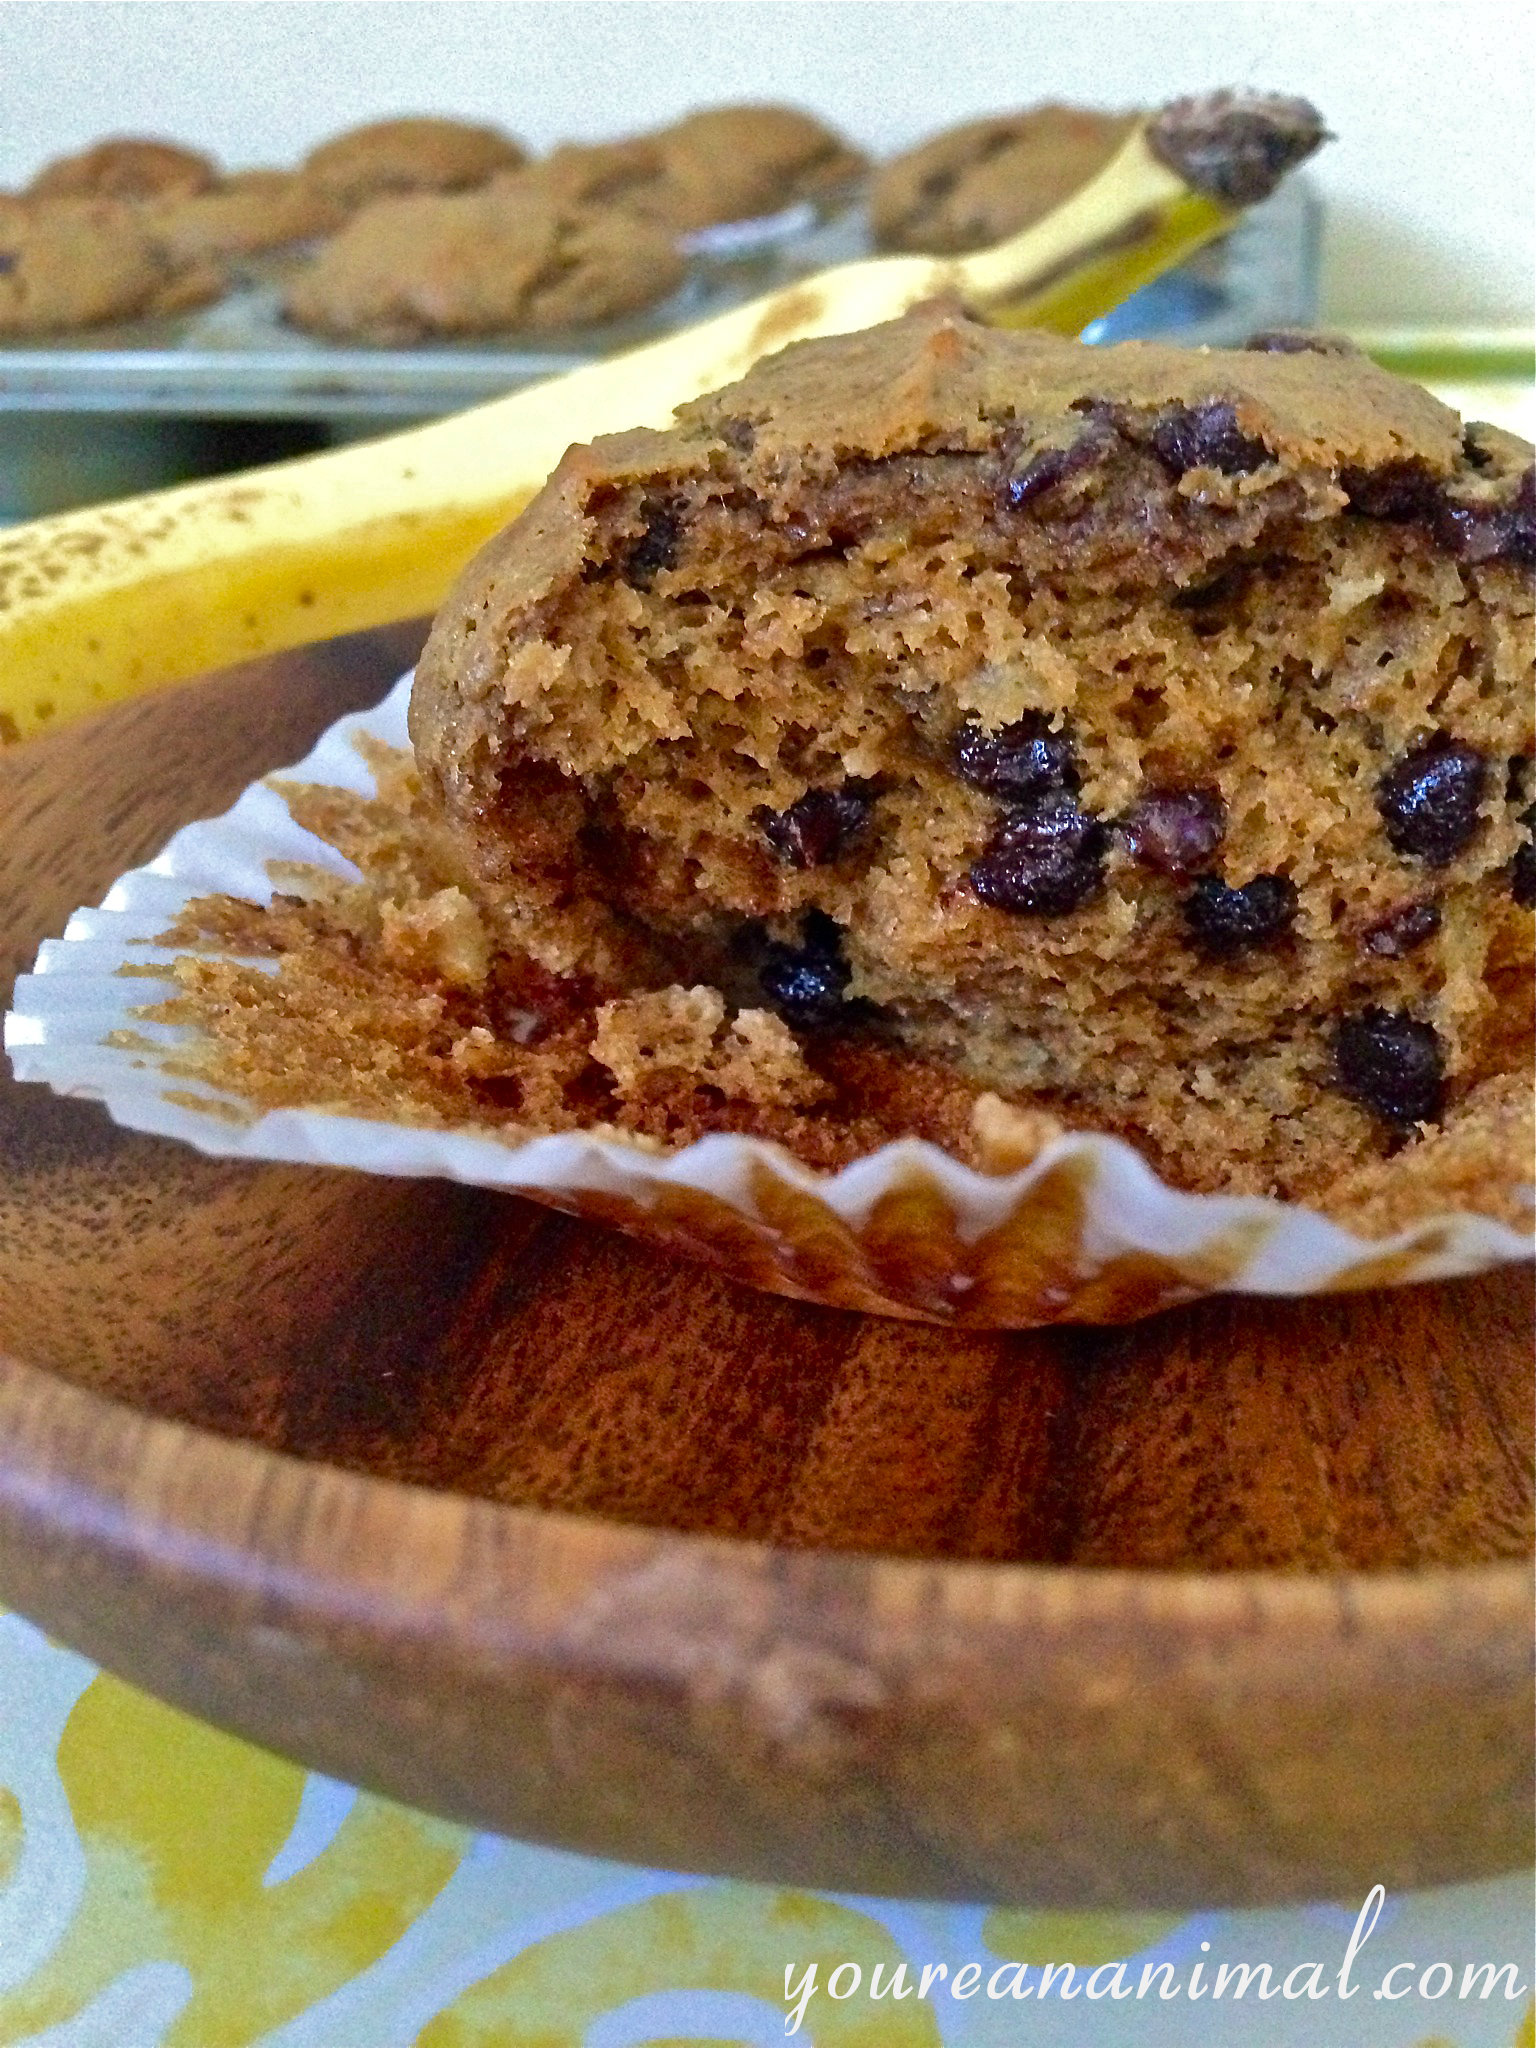
 I am a self-admitted carboholic and sugar addict. Which makes cutting out gluten and refined sugar incredibly painful (however, even more necessary.) Now, while these are a better option, they are most certainly not without the sugar... I've just swapped the sucrose ("table sugar") for fructose ("fruit sugar") which tends to happen a lot in my life. Sugar addict, remember? I'm working on it... When I finally perfected these little beauties, I couldn't make enough of them. Breakfast: definitely. Snacks: absolutely. Lunch and dinner: admittedly, yes. Birthday parties: gluten-free noms. Wins all around. Noooot that you should eat that many. But it may or may not happen, just fair warning. I seriously cannot say enough about these muffins! If you like banana bread, and are looking for gluten/grain/nut free deliciousness, look no further. Even gluten-loving friends have raved over these muffins, not knowing that they were actually eating goodies made without the bad stuff. Yep, I'll take that as the highest praise. Moist, but not gooey. Fluffy and risen just like a traditional muffin. Sweet and spicy. The perfect balance between the fruity banana, slighty nutty taste of the sunbutter, spicy cinnamon, and sweet chocolate chip bites. BUT! Don't take my word for it, whip some up for yourself! I promise they will not disappoint.
Chocolate Chip Banana Bread Muffins