Category: Sides and Extras

  • Stars and Stripes Sangria

    Stars and Stripes Sangria

    Are you in need of a last minute, quick and easy crowd-pleaser to bring to your 4th of July cookout? This Stars and Stripes Sangria is an Independence Day treat! With wine, champagne and frozen fruit, this sweet and bubbly sipper is super easy to throw together just in time to get out the door. Plus, people always love the guy/girl who brings alcohol, right? Let freedom ring, it's almost the fourth of July! Independence day here in the US always means an incredible amount of red, white and blue, fireworks, and (hopefully) some amazing cookout food. But sometimes it can be hard to figure out what to bring... let's face it, 5 bowls of potato salad ain't going to work out. Fear not, because I have a boozey crowd-pleaser that you can throw together as you're running out the door (spraying bug spray on every square inch of exposed skin in the process.) Stars and Stripes Sangria 4th of july You can use fresh or frozen fruit with this, but if you're in a hurry and haven't had time to chill the wine and champagne, then frozen fruit is perfect! However, I will say that this drink gets better as time goes on and the flavors have a chance to get to know one another, so if you have time to put it together the night before (tonight! eek!) and let it sit in the fridge, the flavors will intensify. But if not, no worries! It will still be lovely. I used a frozen fruit combo bag (antioxidant blend that I buy in bulk from Costco to make green smoothies) which had strawberries, raspberries, cranberries, cherries and blueberries, and then cut up some fresh Granny Smith apples. You can use any combo of red white and blue fruit though! By the way, I took about 5 extra minutes to cut out star shapes in some of my apple chunks, but I was totally being an over-achiever. Although, if you want people to swoon over how cute your pitcher-o'-goodness is, it's so worth it ;) Stars and Stripes Sangria Independence Day   Stars and Stripes Sangria

    • 2 bottles of Moscato (750 mL)
    • 1 bottle of champagne (750 mL)
    • 2 cups of frozen fruit (red and blue colors of your choice, you also use fresh... see above post for my combo)
    • 2 Granny Smith apples (cut into 1 inch pieces... or star shapes if you're feeling fancy)
    1. Combine all ingredients and stir. The longer it sits, the more the flavors combine.
    2. Note that I had to use 2 pitchers to hold all of this goodness, so you may be able to fit this all into one large pitcher or punch bowl, or you may need two.
    Stars and Stripes Sangria for the 4th of July!  

  • Grain-Free Drop Biscuits: Thanksgiving Cleaned Up Part 4

    Grain-Free Drop Biscuits: Thanksgiving Cleaned Up Part 4

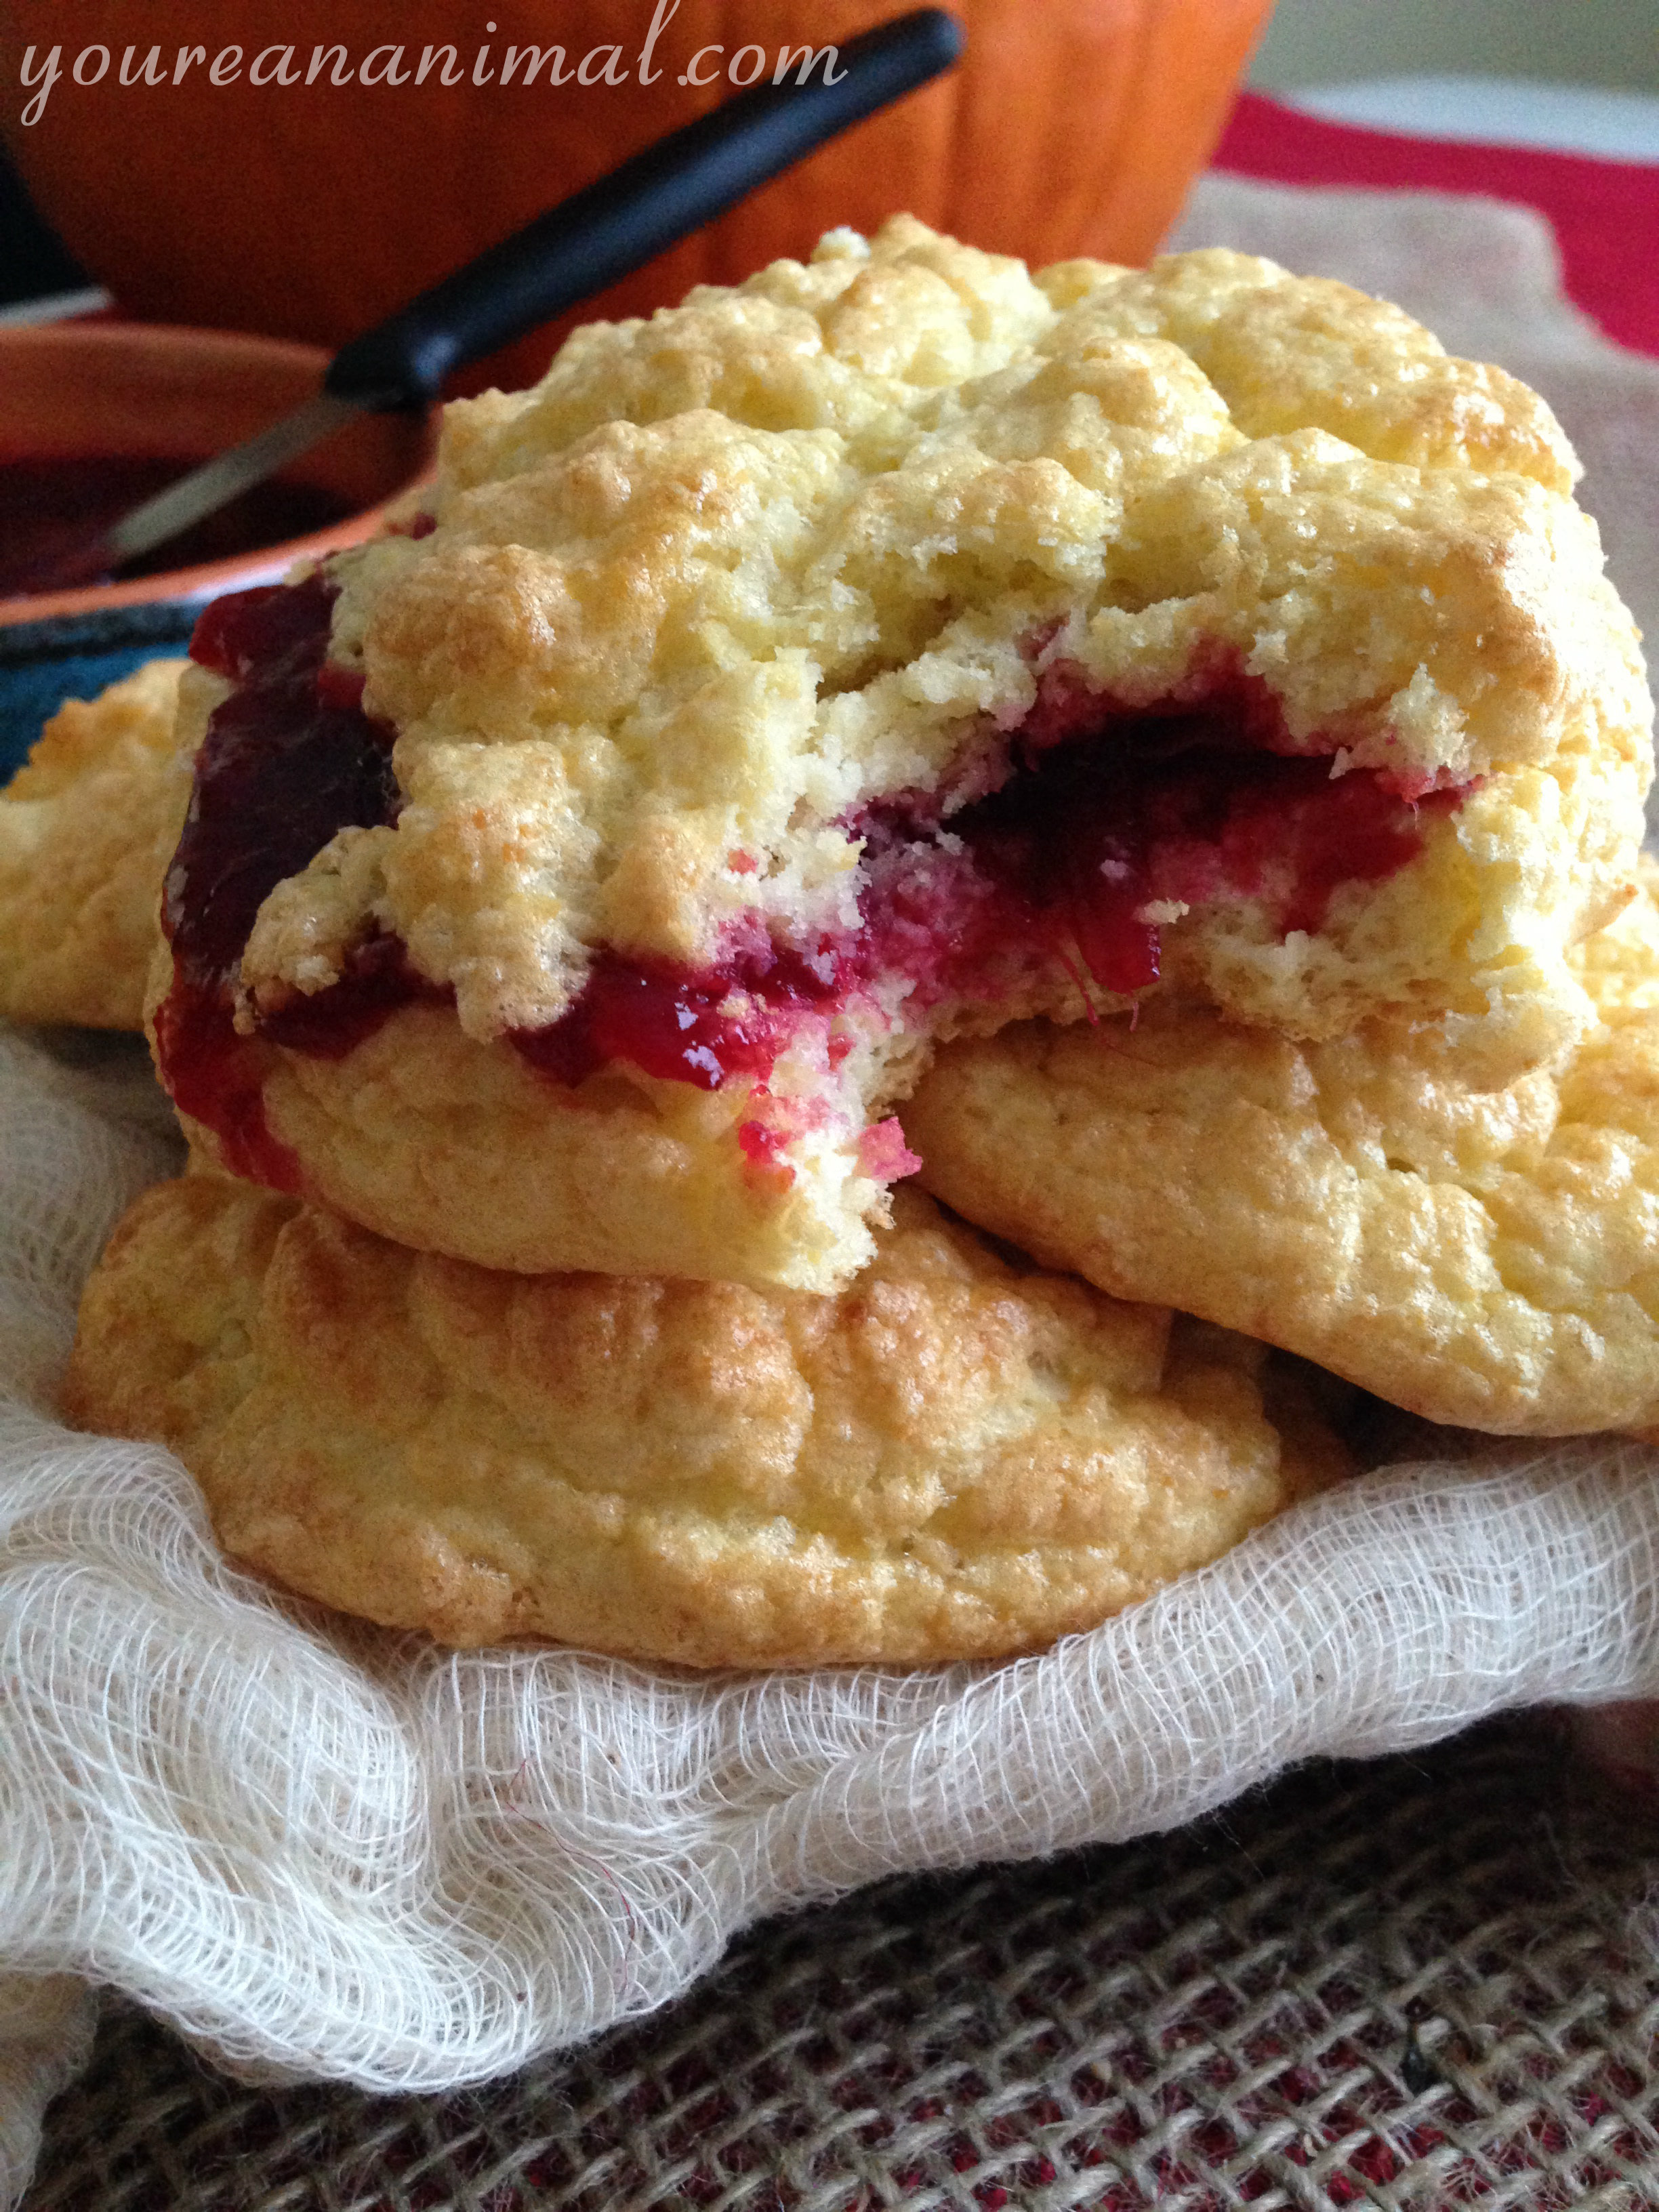
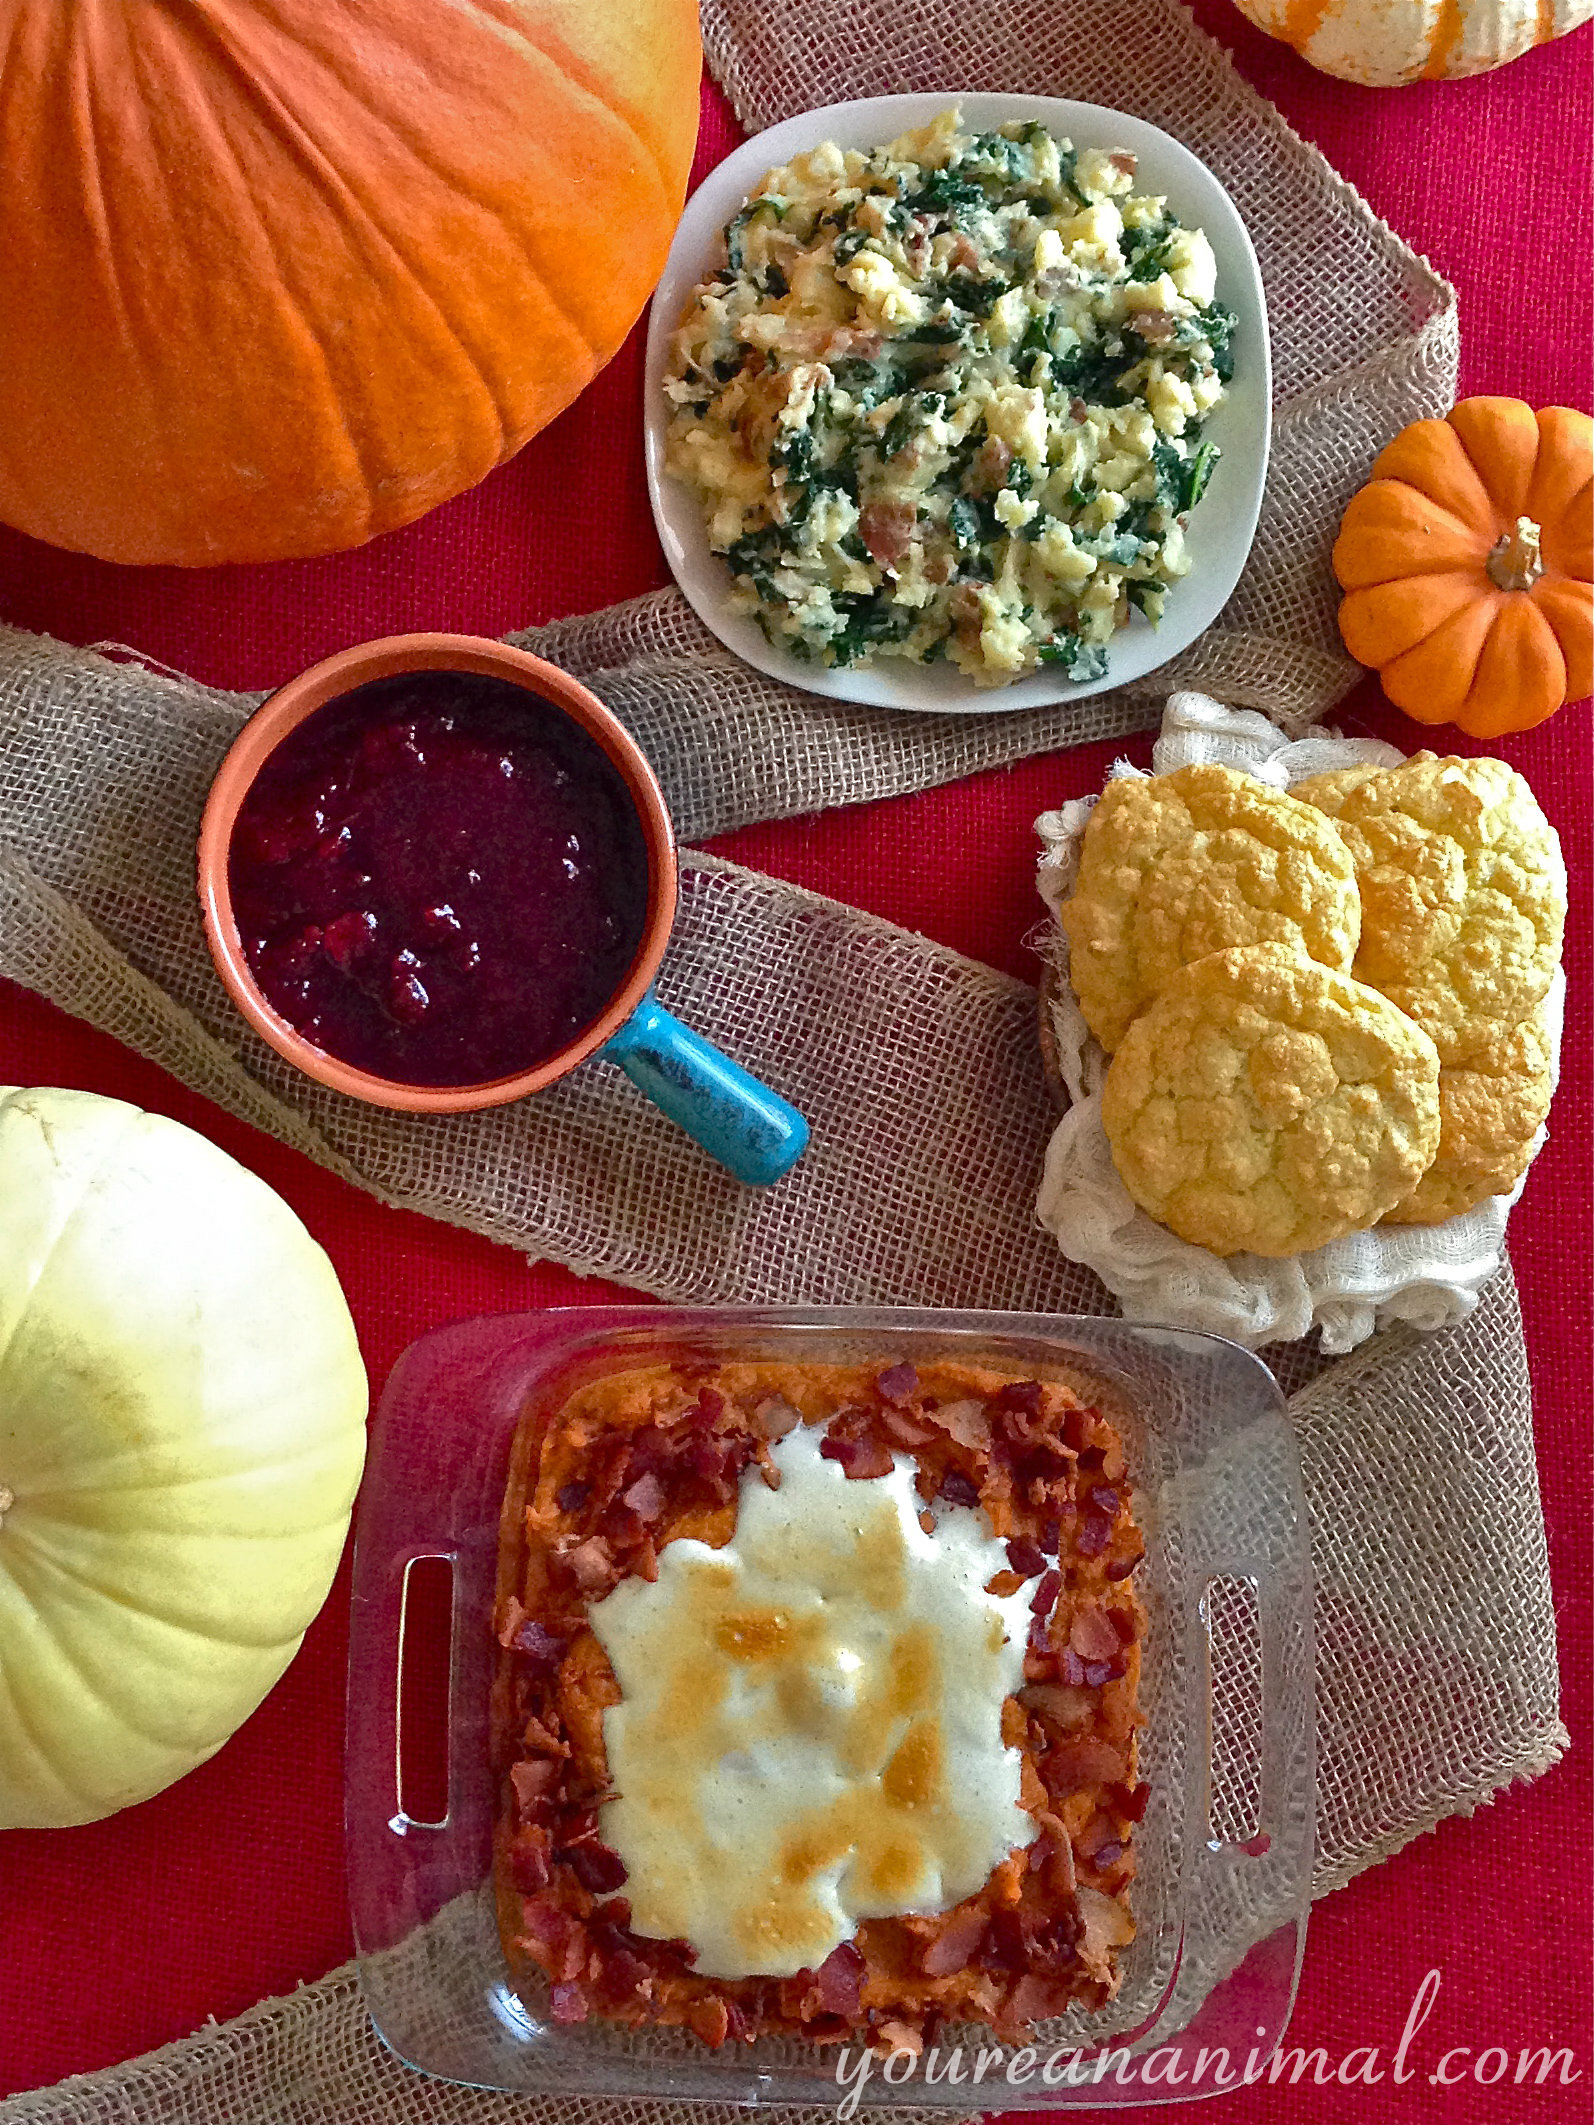
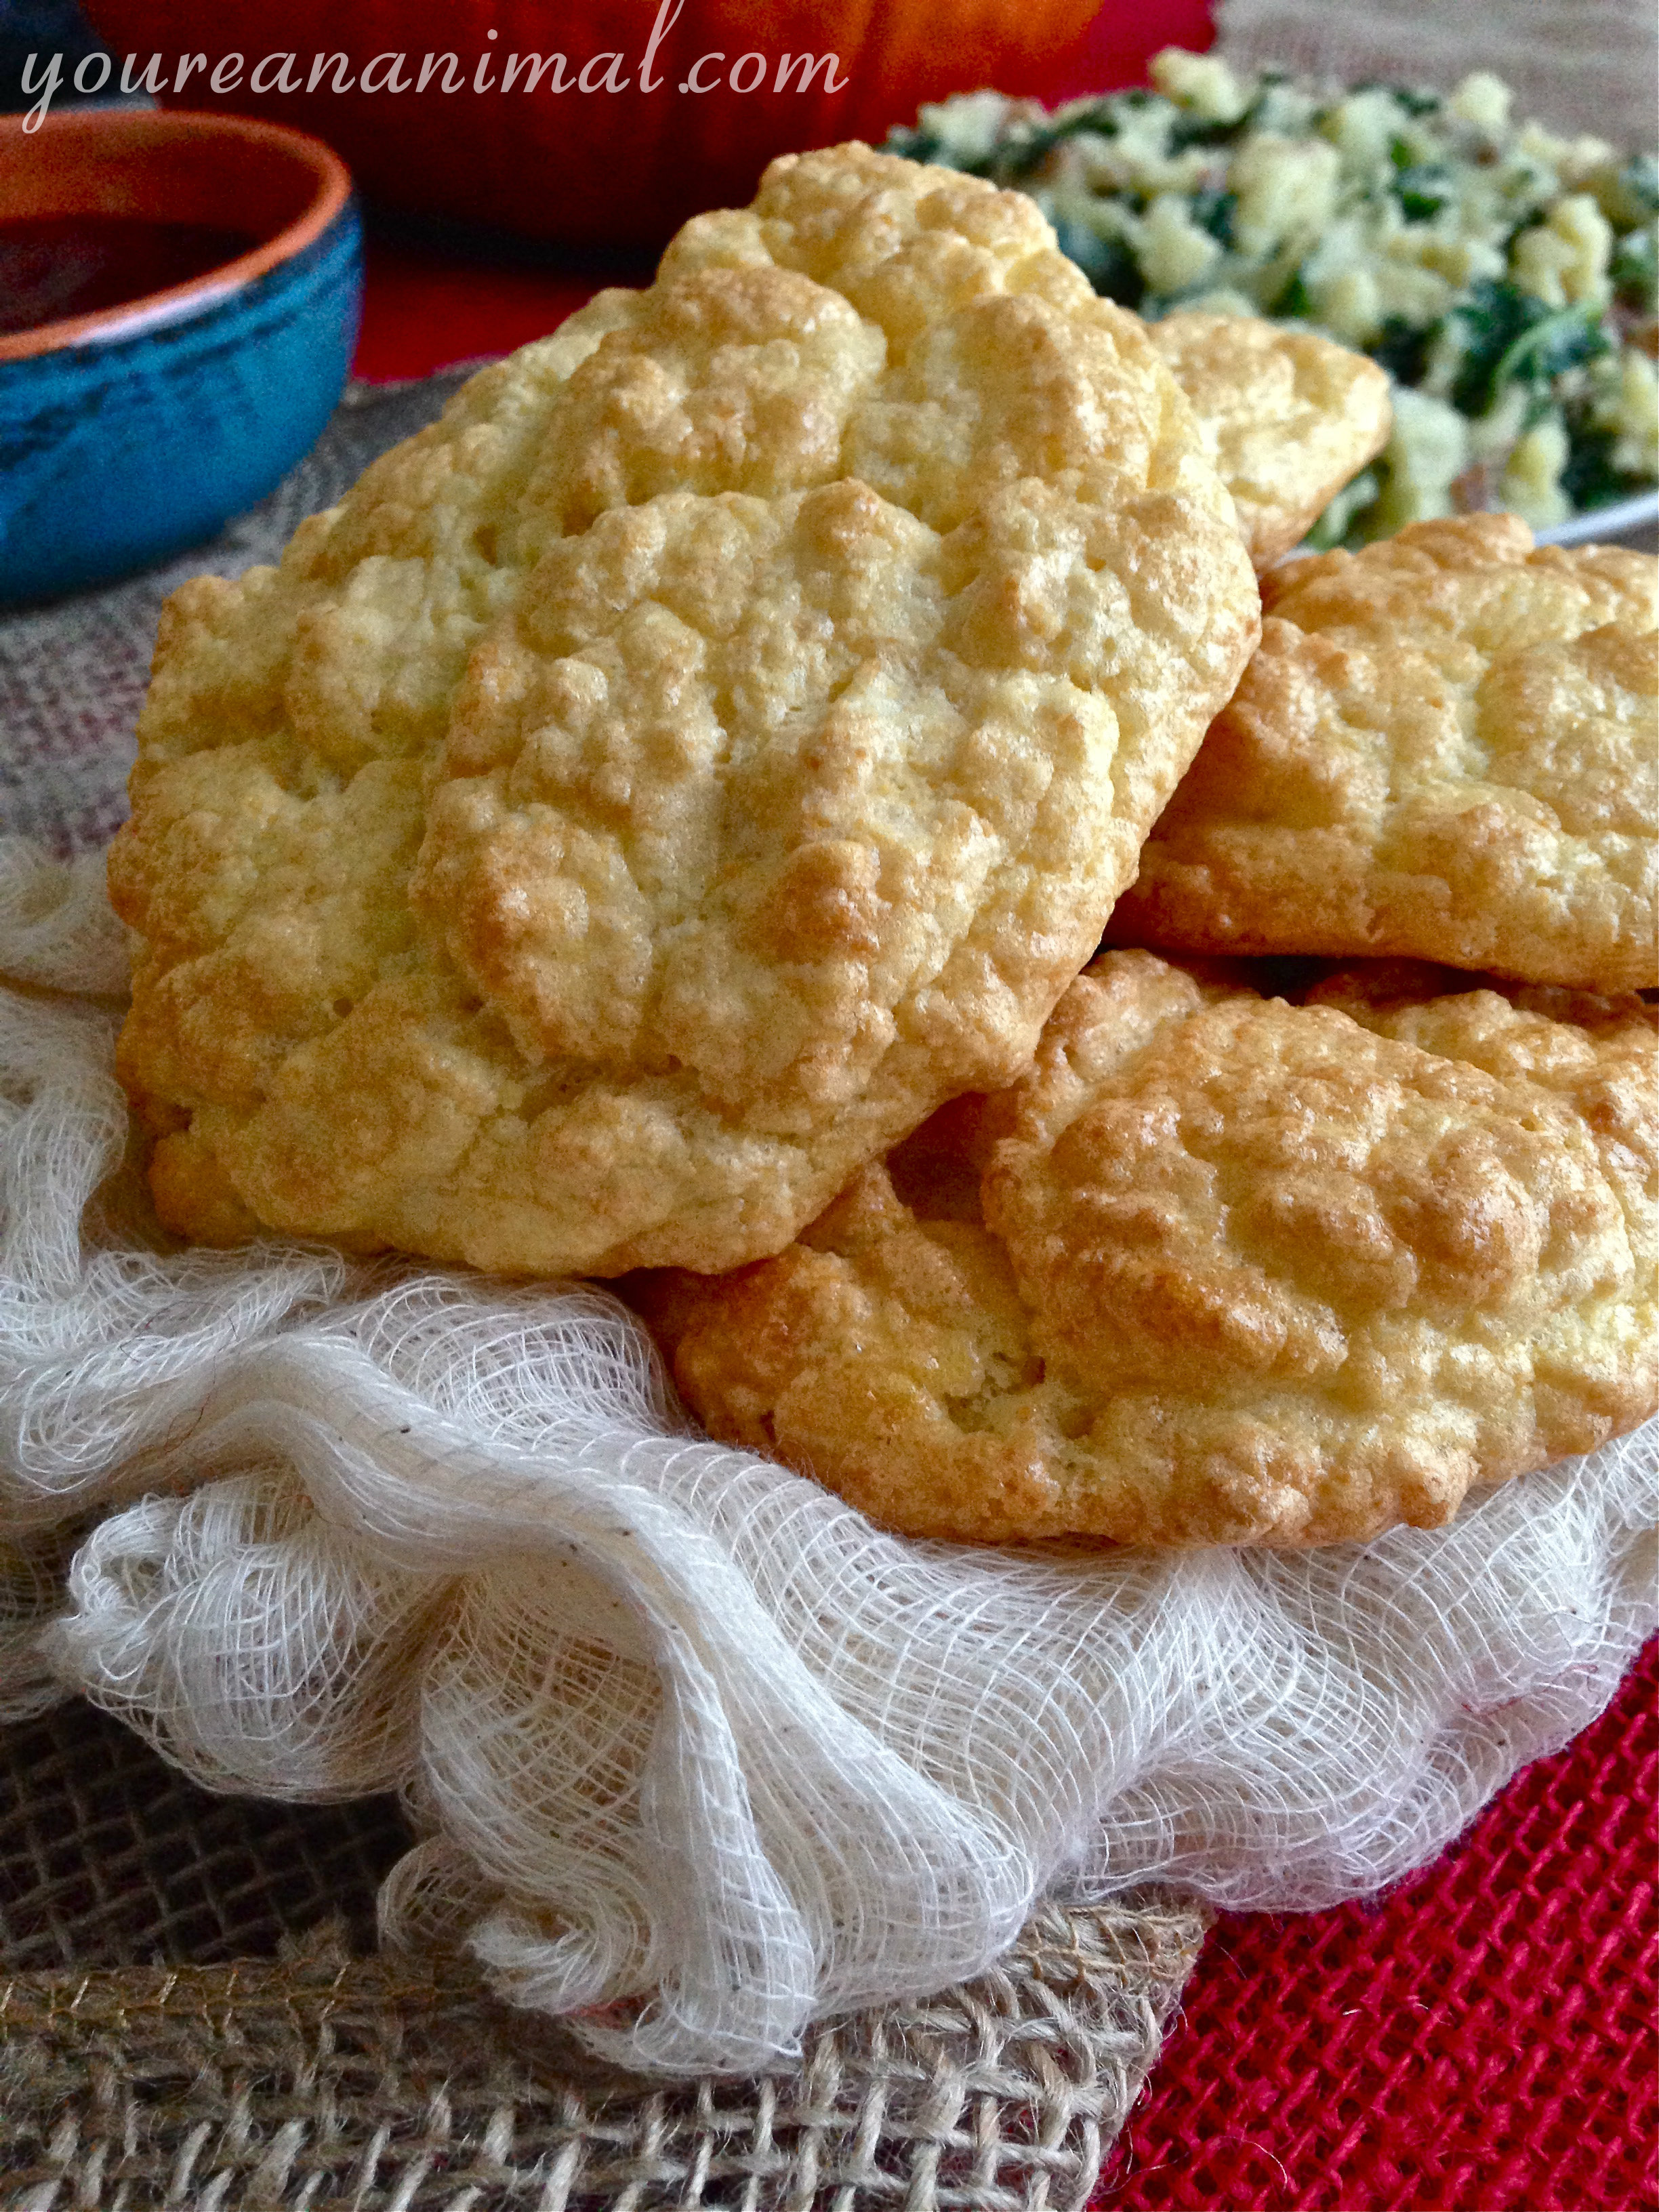
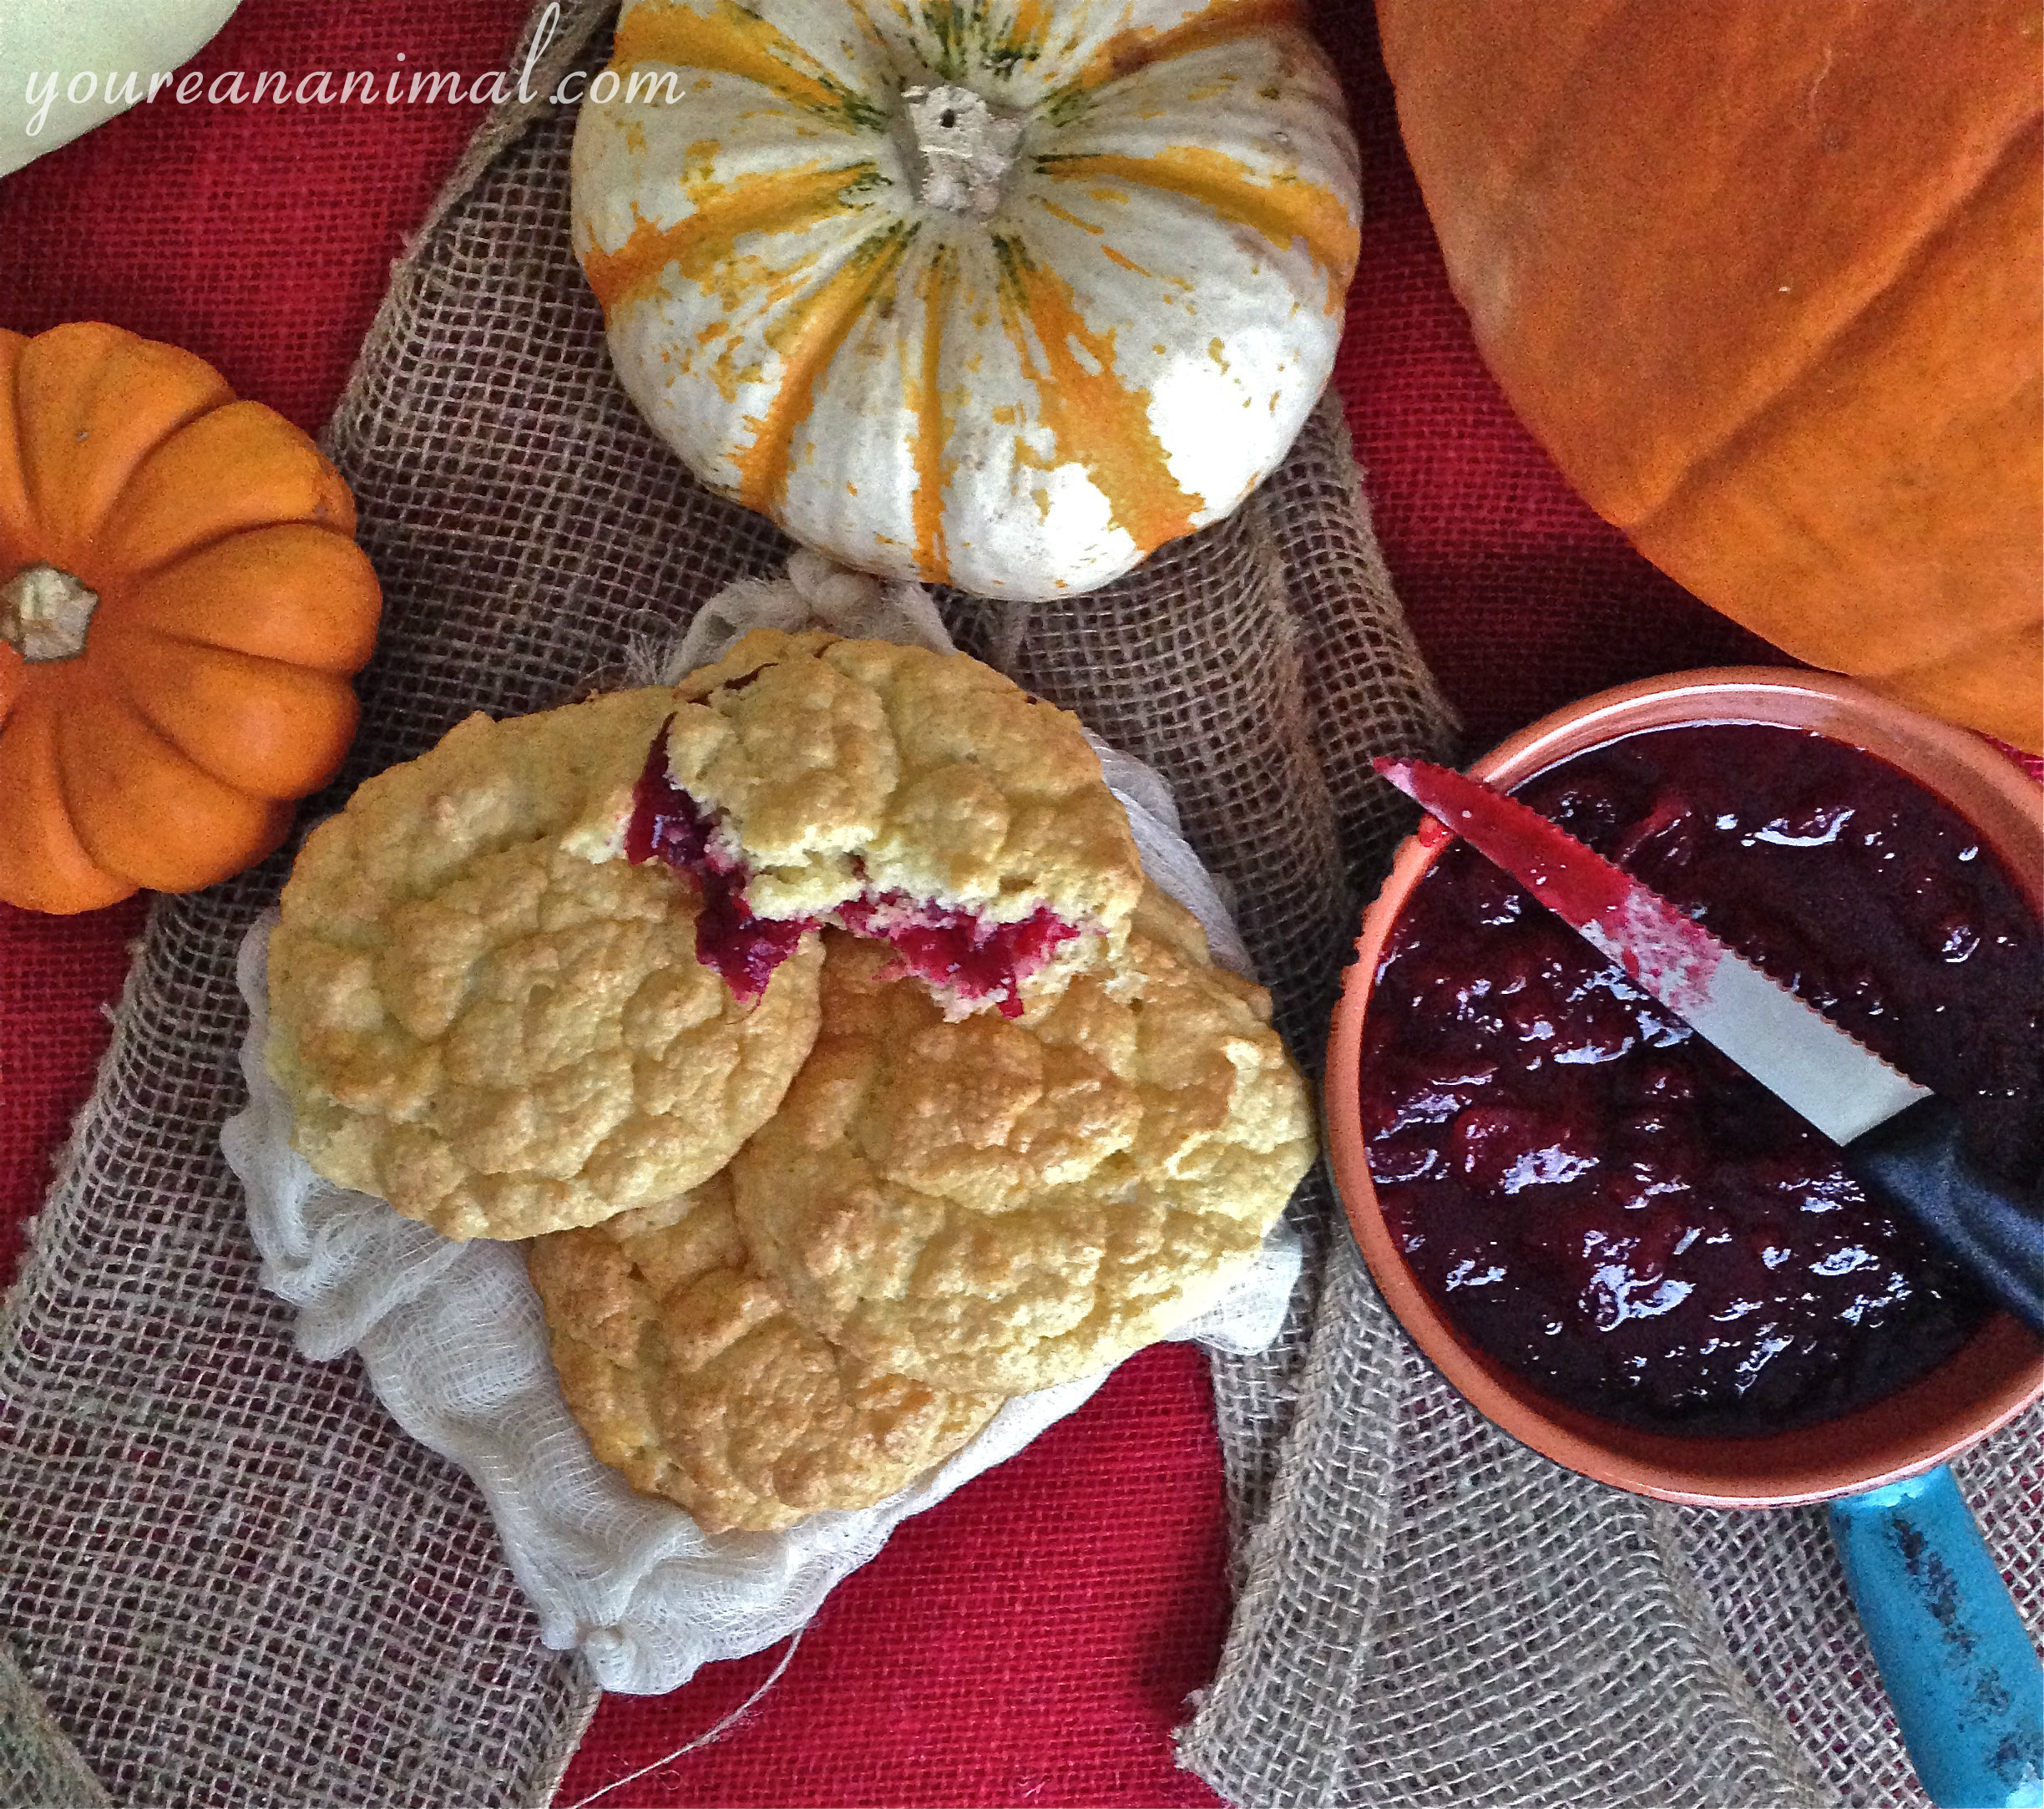
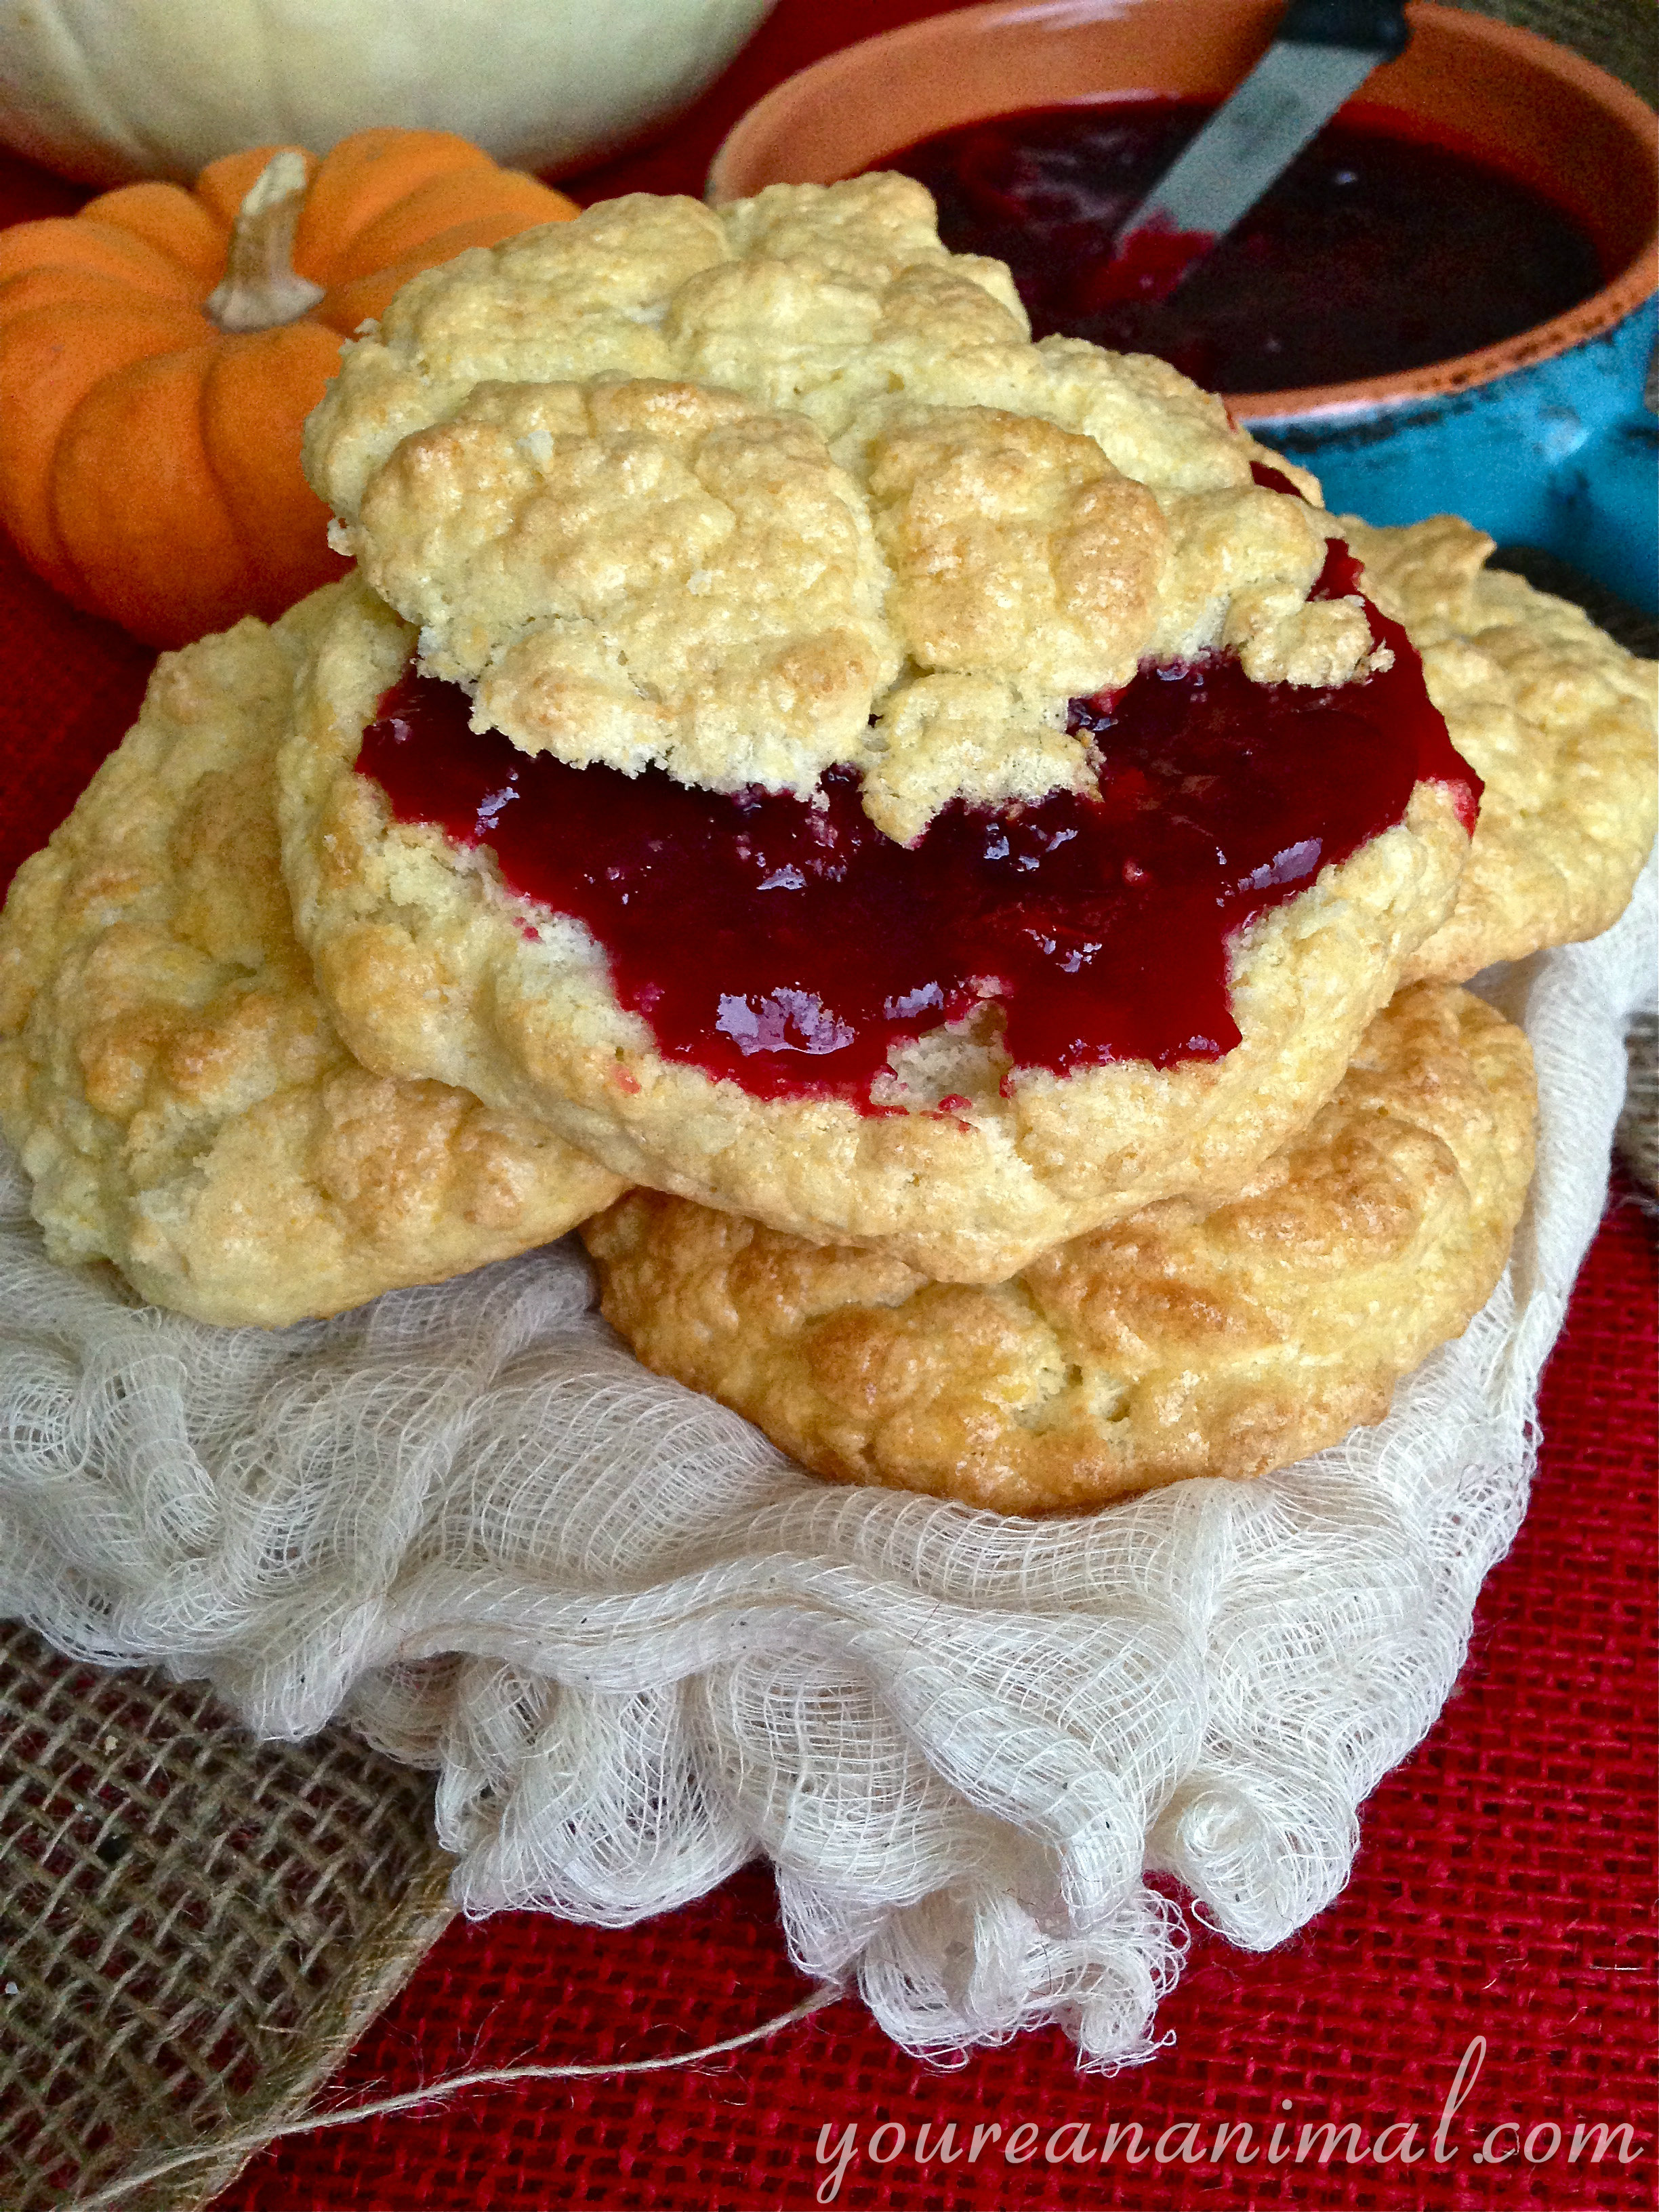
    thanksgiving43 Thanksgiving is such a wonderful day. No presents, no pressure, just an abundance of food and family. But Thanksgiving can be a minefield of gluten-filled carbs, and sugar-overload. So in this series of "Thanksgiving Cleaned Up," I've taken some classic Thanksgiving staple foods and made them a little bit less detrimental. You can check out my other posts, Sweet Potato Casserole, Garlic Kale Mashed Potatoes, and Pinot Noir Cranberry Sauce and have yourself a slightly less guilty, but certain not less hearty, Thanksgiving feast! Wonderful additions to this series would be my Autumn Salad and my Grain-Free Pumpkin Bread! thanksgiving6 These biscuits are super easy to make (although they do require a little bit of clean up), and I pretty much always have the ingredients on hand. For that reason, they have become a weekend brunch go-to in our house. But they also fit right in while traditional Thanksgiving fare! I adapted this recipe from this one by Paleo Comfort Foods. I tried the original recipe first, but they tasted too coconutty, and crumbled way too easily. So I changed the flour combo, and they turned out perfectly. Slightly flaky, insanely buttery, with pockets to hold your jelly :) Or in this case, Pinot Noir Cranberry Sauce! thanksgiving15 Grain-Free Drop Biscuits

    • 4 eggs, yolks and whites divided (place your egg white in a large mixing bowl, and your yolks in a small bowl off to the side)
    • 1/4 cup coconut flour
    • 2 Tbsp arrowroot starch
    • 2 Tbsp potato starch
    • 1/2 tsp cream of tartar
    • 1/2 tsp baking soda
    • 4 Tbsp cold butter
    1. Preheat oven to 400 degrees F and line a baking sheet with parchment paper.
    2. In a medium sized mixing bowl, combine your dry ingredients (coconut flour, arrowroot, potato starch, cream of tartar and baking soda)
    3. To your dry ingredients, cut in your cold butter. This is like making a pastry or pie crust. You can use a pastry cutter, but I just quickly use my hands to combine the butter with the dry ingredients, until the butter is in pea-sized bits. Place this flour/butter combo in the fridge so it stays cold.
    4. Using an electric mixer, beat the egg whites until they become a foam. Continue to beat until soft peaks form at the end of your beaters when you remove it from the mixture.
    5. Carefully fold your egg yolks into your egg white mixture using a rubber spatula, until no streaks remain and the mixture is a solid, light yellow color. The whites will lose a little volume, but should still be pretty fluffy.
    6. Fold in your flour and butter mixture with your rubber spatula, again being careful to mix thoroughly without losing too much volume in the egg whites. The batter will be runny, like a cake batter.
    7. Spoon the batter onto the parchment paper into 4 equal drops. Give each biscuit space, as they will expand while baking. Do not flatten them out, just leave them in the shape in which they drop on the parchment.
    8. Bake the biscuits for 12-17 minutes, or until they have risen and are golden brown on top.
    9. Serve hot.
    Makes 4 large biscuits. thanksgiving73    

  • Pinot Noir Cranberry Sauce: Thanksgiving Cleaned Up Part 3

    Pinot Noir Cranberry Sauce: Thanksgiving Cleaned Up Part 3

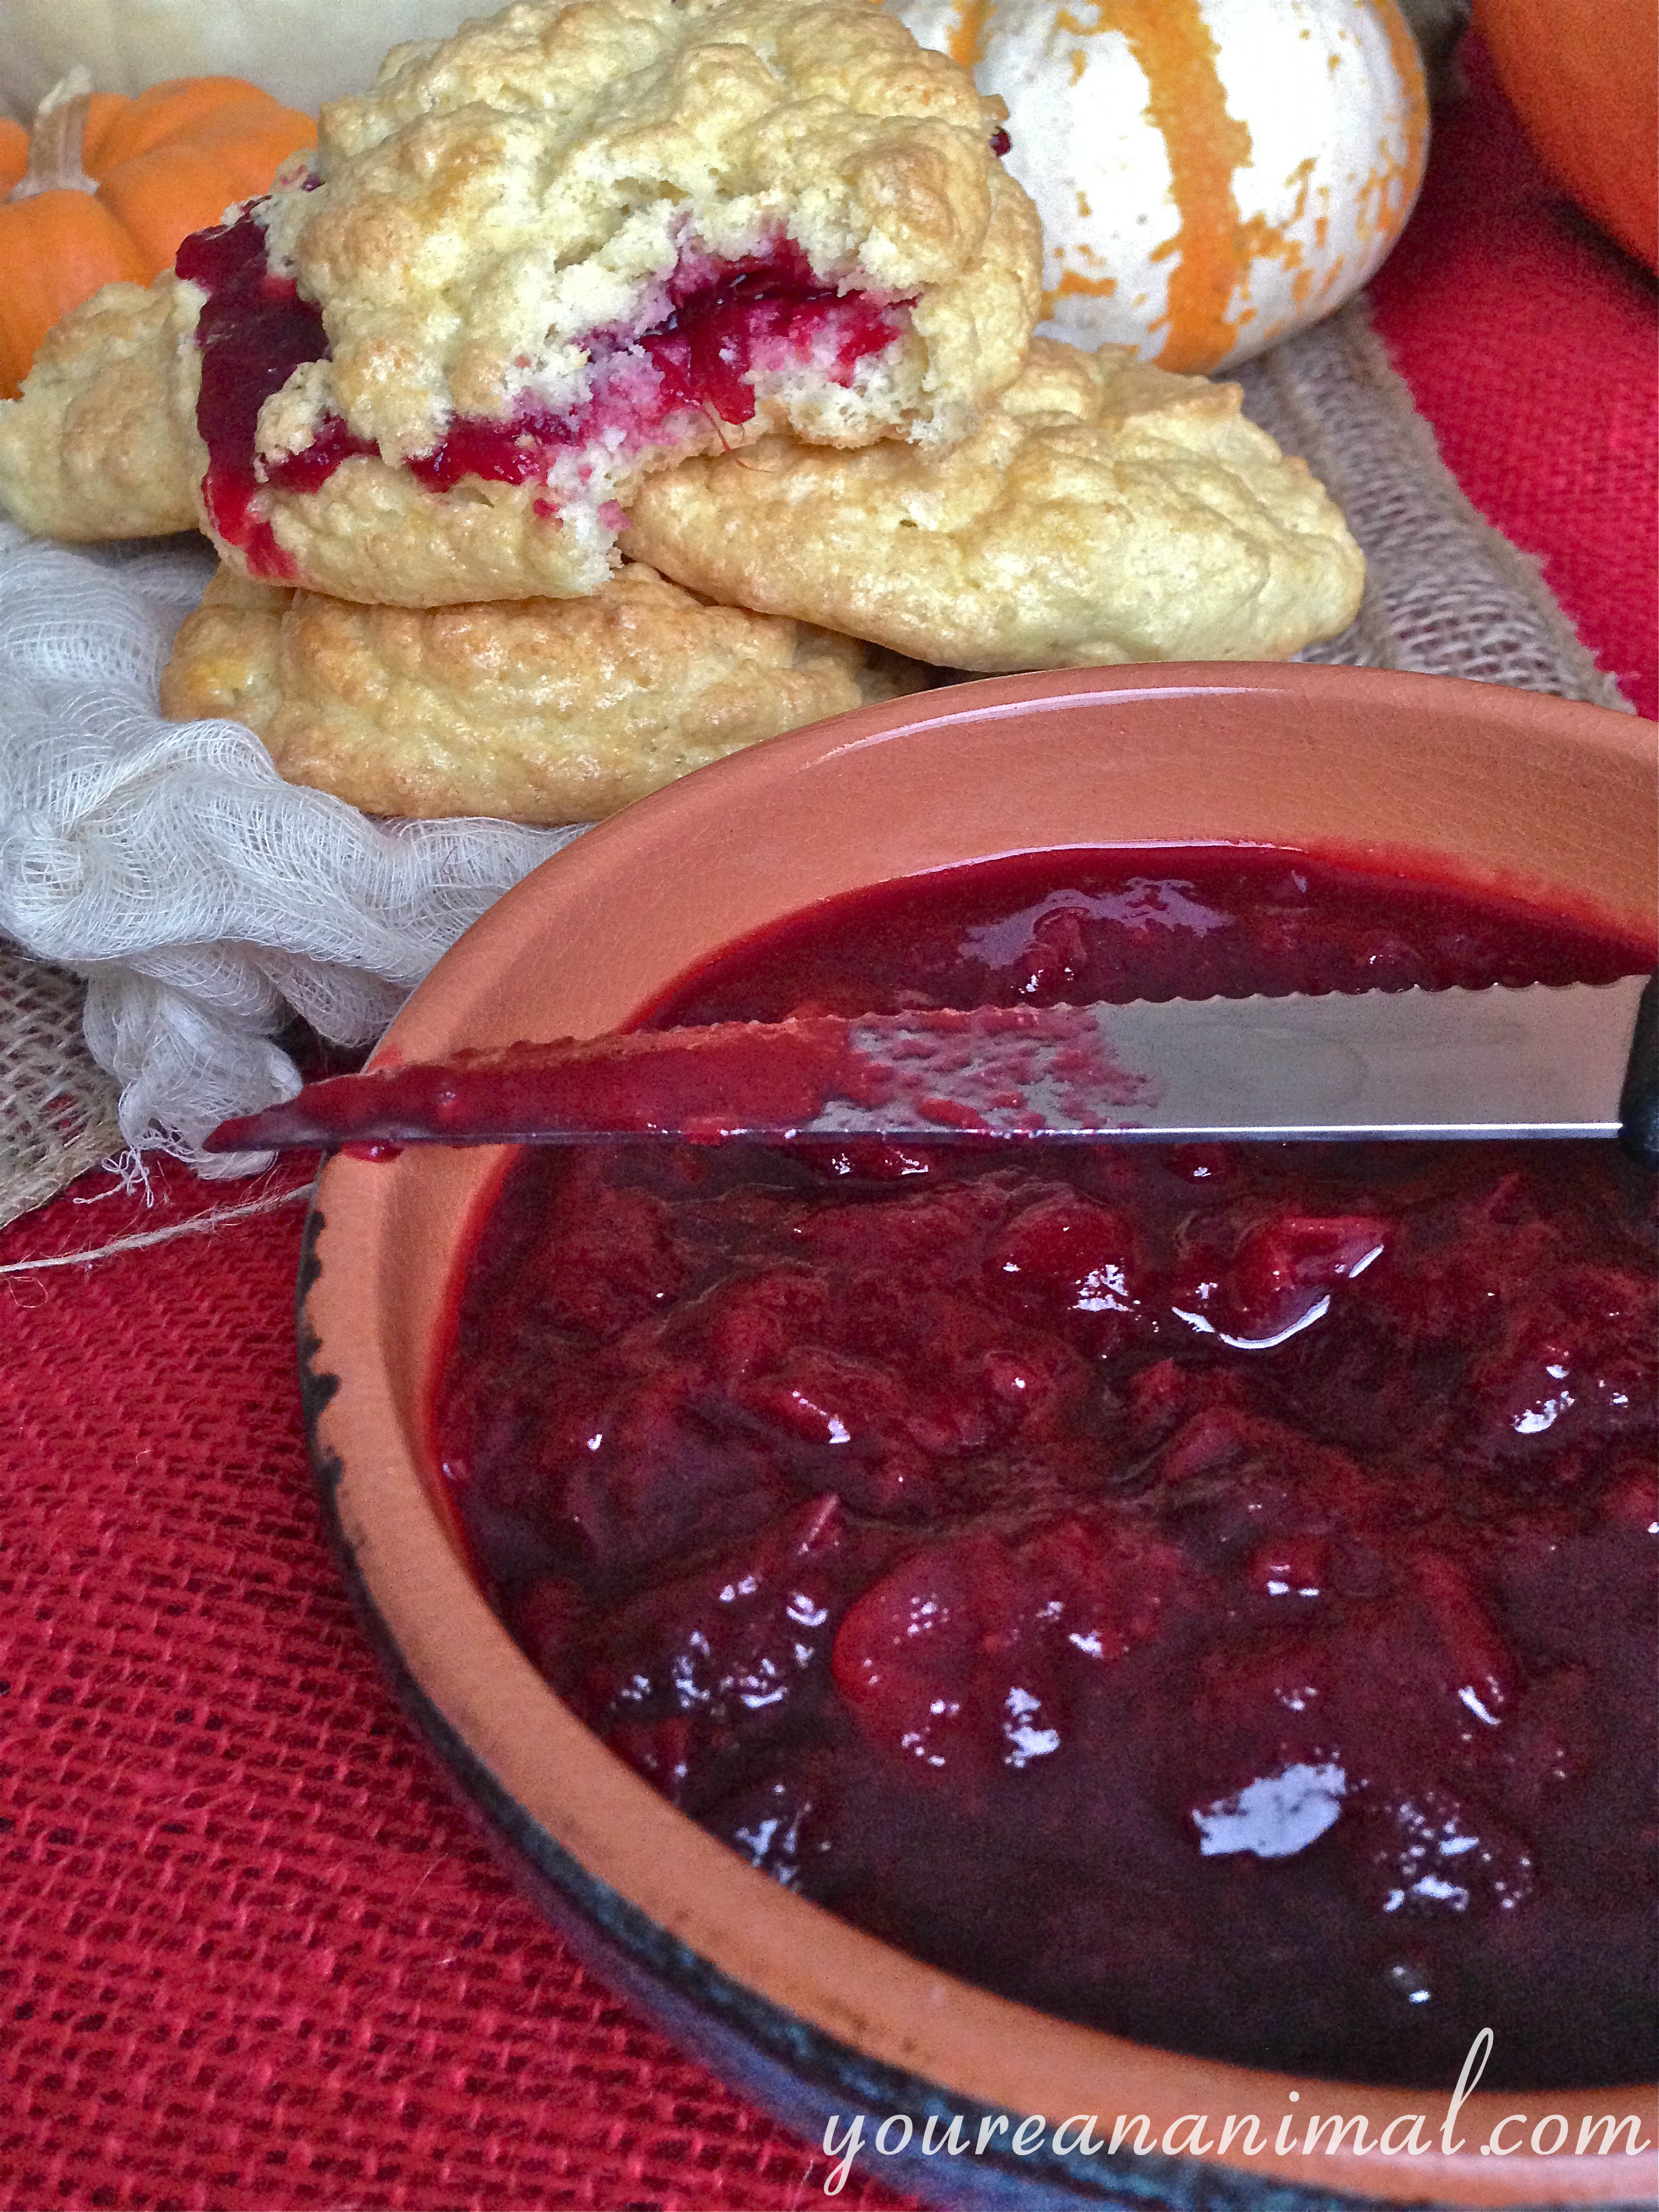
    thanksgiving47 Thanksgiving is such a wonderful day. No presents, no pressure, just an abundance of food and family. But Thanksgiving can be a minefield of gluten-filled carbs, and sugar-overload. So in this series of "Thanksgiving Cleaned Up," I've taken some classic Thanksgiving staple foods and made them a little bit less detrimental. You can check out my other posts, Sweet Potato Casserole, Garlic Kale Mashed Potatoes, and Grain-Free Drop Biscuits and have yourself a slightly less guilty, but certain not less hearty, Thanksgiving feast! Wonderful additions to this series would be my Autumn Salad and my Grain-Free Pumpkin Bread! thanksgiving6 Cranberry sauce is not something I've ever really been able to get into. Don't get me wrong, we always had it on the table, but something about it's square/canned jelly shape really turned me away. But I know it's a traditional staple, and it's a fruit sauce, so I knew I had to be able to figure out a recipe that I would actually enjoy. From what I understand (I've never eaten it, remember?) people put this on whatever they want... meat, biscuits, spoons, anything. Same goes for this sauce. It's more on the tart side, so it would go well on meat, but it's sweet enough to eat on a biscuit which is exactly what I did. The wine gives it such a wonderfully rich flavor, this stuff is hard to pass up. thanksgiving66 Pinot Noir Cranberry Sauce

    • 6 oz of fresh, organic cranberries
    • 1/2 cup of Pinot Noir
    • 1/2 cup of orange juice
    • 1/2 cup maple syrup or unfiltered honey
    • 1 Tbsp lemon juice
    1. Add all your ingredients to a medium sauce pan, and heat over medium to medium-high heat, until the mixture just starts to boil.
    2. Continue to stir over heat, until the cranberries start to burst.
    3. Using the back of a spoon, or a potato masher, smash the cranberries into a paste, continuing to stir.
    4. Allow the mixture to sit over heat, bubbling slightly, and the sauce will start to thicken.
    5. Stir occasionally, and continue to allow the sauce to thicken until it is a thick, syrupy consistency.
    6. Transfer to a serving vessel and serve.
    Makes about 1 cup of sauce. thanksgiving73    

  • Garlic Kale Mashed Potatoes: Thanksgiving Cleaned Up Part 2

    Garlic Kale Mashed Potatoes: Thanksgiving Cleaned Up Part 2

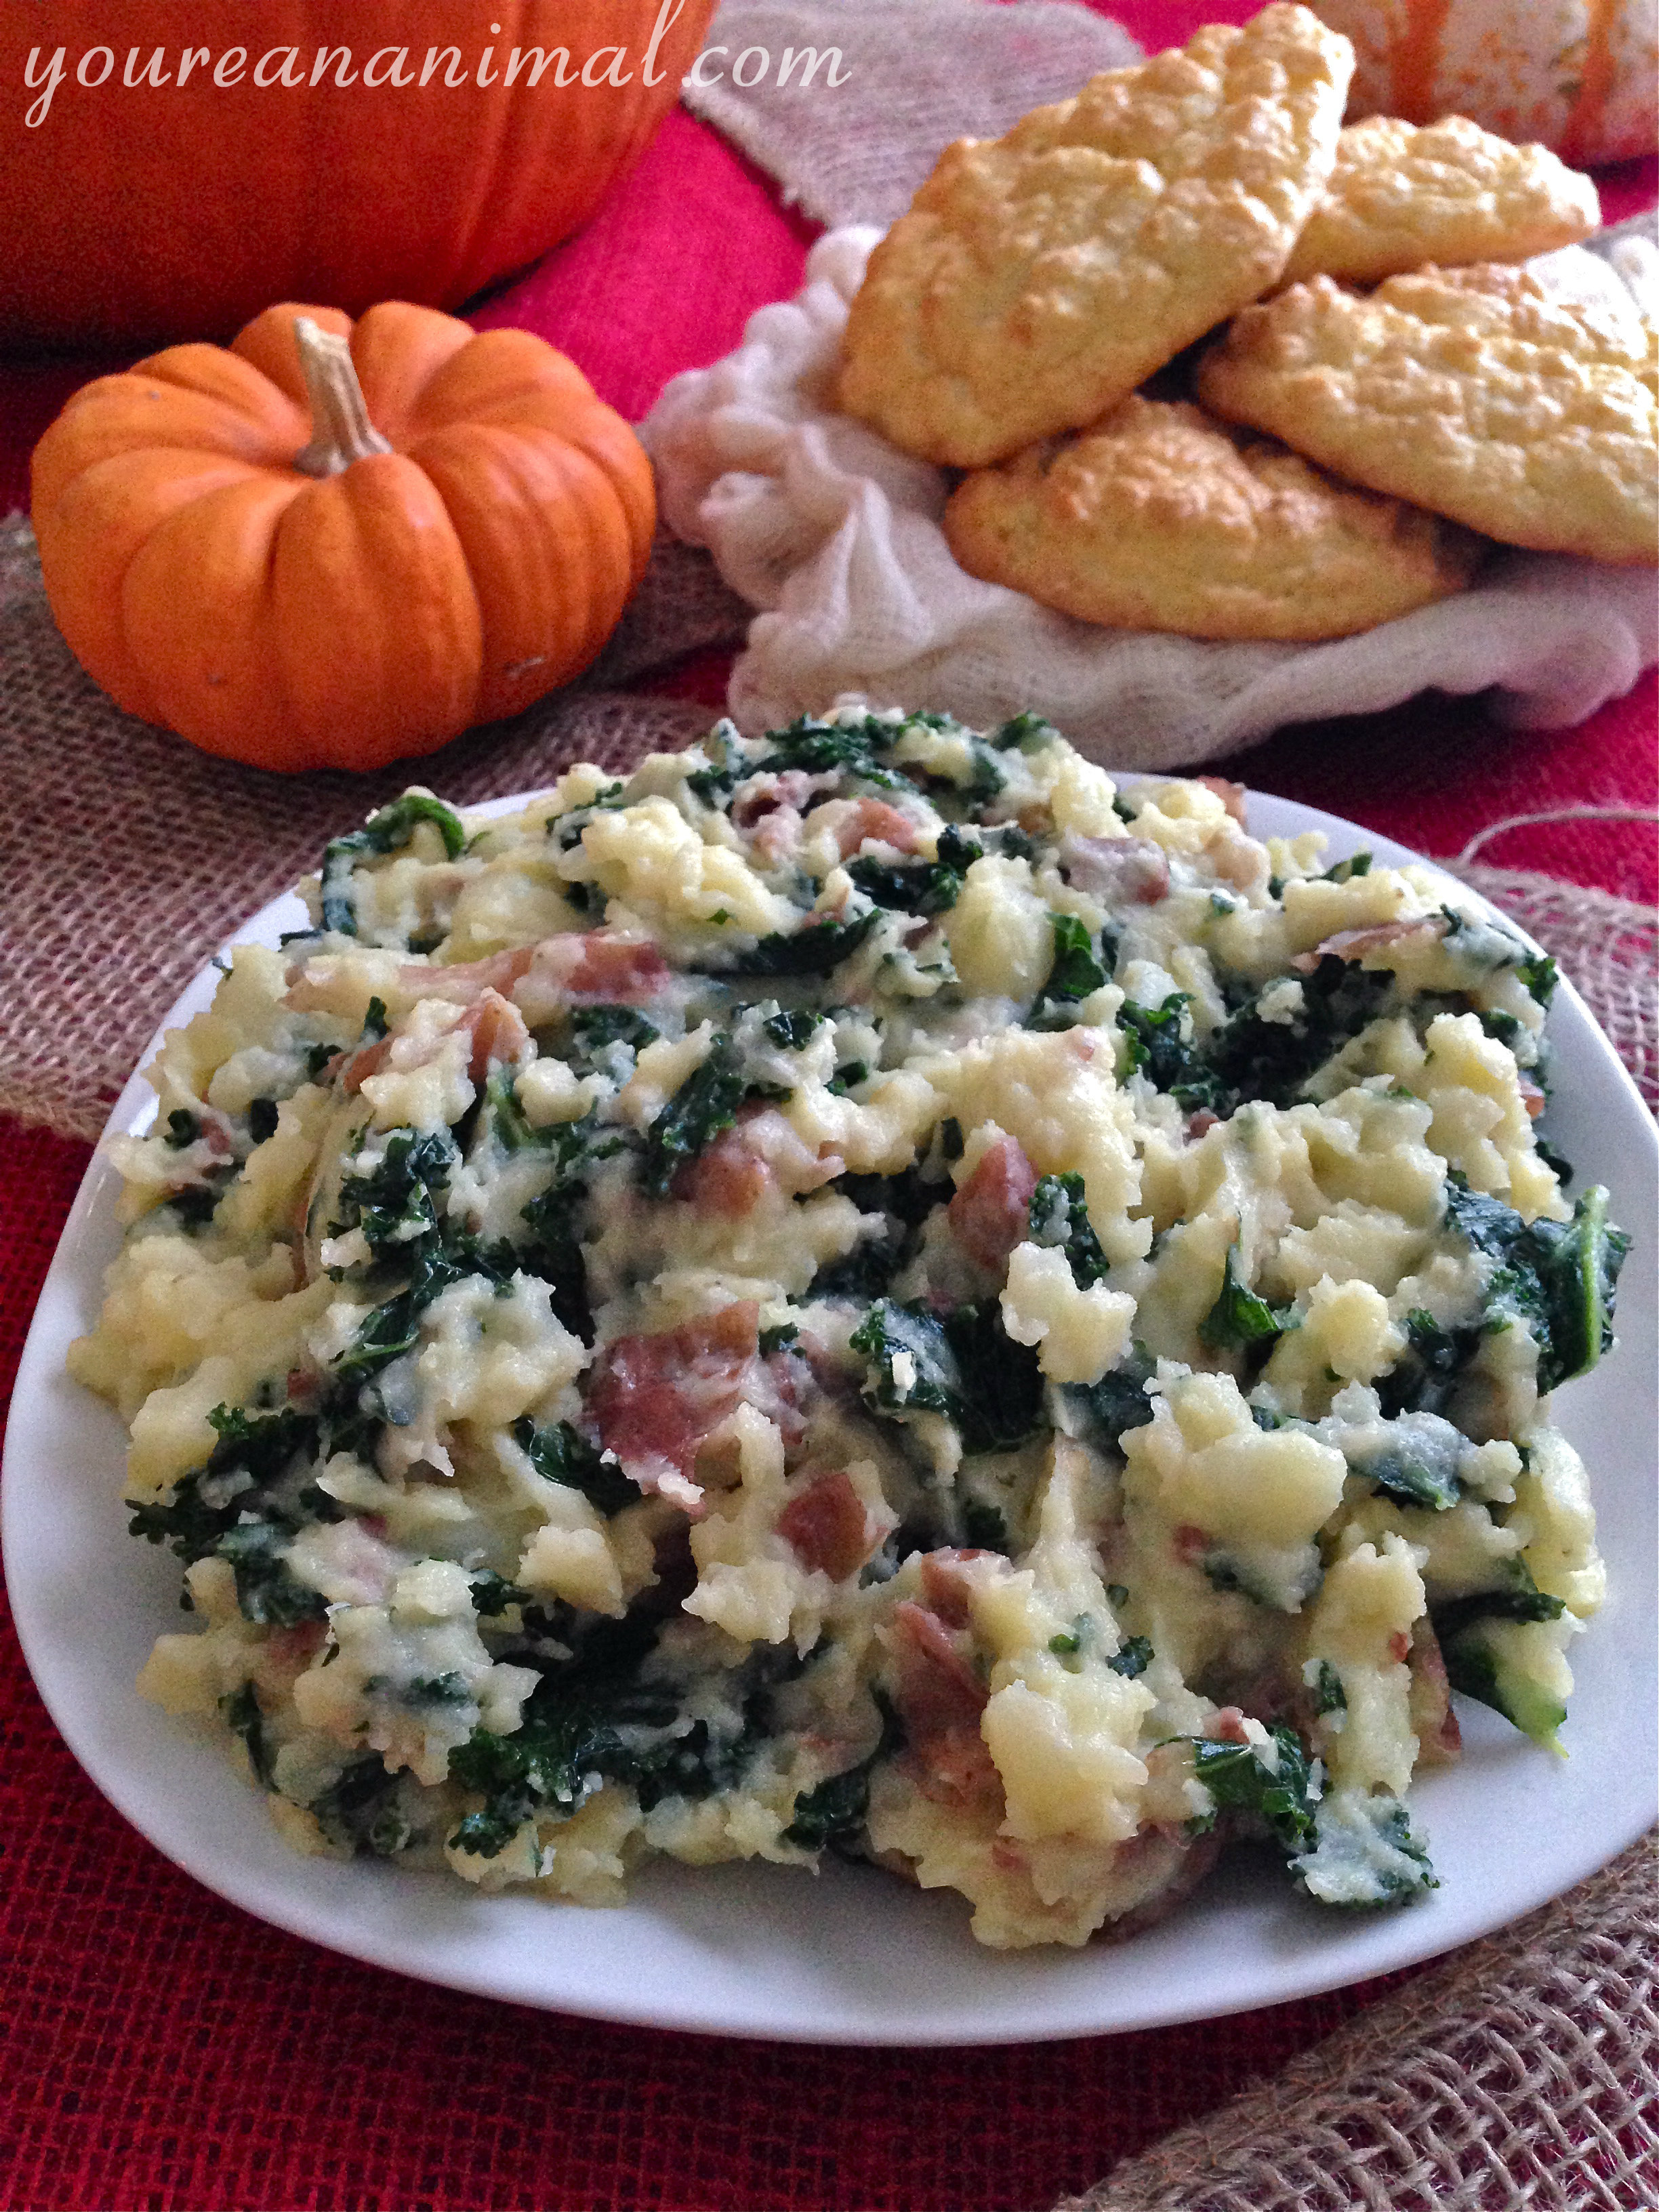
    thanksgiving63 Thanksgiving is such a wonderful day. No presents, no pressure, just an abundance of food and family. But Thanksgiving can be a minefield of gluten-filled carbs, and sugar-overload. So in this series of "Thanksgiving Cleaned Up," I've taken some classic Thanksgiving staple foods and made them a little bit less detrimental. You can check out my other posts, Sweet Potato Casserole, Pinot Noir Cranberry Sauce, and Grain-Free Drop Biscuits and have yourself a slightly less guilty, but certain not less hearty, Thanksgiving feast! Wonderful additions to this series would be my Autumn Salad and my Grain-Free Pumpkin Bread! thanksgiving6 This is my favorite part of Thanksgiving: mashed potatoes. But sometimes it's hard to feel like it's okay eating an entire plateful (just me?). That is, until you add kale. Add kale and you can eat the entire pot. Those are my rules, and I'm sticking to them. These mashed potatoes are probably some of the best I've ever had. As I was mashing them up, I kept sneaking bites. Before I even took pictures of it, I'd probably eaten a few spoonfuls. Oh and they were gone by the end of the day. And like I said, totally not even feeling guilty because that means I ate a bunch of green goodness as well. These potatoes are everything you want from your comfort food friend, and then some. Bring this one to your Thanksgiving potluck and tell people to eat freely because it's healthy (healthier...)! Garlic Kale Mashed Potatoes

    • 2 lbs of red potatoes, chopped into 1 inch chunks
    • 2 large leaves of kale, chopped (about 4 cups)
    • 2 cloves of garlic, minced (Hey, learn how to prepare and maximize the benefits of garlic here!)
    • 2 Tbsp olive oil
    • 3 Tbsp grass-fed butter (I use Kerrygold)
    • 1/4 cup Parmesan cheese
    • salt, pepper, and red pepper flakes to taste
    1. In 3-4 quarts of water, boil your chopped potatoes until fork tender (about 20 minutes)
    2. While the potatoes are boiling, add your olive oil, minced garlic, salt, pepper, and red pepper flakes to a saute pan over medium heat. Allow the garlic to cook and flavor the oil until just slightly golden.
    3. To the oil mixture, add the chopped kale to the saute pan. Allow the kale to wilt and cook down, until it is completely shrunk down in size and wilted.
    4. Drain the potatoes, and add them back to the now empty pot that they cooked in. Add the kale and flavored oil to the potatoes. Using a fork or potatoes masher, mash the potatoes until smooth and combined the kale and flavored oil into the potatoes.
    5. Add the butter and Parmesan to the mashed potato mixture. Again, mix until melted and combined.
    6. Serve hot.
    Makes about 4-6 servings of potatoes.  

  • Sweet Potato Casserole: Thanksgiving Cleaned Up Part 1

    Sweet Potato Casserole: Thanksgiving Cleaned Up Part 1

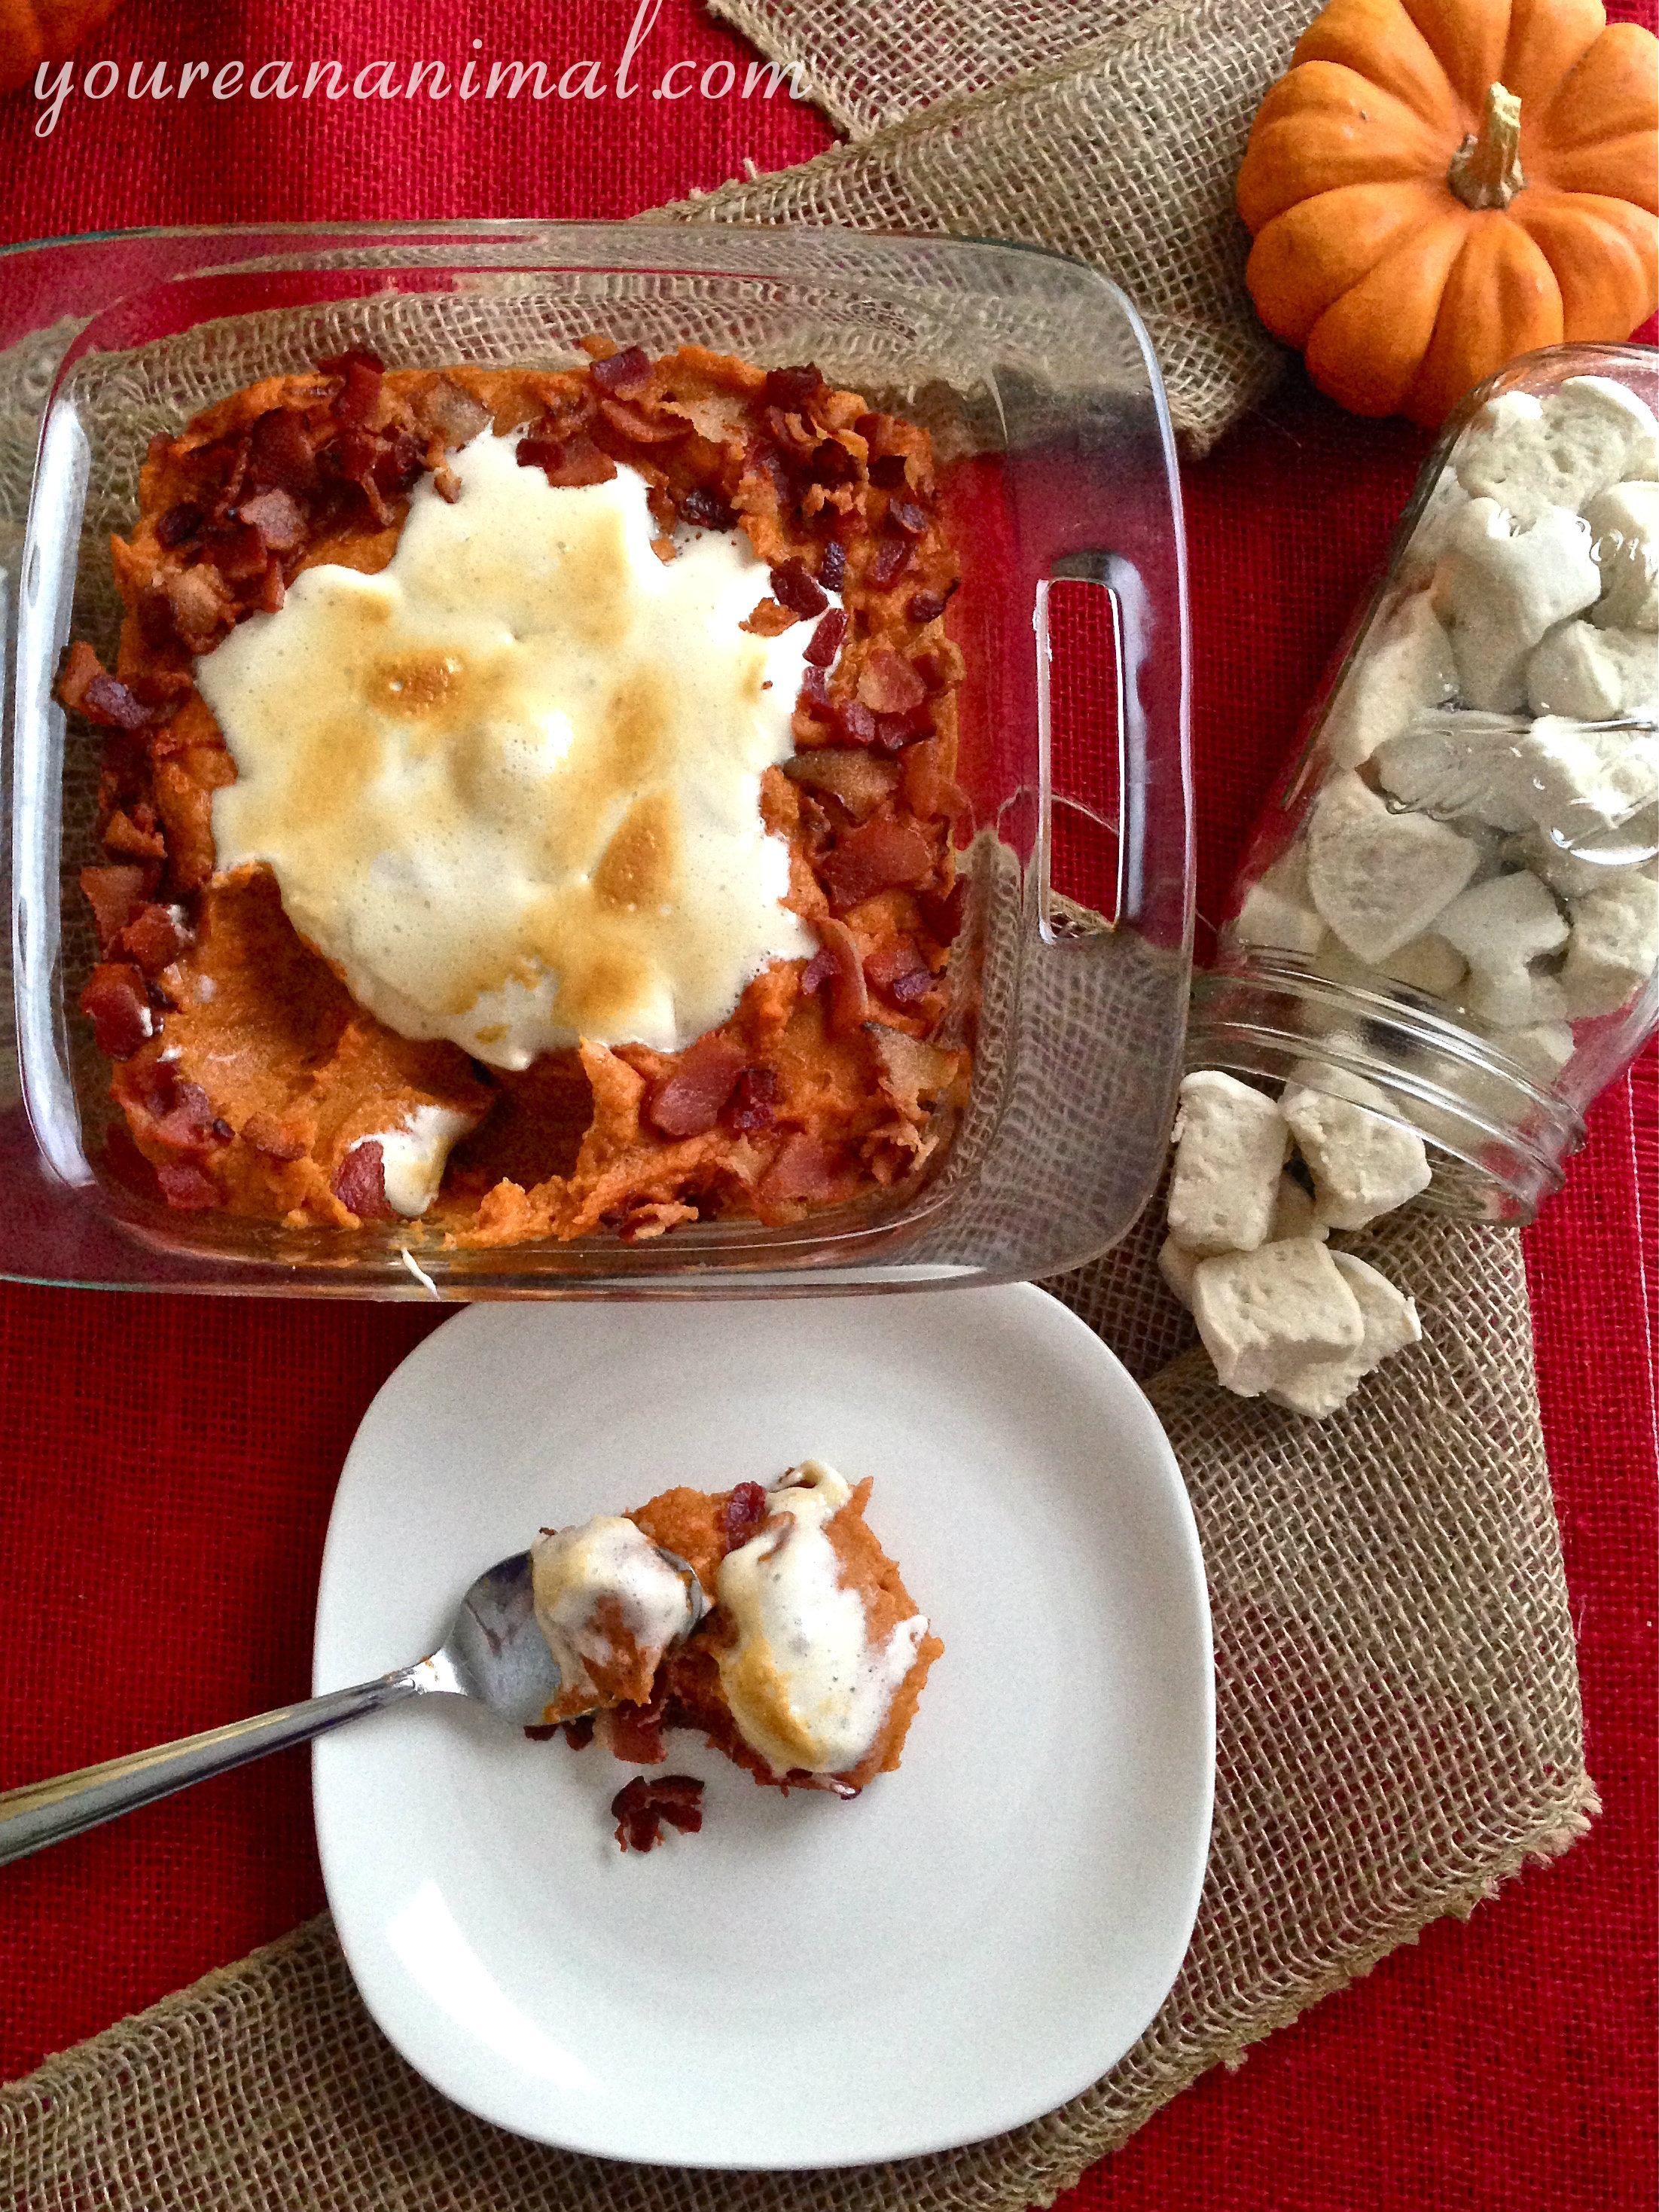
    thanksgiving93 Thanksgiving is such a wonderful day. No presents, no pressure, just an abundance of food and family. But Thanksgiving can be a minefield of gluten-filled carbs, and sugar-overload. So in this series of "Thanksgiving Cleaned Up," I've taken some classic Thanksgiving staple foods and made them a little bit less detrimental. You can check out my other posts, Garlic Kale Mashed Potatoes, Pinot Noir Cranberry Sauce, and Grain-Free Drop Biscuits and have yourself a slightly less guilty, but certain not less hearty, Thanksgiving feast! Wonderful additions to this series would be my Autumn Salad and my Grain-Free Pumpkin Bread! thanksgiving6 I'm starting this series off with dessert. Gotta eat dessert first ;). I know the classic dessert for Thanksgiving is pumpkin pie, but I don't actually particularly like pie (except Key Lime... I know, apparently there's something wrong with me.) So this "dessert" substitute is something we always had on our Thanksgiving table growing up: Sweet Potato Casserole. Complete with the toasted marshmallows, because that's a must-have element. I also added some bacon, because everything is better with bacon and this is no exception. No added sugar to the potatoes because sweet potatoes are just that: sweet. And the marshmallows already add that little extra sugar. The sweet, spicy and salty combo is perfect to round out your Thanksgiving table for dessert, with your meal, or as a pre-feast snack... I won't tell! Sweet Potato Casserole

    • 2 lbs of sweet potatoes, roasted and mashed
    • 1/2 cup coconut milk (from a can)
    • 1/2 tsp each of ground clove, ground nutmeg and ground ginger
    • 2 tsp of ground cinnamon
    • 2 Tbsp grass-fed butter (I use Kerrygold)
    • Homemade Marshmallows (about 1 cup)
    • 4 strips of bacon, cooked and crumbled
    1. Roast and mash your sweet potatoes. Transfer into a large mixing bowl.
    2. Add the butter, coconut milk, clove, nutmeg, ginger, and cinnamon to your sweet potatoes.
    3. Use an electric mixer to combine the ingredients, and whip until smooth.
    4. Transfer your potato mix to oven-safe bake ware (I used an 8x8 Pyrex dish)
    5. Dig out a hole in the middle of your potatoes. Add a handful of marshmallows in the hole.
    6. Place your potatoes with the marshmallows in the oven under broil, and allow the marshmallows to toast until golden brown.
    7. Remove from the oven, and sprinkle the crumbled bacon around the edges, around the marshmallow middle.
    8. Serve hot.
    Makes about 4-6 servings of potatoes.  

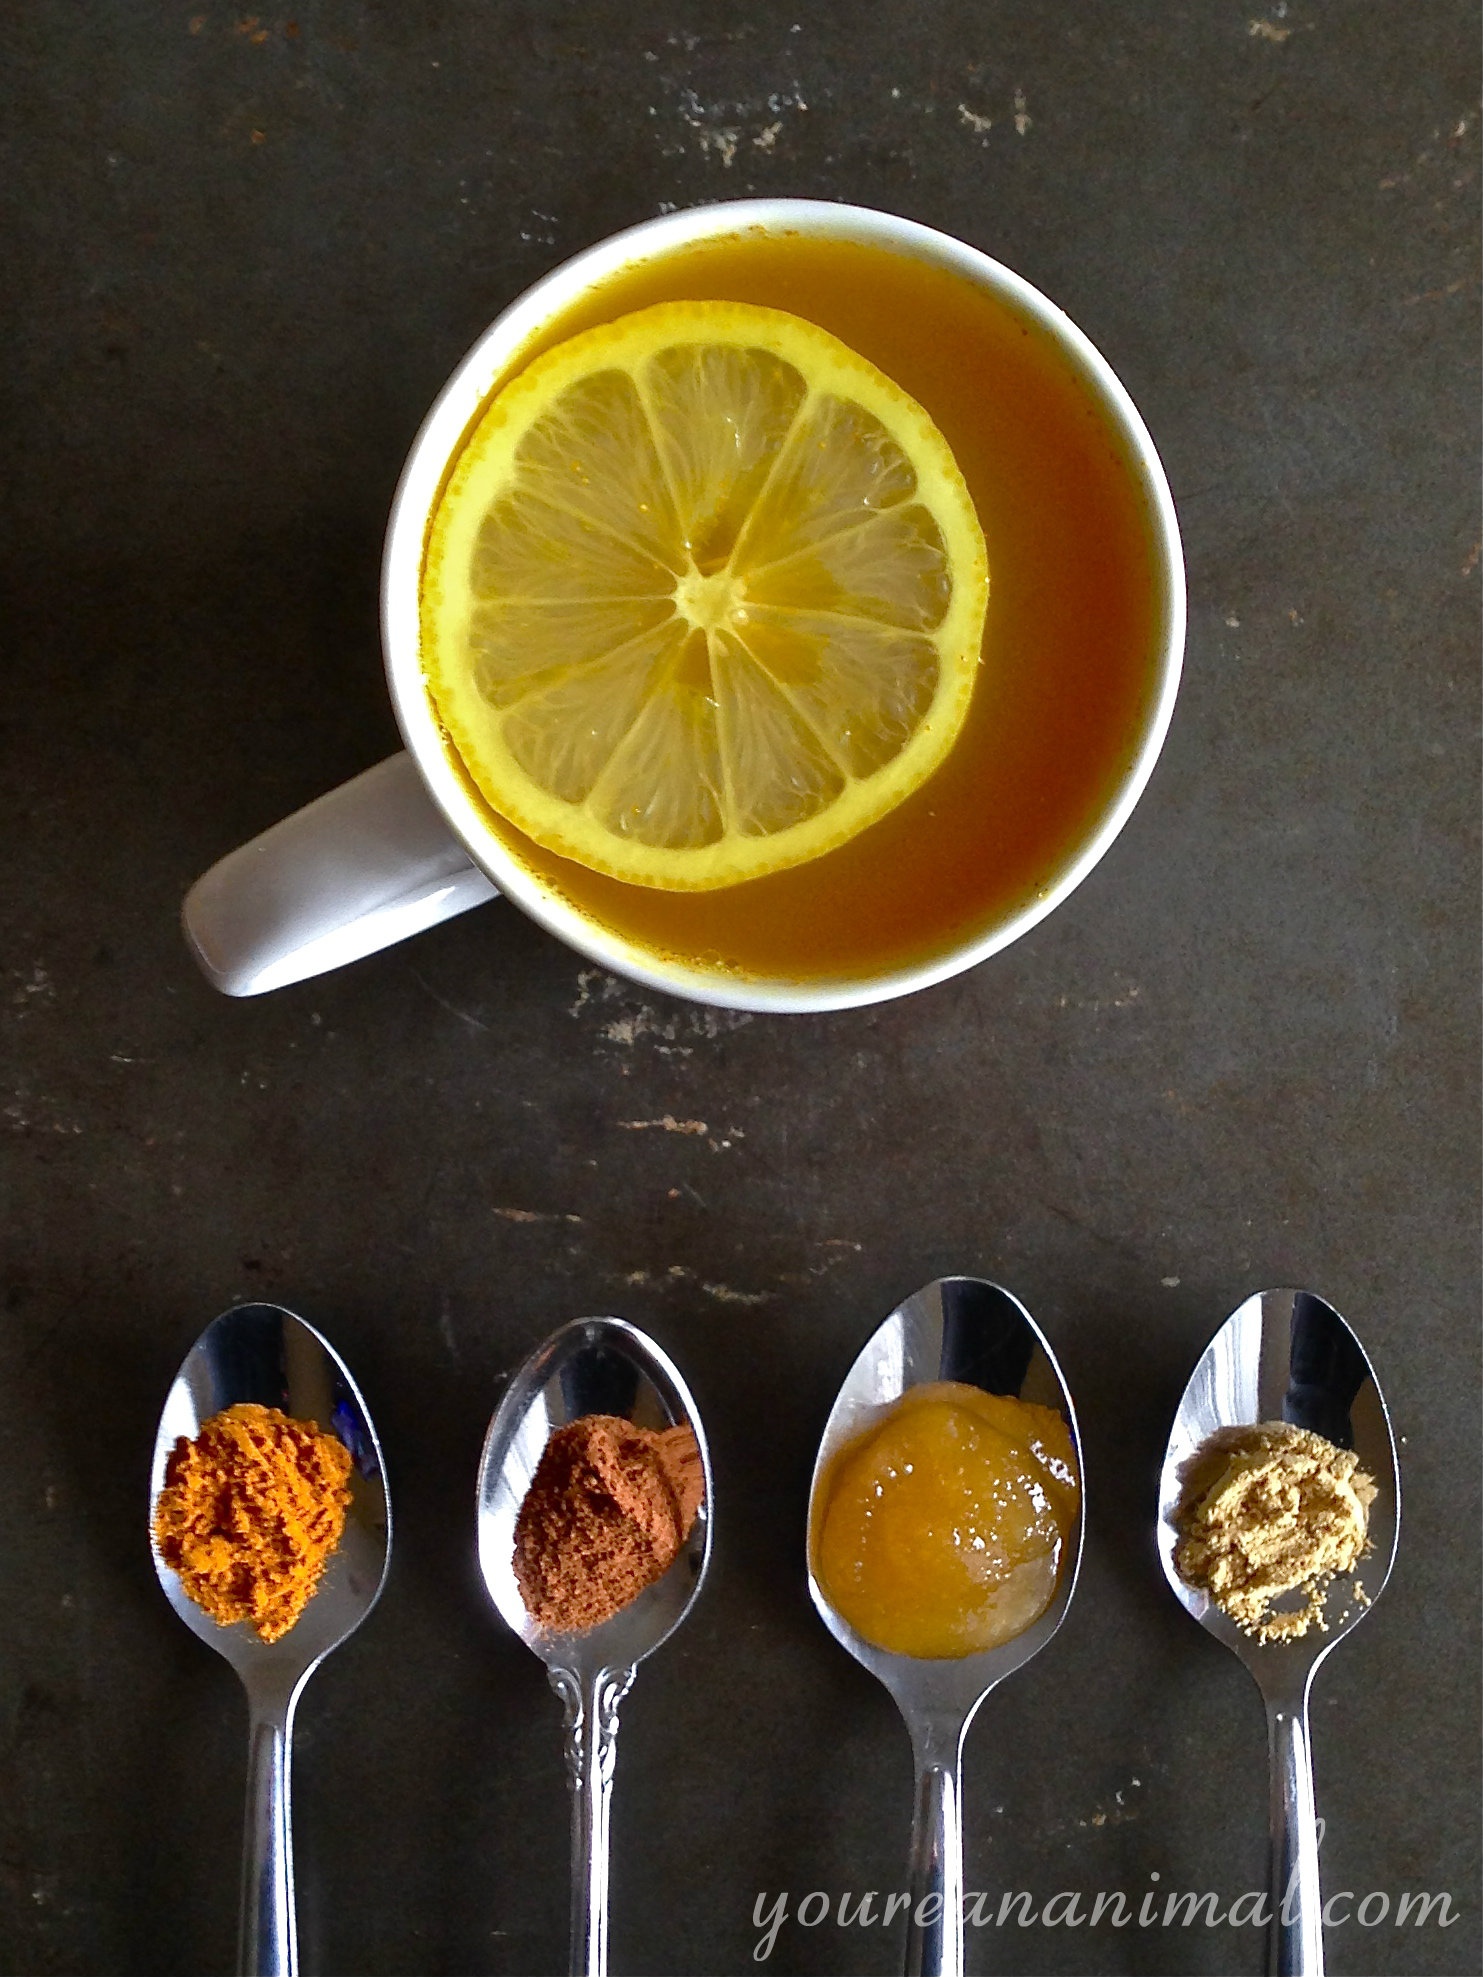
  • Anti-Inflammatory Turmeric Tea

    Anti-Inflammatory Turmeric Tea

    We've moved! turmerictea5  

    Ready to make a lifestyle change, but not sure where to begin? Check out our eBook, The Groundwork Guide: A Beginner's Guide to Basic Human Nutrition and Movement for Every Day Life! Learn more about our book by clicking here.

    Cover and Contents

  • Cinnamon Goat Cheese Stuffed Dates

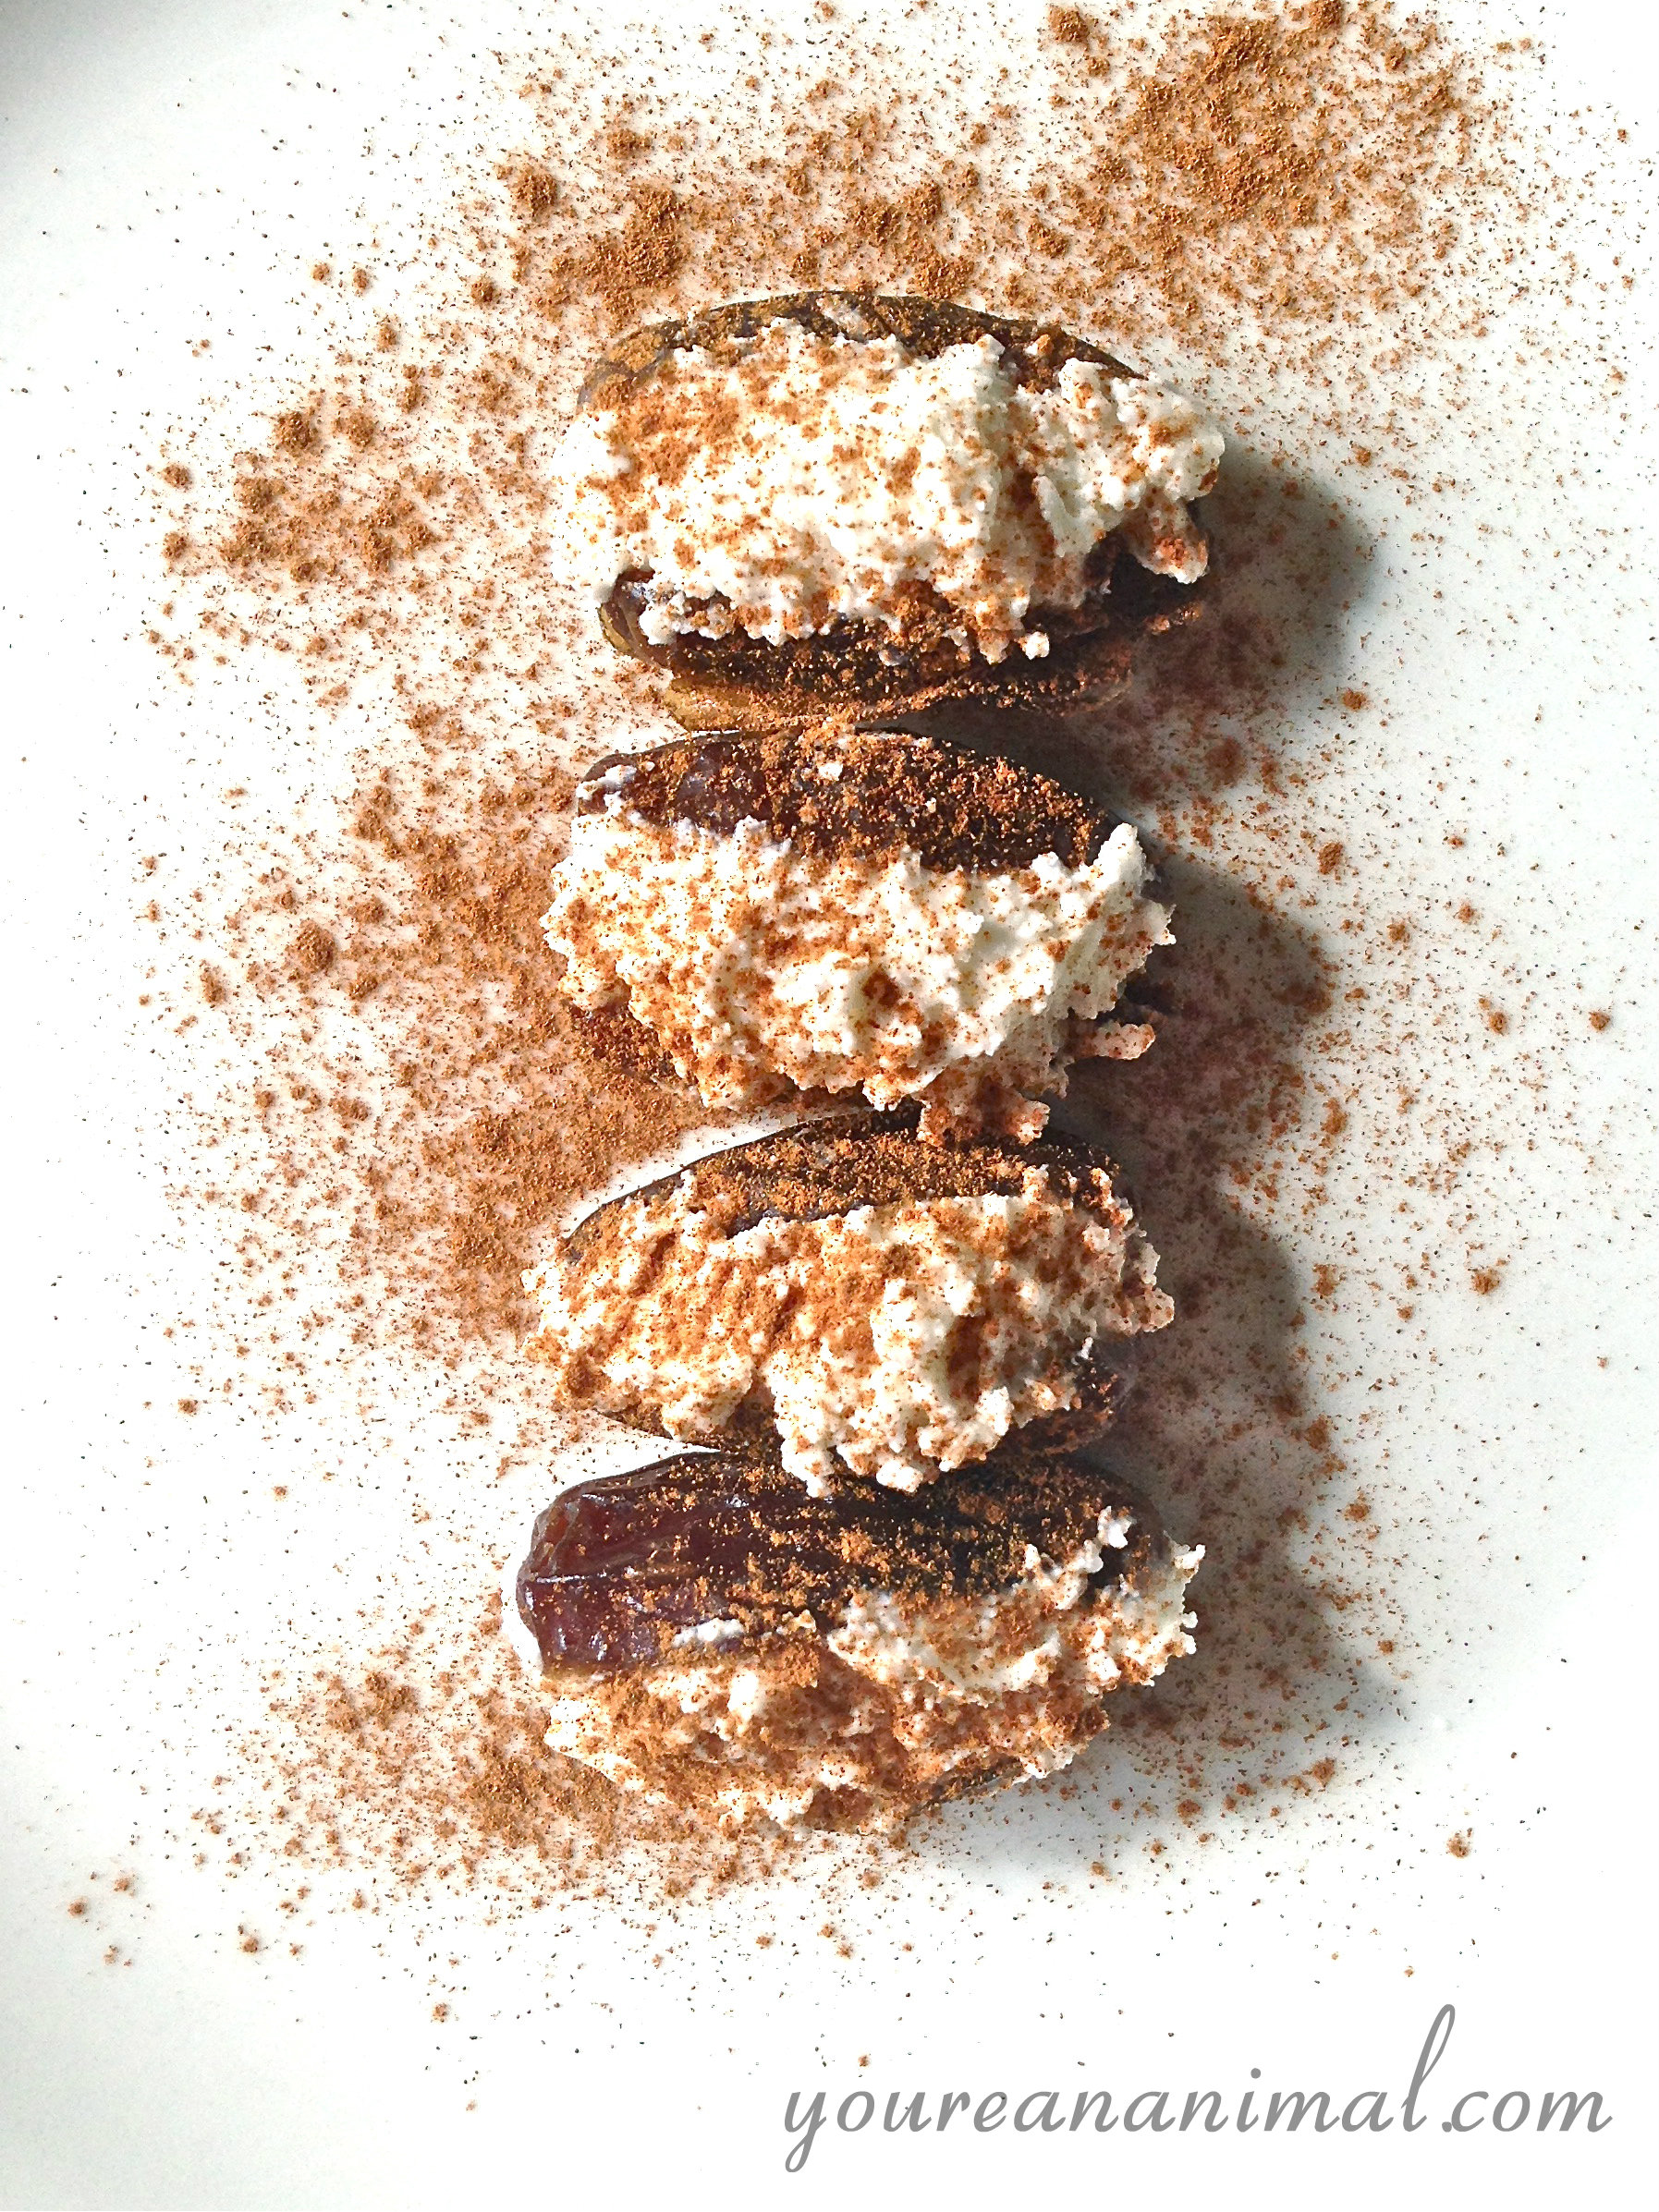
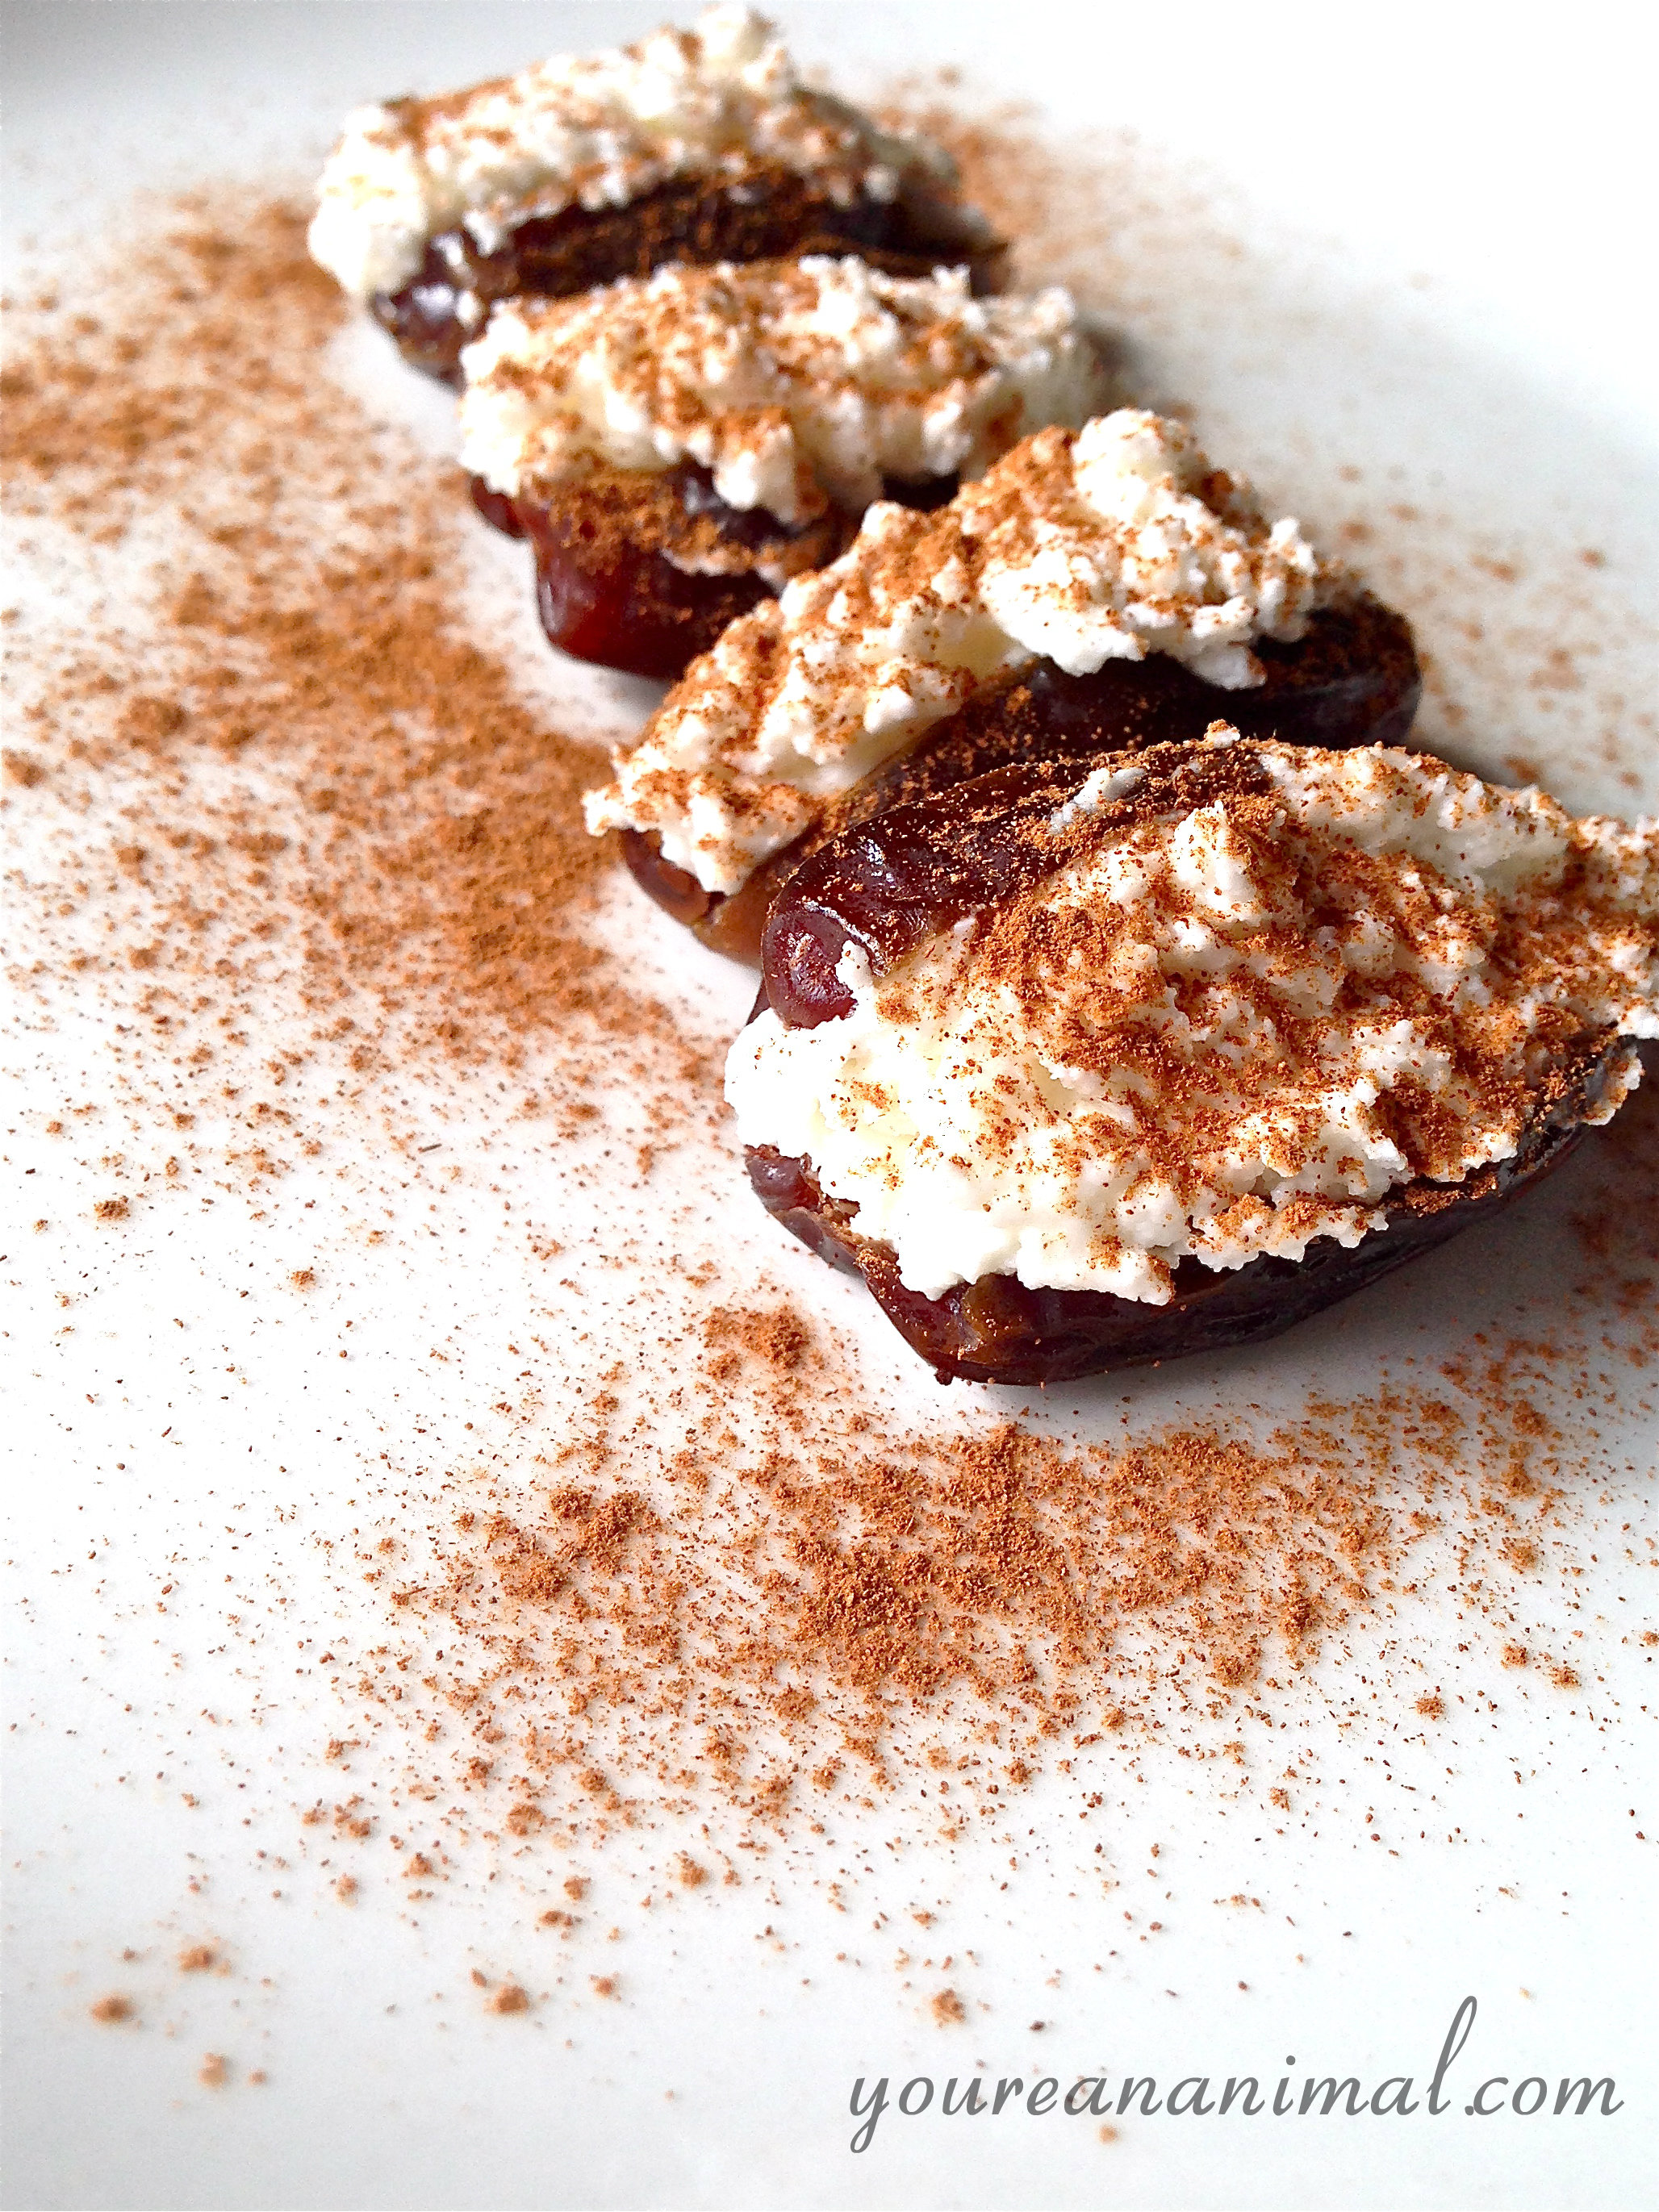
    Cinnamon Goat Cheese Stuffed Dates

    dates6 Okay, so this is more of a concept than a recipe since it's so simple, but it's a darn good concept at that! Vaguely reminiscent of a cinnamon roll (Andrew says my imagination was stretching on that one... maaaybe I just really wanted a cinnamon roll), this sweet treat is easy to whip up by the army-full. Just be careful, dates are only of the most sugar-filled fruits you can eat-- about 5 grams of sugar per date. And trust me, it would be easy to go wild with these. These sweet, creamy, spicy bites were part of my post-workout routine a couple of days ago (the other part included a big ol' hunk of grass-fed sirloin, ohhh yeahhhh), and they hit the spot perfectly. The slightly sour, creamy bite of the goat cheese pairs perfectly with the cloyingly sweet dates, and the cinnamon brings both flavors together perfectly for an addictive, small snack, appetizer or dessert. By the way, have you noticed a theme in the recipes lately? Lots of goat cheese... LOTS O' GOAT CHEESE. Our fridge and freezer has been filled with it lately, because a friend of Andrew's went out to a local goat farm and brought us back several tubs. I'm not complaining though, the stuff is amazingly fresh (straight from the source is always the best tasting!), and the exact consistency of ricotta but without the lactose and casein. Plus a lot of good stuff, like calcium. So, hang with me on the goat cheese recipes, I promise they will run out... eventually. Cinnamon Goat Cheese Stuffed Dates

    • 4 pitted dates
    • 1/4 cup soft goat cheese (like Chev)
    • cinnamon for dusting
    1. Using about 1 tbsp of goat cheese per date, use a butter knife to stuff the dates with the goat cheese.
    2. Dust the stuffed dates with cinnamon, or you can alternatively mix the cinnamon into the goat cheese prior to stuffing the dates.
    3. That's it.
    dates5  

  • Raw Brownie Energy Bites

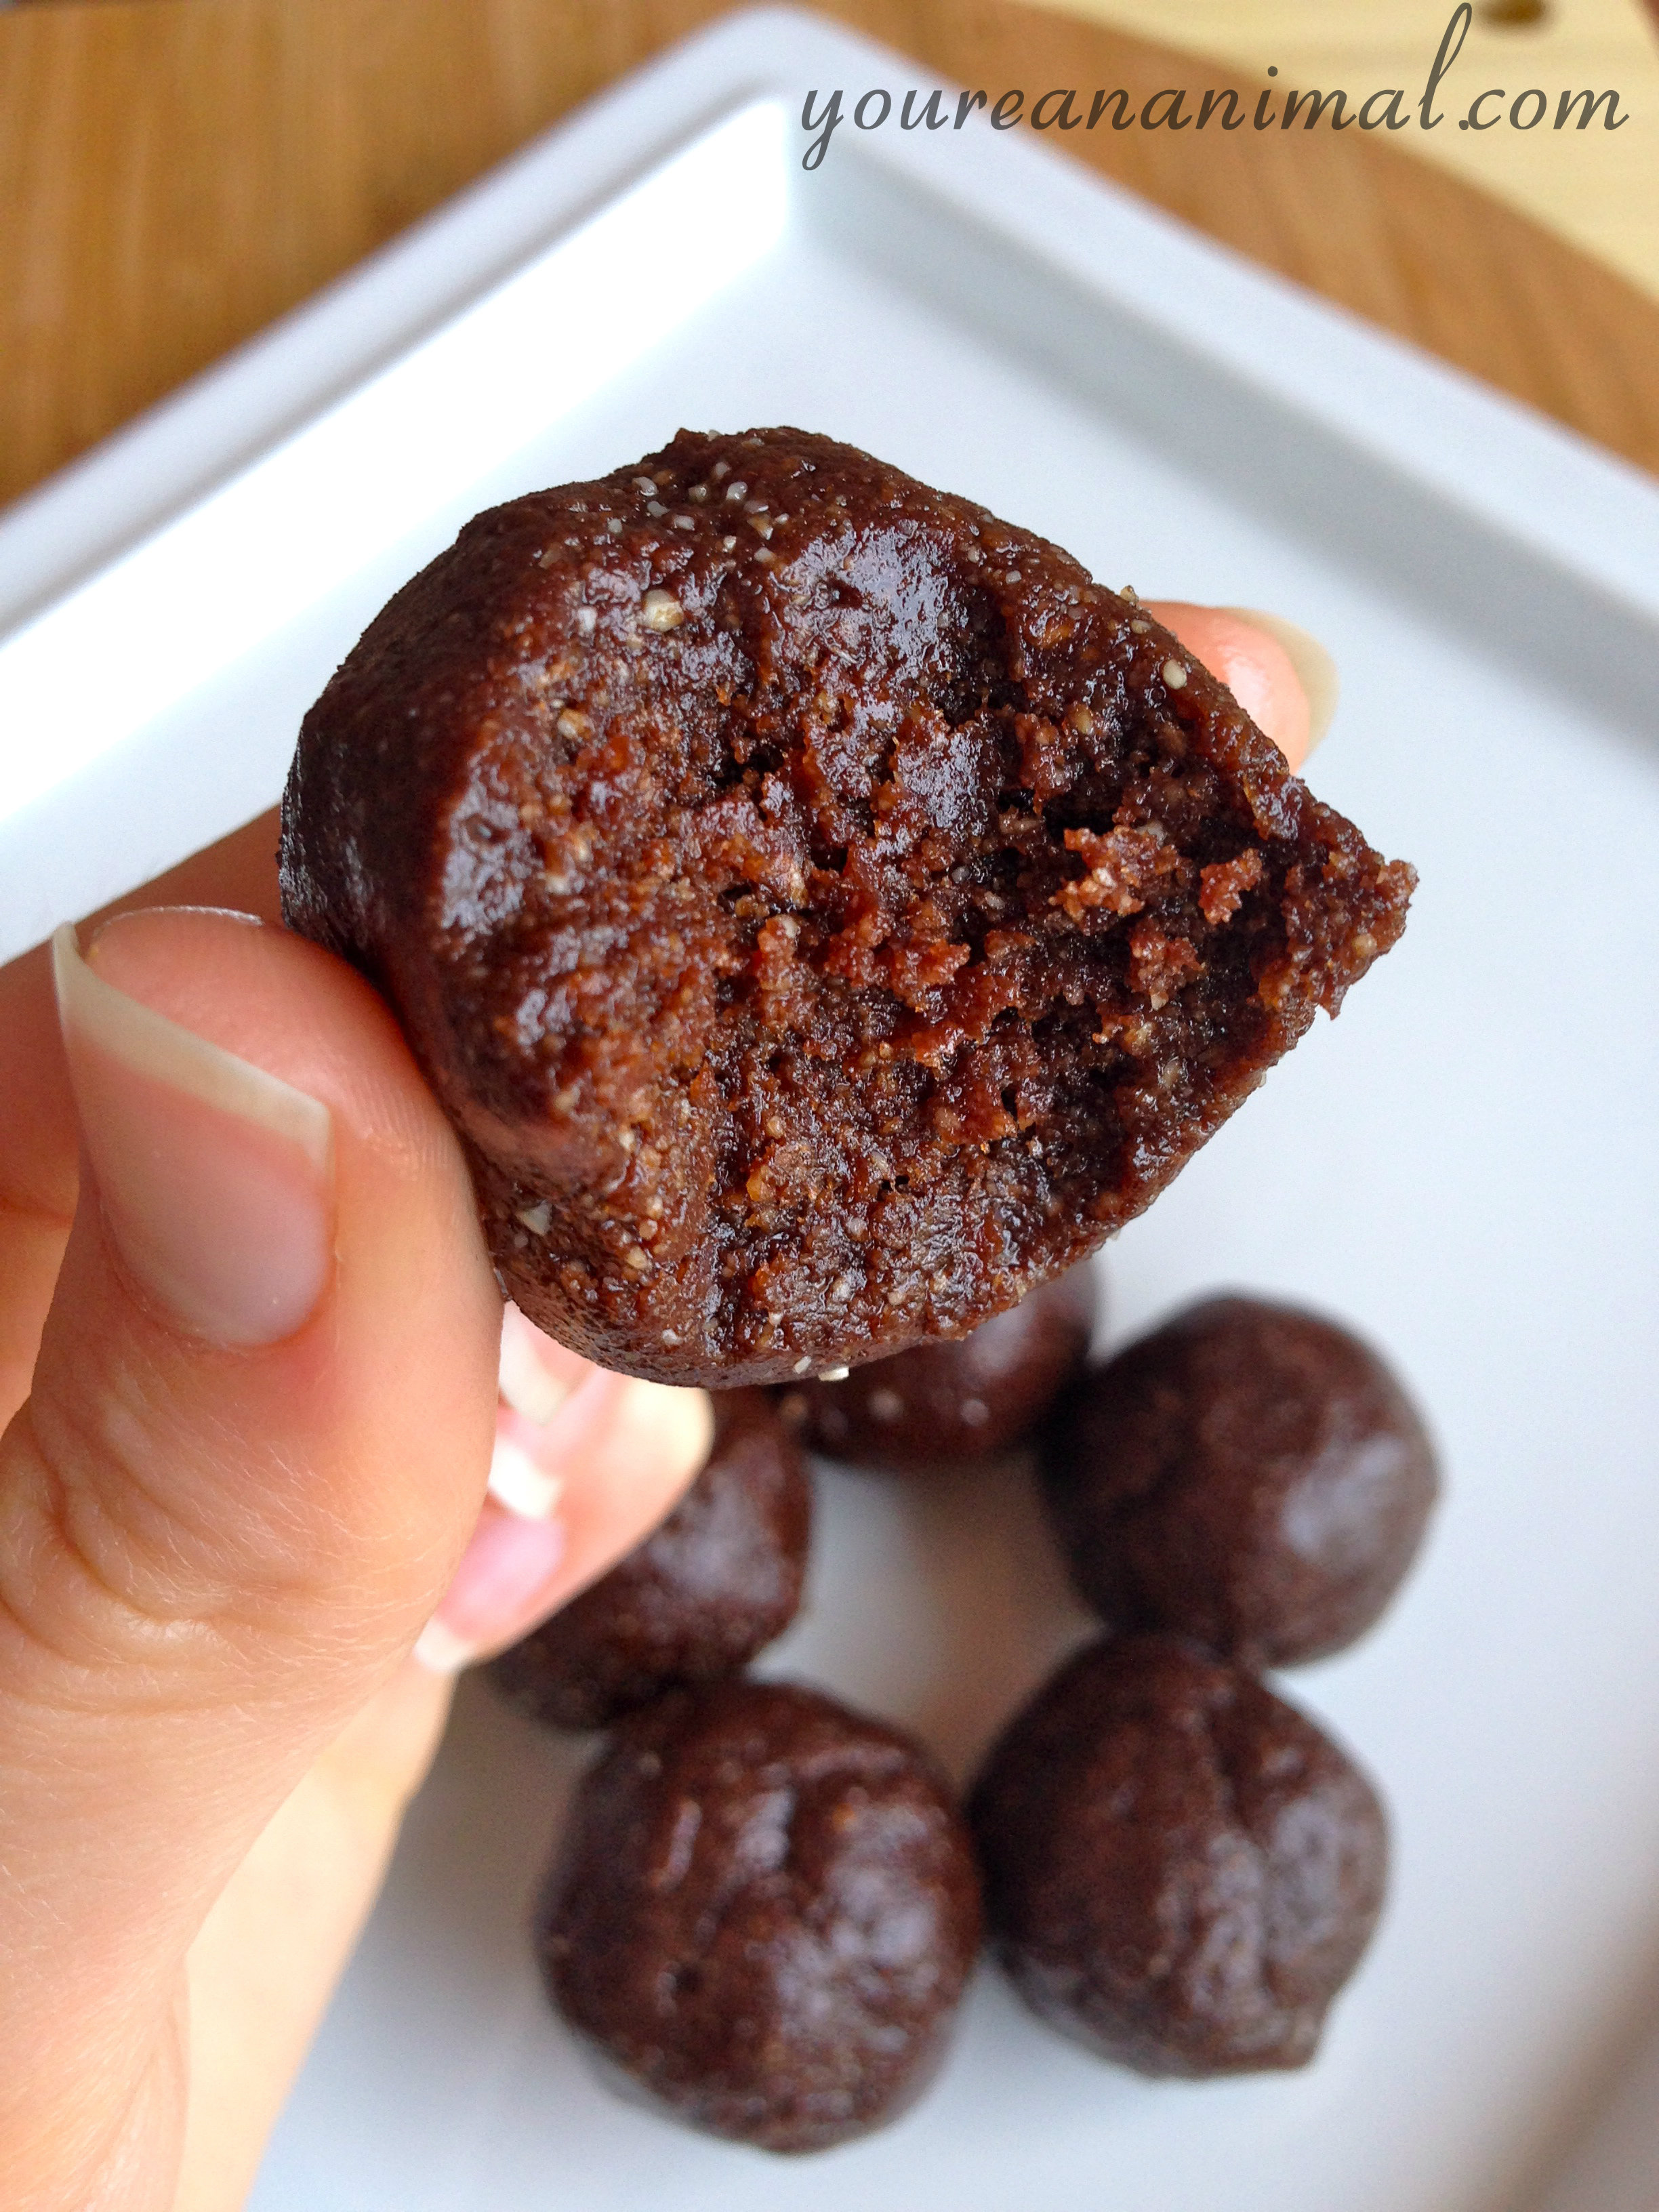
    Raw Brownie Energy Bites

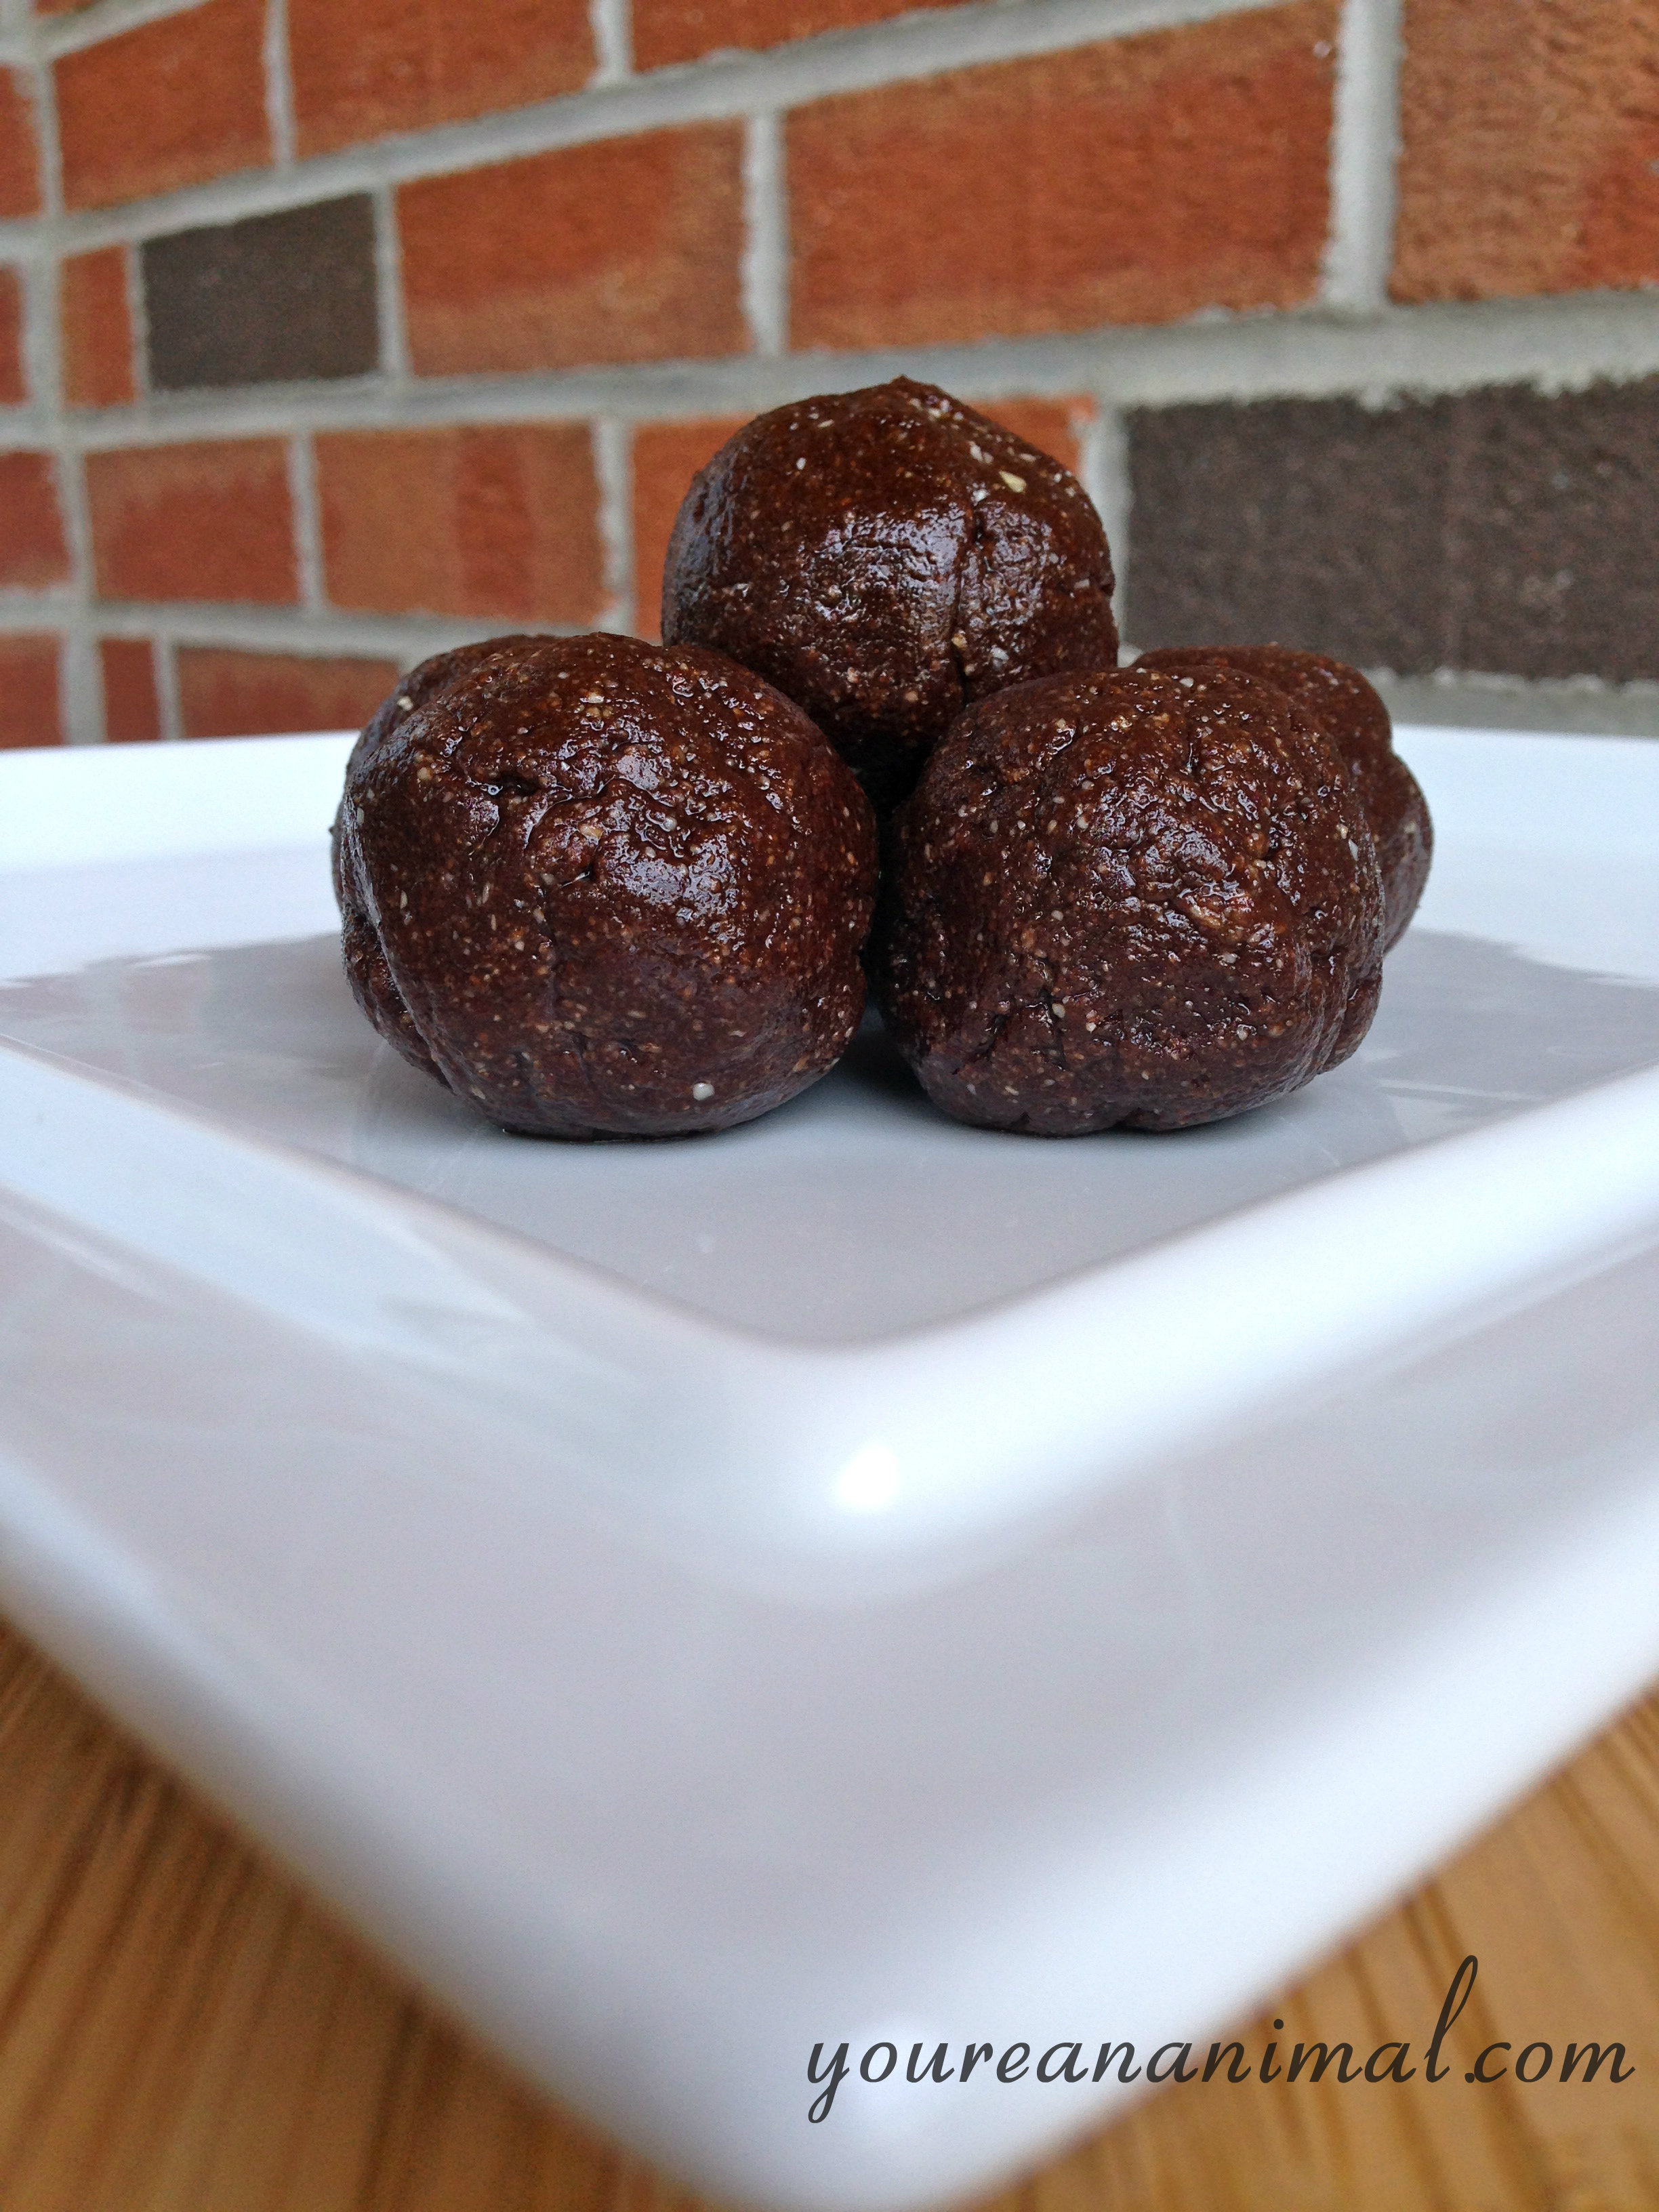
    proteinbite7 Sometimes my kitchen turns into an episode of Chopped. "I'm hungry, I have these ingredients, GO." Interestingly, sometimes these spontaneous ventures turn out to be a hit on the first try. Such is the case with these bites. Okay... balls. There I said it... we were all thinking it, let's move on. I really wanted something sweet, but also filling, and TAADAA. Brownie bites. That are raw. And proteiny. (Read: filling.) Emphasis on the brownie, because yum. Reminiscent of a Lara Bar, or energy bar, these are the perfect snack to throw together to get you over the afternoon hump. I used watermelon seeds to keep these protein-filled yet nut-free, but you can sub any kind of nut or seed you want. DO NOT BE ALARMED BY THEIR APPEARANCE. Just dive right in, the brownie is divine. Raw Brownie Energy Bites

    • 3/4 cup Watermelon Seeds (or other seeds/nuts)
    • 7 pitted dates
    • 2 tbsp cocoa powder
    • 2 tbsp tahini (sesame seed paste)
    • 2 tbsp water
    • 1/2 tsp vanilla extract
    • 1/4 tsp cinnamon
    1. Add dates, cocoa powder, watermelon seeds, vanilla and cinnamon to a small food processor. Process until finely chopped, like the consistency of wet sand.
    2. Add the tahini and water to the mixture, and process until it comes together in a thick paste/dough. If needed, you can add more water, drop by drop, until the mixture is the right consistency to be able to mold.
    3. Remove mixture from processor, and form into balls. Mine were a little over a tablespoon each.
    Makes about 7 bites. proteinbite2      

  • Honey Maple Almond Clusters (White Sugar-Free)

    Honey Maple Almond Clusters (White Sugar-Free)

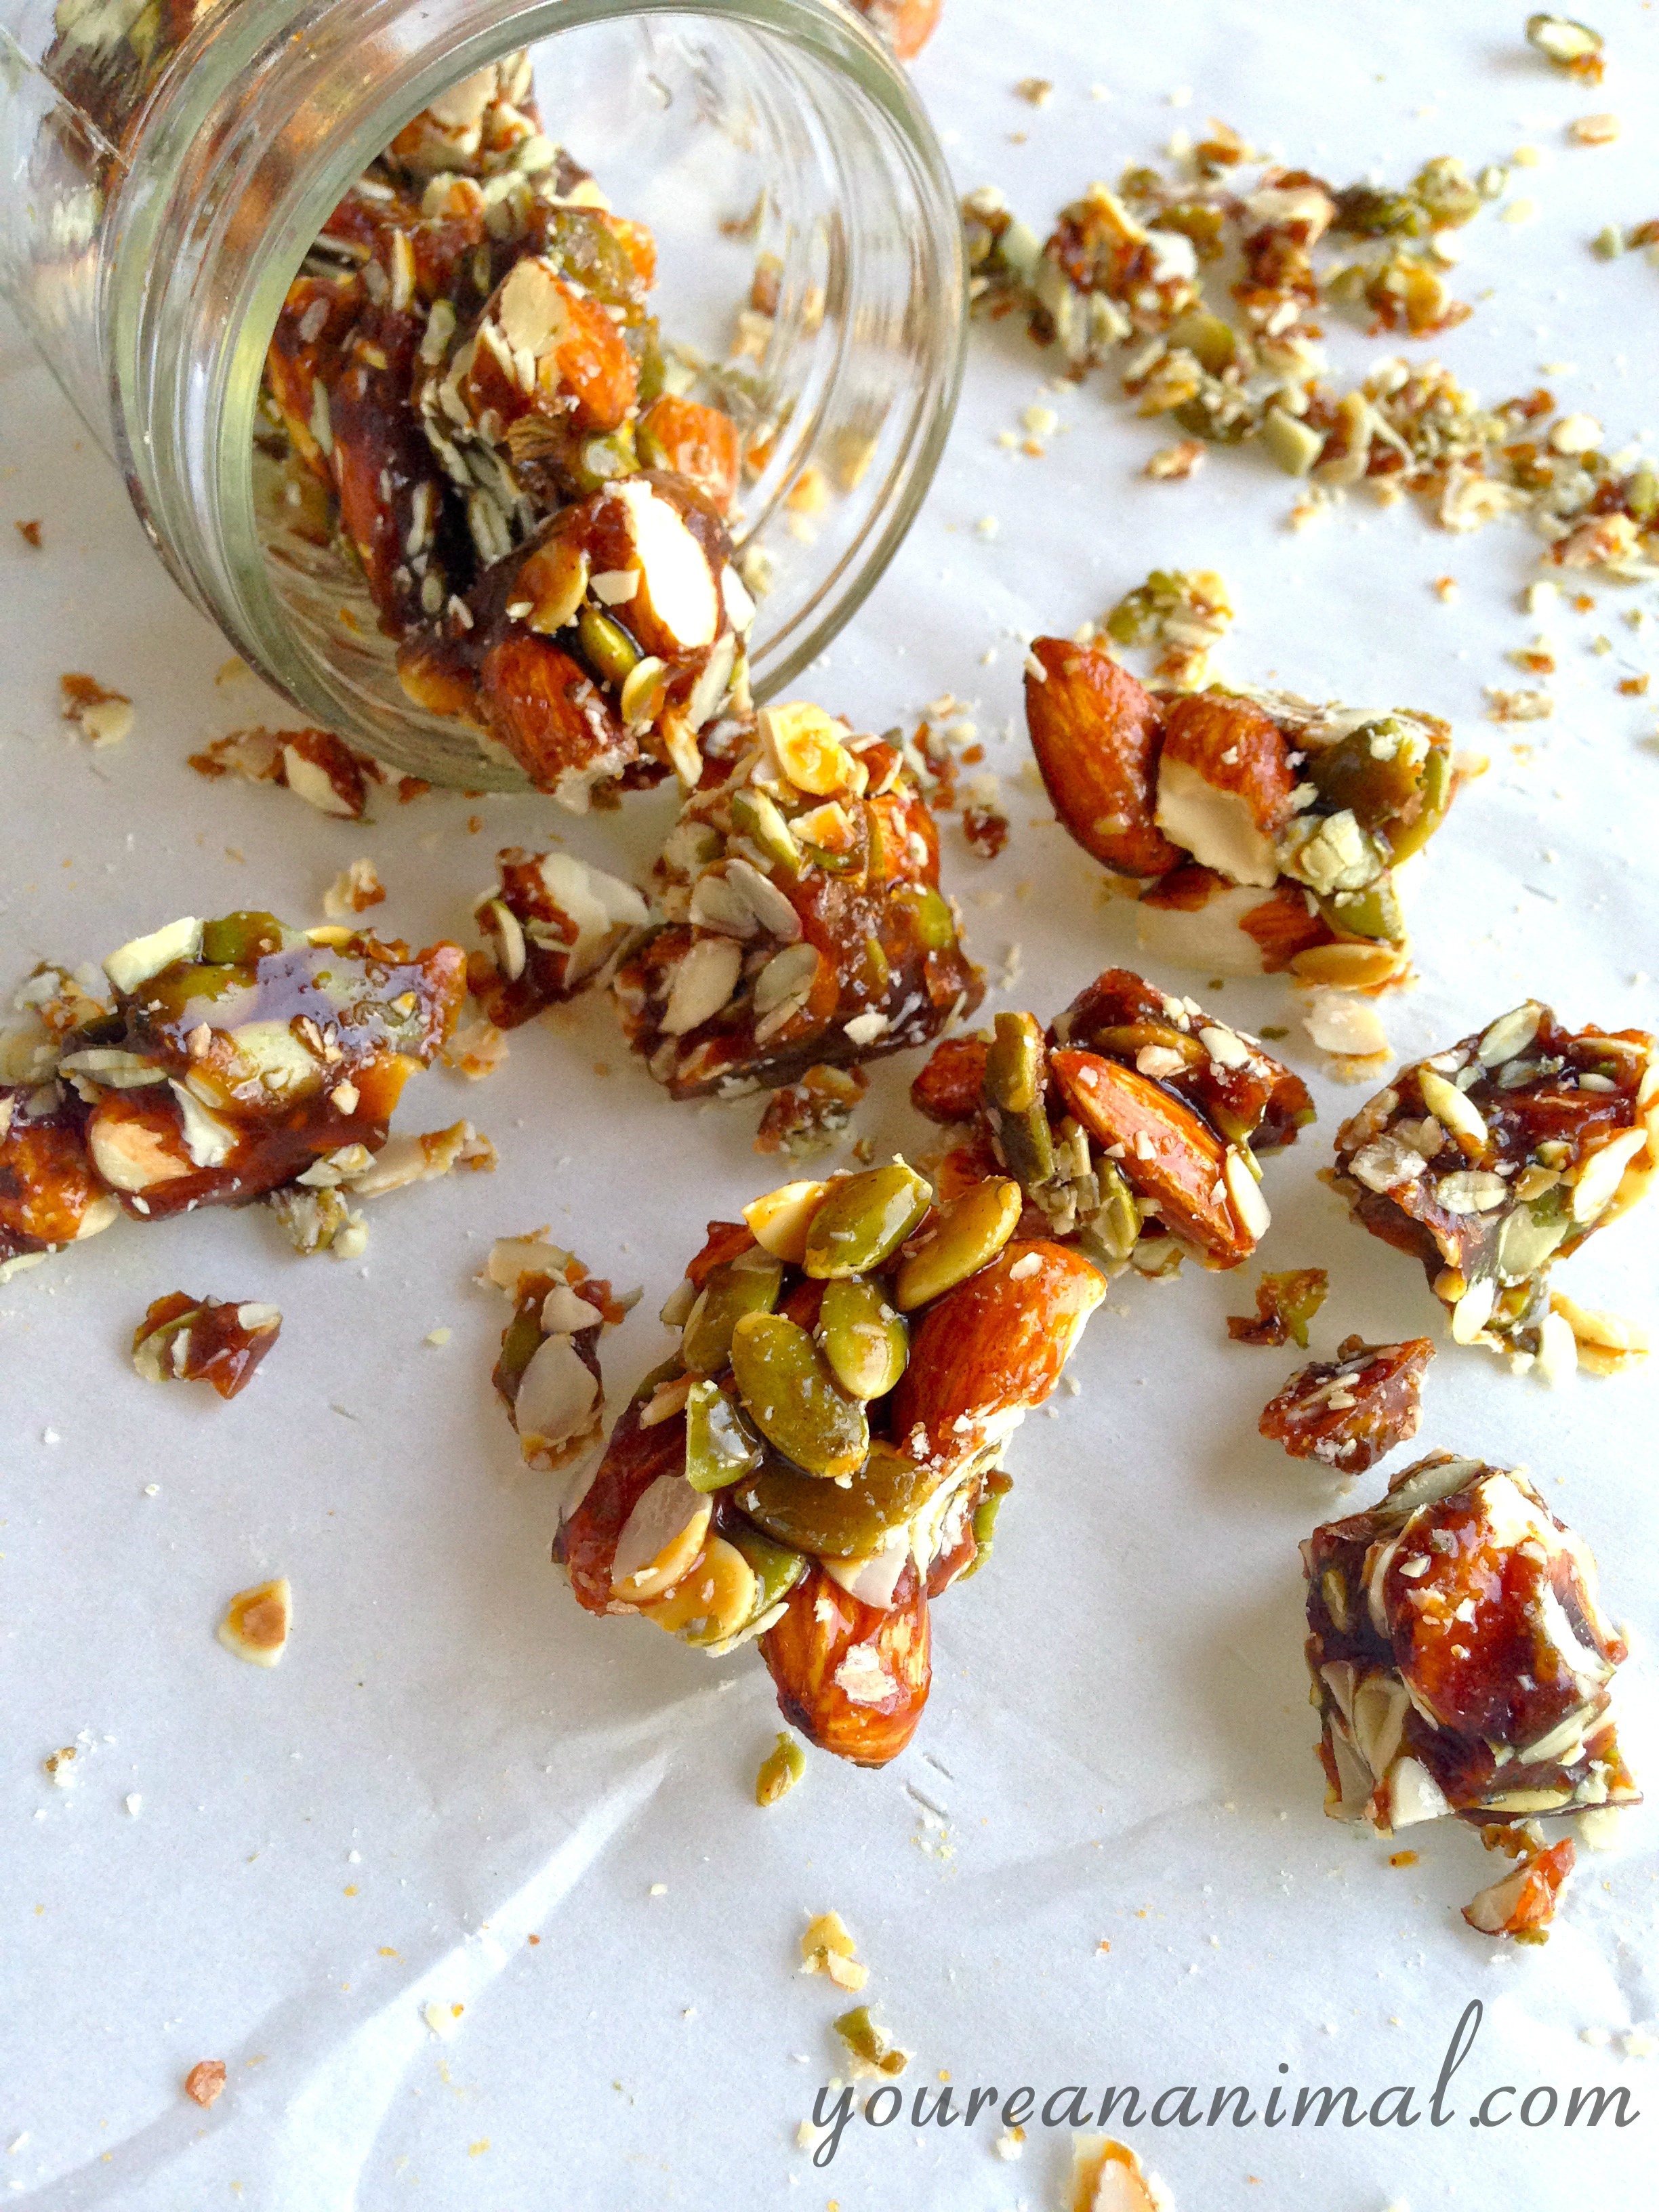
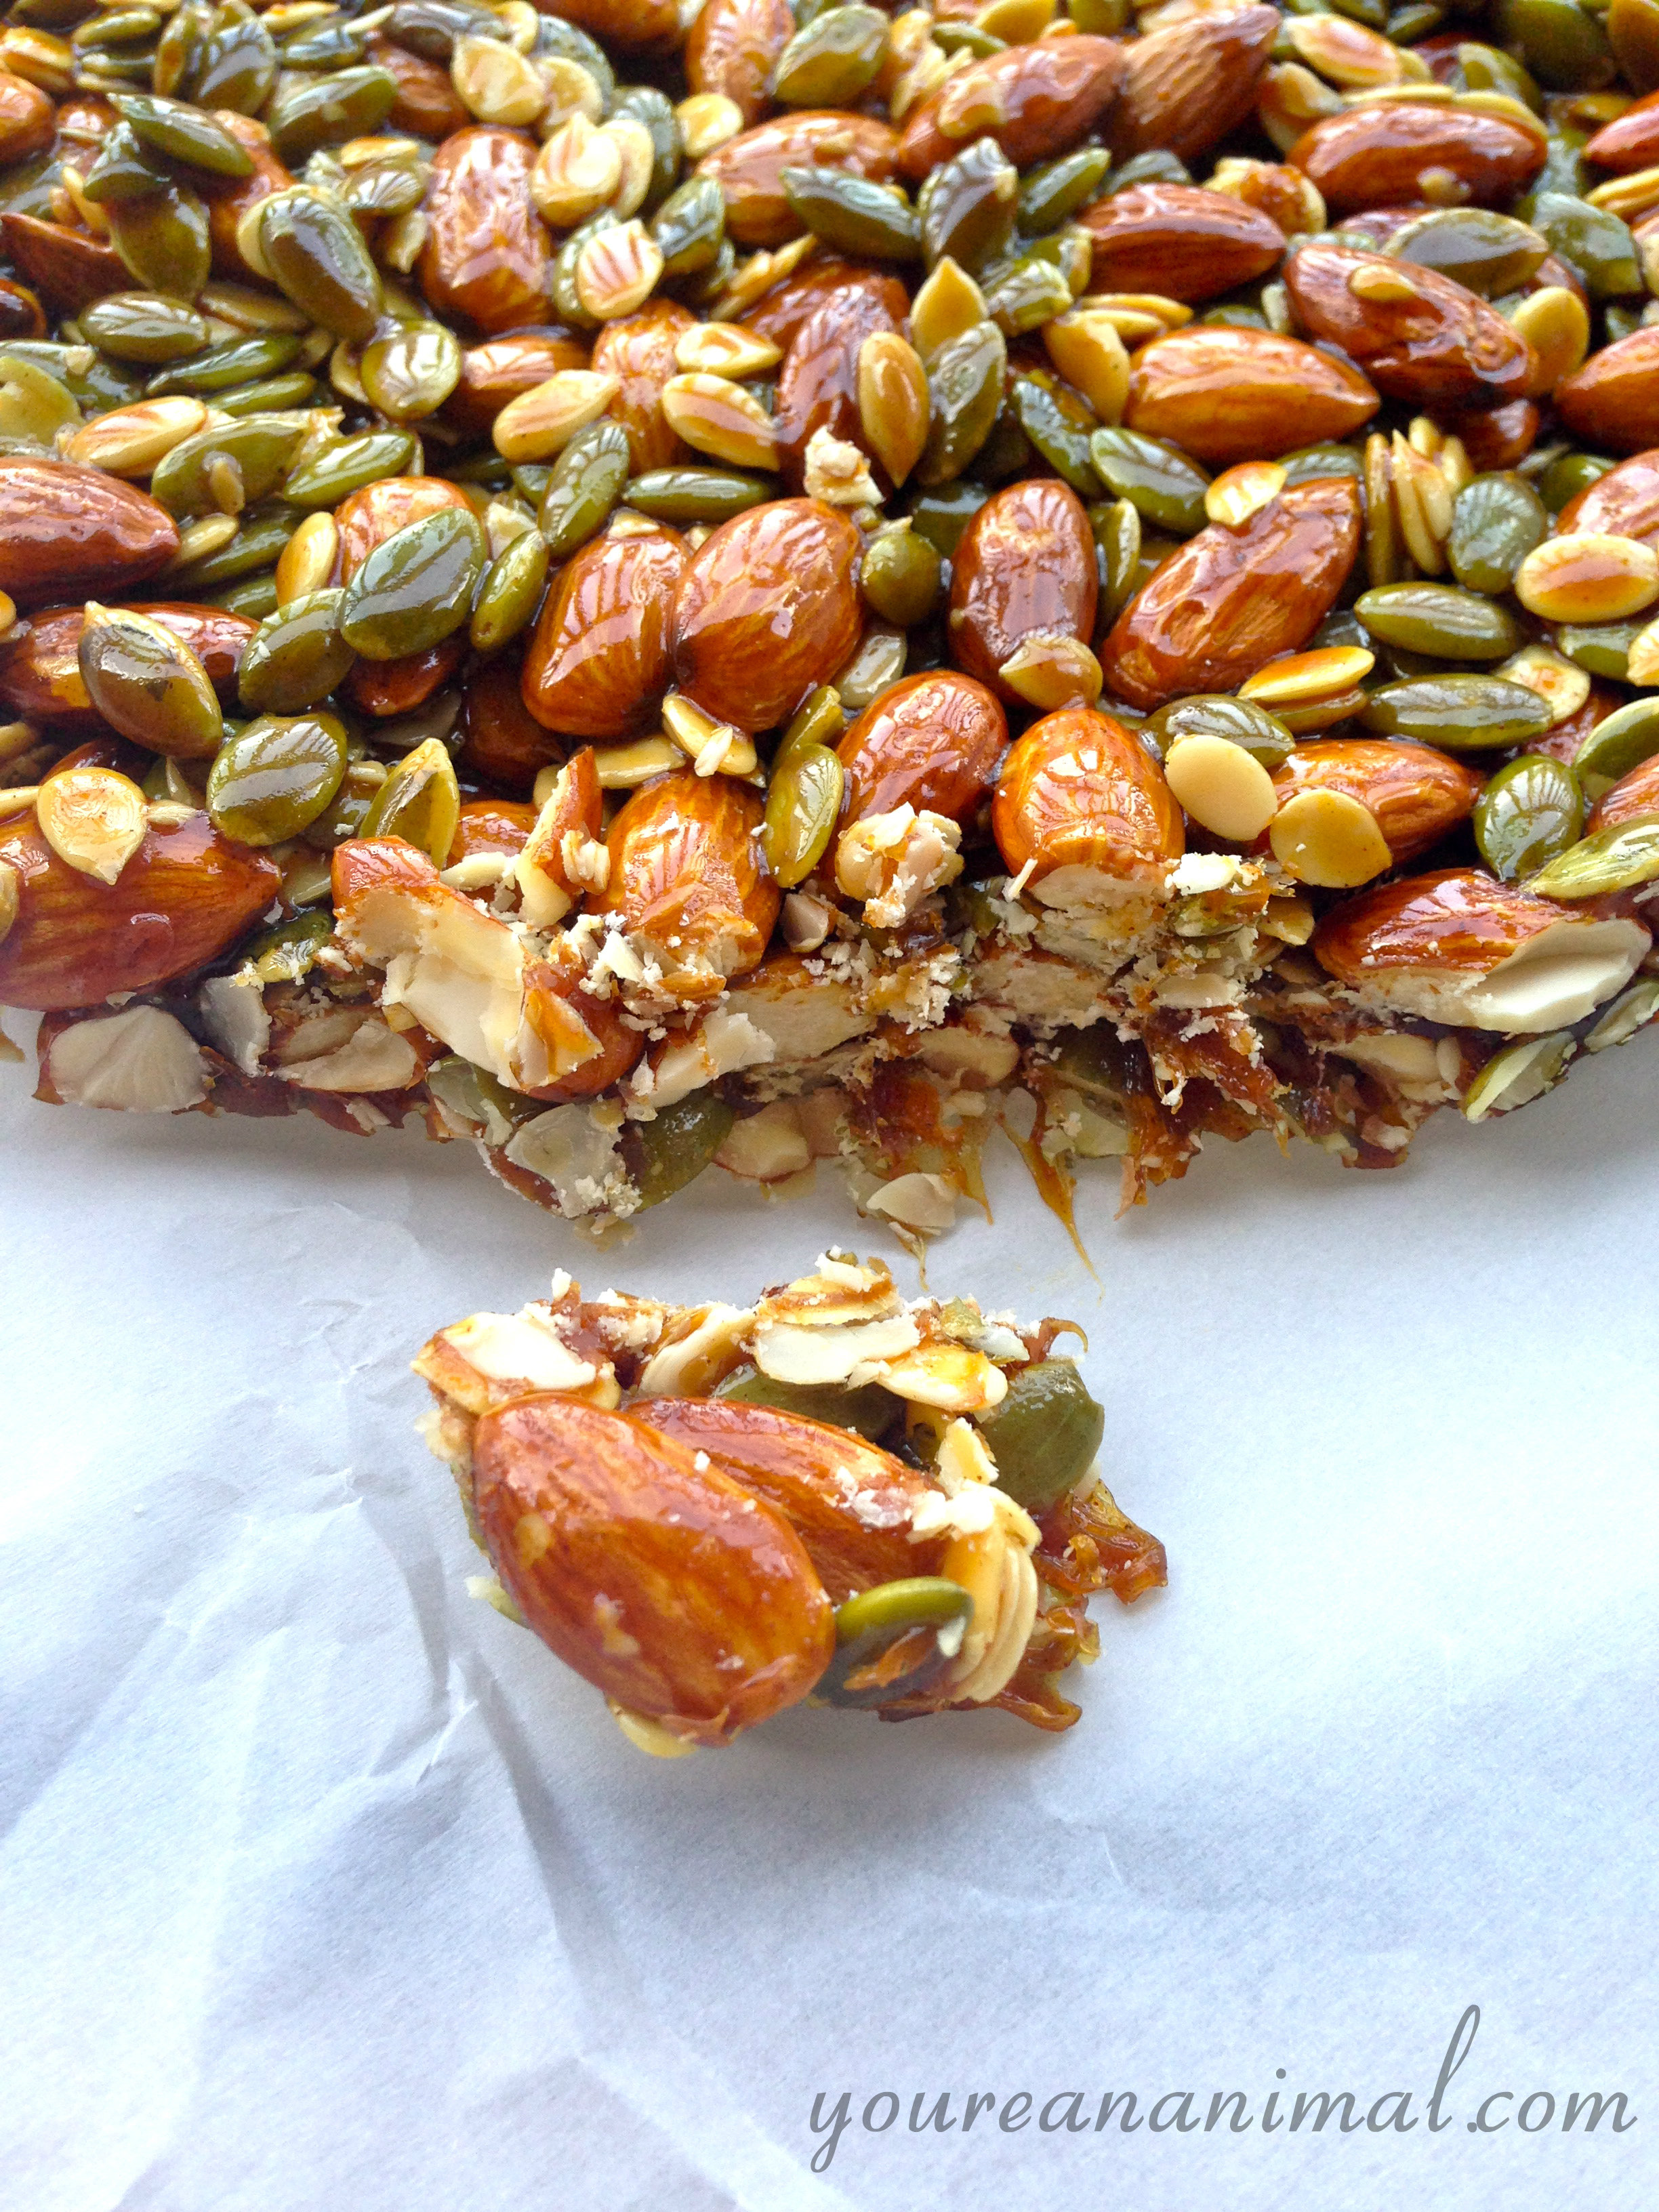
    almondcluster13 It's Independence Day weekend, which for most of us east-coasters means a long weekend at the beach! So Andrew and I packed up the car last night and drove 5 hours down the coast to the NC/SC border for a much-needed mental and physical break. And then Arthur arrived... the first hurricane of the season with the worst timing. Currently we are cooped up in the beach house on our first day here, waiting for the storm to pass. It's just grazing us here, so we're lucky, and thinking of the people (especially our friends) in the Outer Banks who are about to get a direct hit tonight. Stay safe! In my world, road trips only mean one thing: Car snacks. A couple years ago I would have stocked up on Sour Patch Kids and chocolate covered pretzels on our gas station stop before heading out. Those days are (thankfully) gone, but I still wanted that sweet and salty fix, so I whipped up some Honey Maple Almond Clusters before heading out! Car snack fix, done and done. And not too terrible in the nutrition department, I might add. Heavy on the nuts and seeds, with natural sugars rather than the white and brown that are in typically brittle recipes. I added grass-fed butter for the extra richness and flavor, but you could certainly leave it out if you choose. Car packed, clusters made, plus a green smoothie in the cup holder, and we were set for the hours ahead! Now just to ride out this rain... Honey Maple Almond Clusters

    • 3/4 cup unfiltered honey
    • 3/4 cup  grade B maple syrup
    • 3/4 cup water
    • 2 cups raw almonds
    • 1 cup pumpkin seeds
    • 1/2 cup watermelon seeds
    • 2 Tbsp grass-fed butter (I used salted Kerry Gold)
    • 1/4 tsp vanilla extract
    • 1/2 tsp cinnamon
    1. In a medium saucepan, combine the honey, maple syrup, and water.
    2. Bring this mixture to a boil (about medium to medium-high heat), and use a candy thermometer to keep track of the temperature. (The thermometer is important! Sugar is very finicky.)
    3. Line an 8x8 pan with parchment paper. Measure out your add-ins beforehand, as you will need to act quickly once your sugar mixture comes to temperature.
    4. Continue to boil sugar mixture until it reaches 300 degrees F, or the "hard crack" stage, stirring frequently. Beware, it will foam up. If it foams too much, stir, or remove from heat briefly and then return. This stage takes longer than expected--anywhere from 30 min to an hour. Be patient!
    5. Once the mixture reaches the hard crack temperature, remove from heat and quickly add your butter, almonds, seeds, vanilla and cinnamon. Stir and fold in the ingredients quickly, as the sugar will start to stiffen.
    6. Add the mixture to the lined 8x8 pan, and smooth into an even layer.
    7. Allow to cool in the freezer (they will be easier to break when really cold).
    8. Once completely hardened (like hard candy), remove from the pan and break the mixture into bite-sized clusters.
    9. Helpful hints: I found it broke more easily if I flipped it over so the bottom was facing up. I used a butter knife and just went for it. Caution--this is a messy process. Expect to sweep the floor and every inch of counter within a 4-5 foot radius. Maybe invest in some protective eye wear and send small children and pets out of the room. Standard flying object precautions. Also, these got slightly chewy at room temperature, so I found that storing them in the fridge kept them super crunchy. And one more thing... Please don't pull out a filling eating these.
    10. Enjoy!
    almondcluster3  

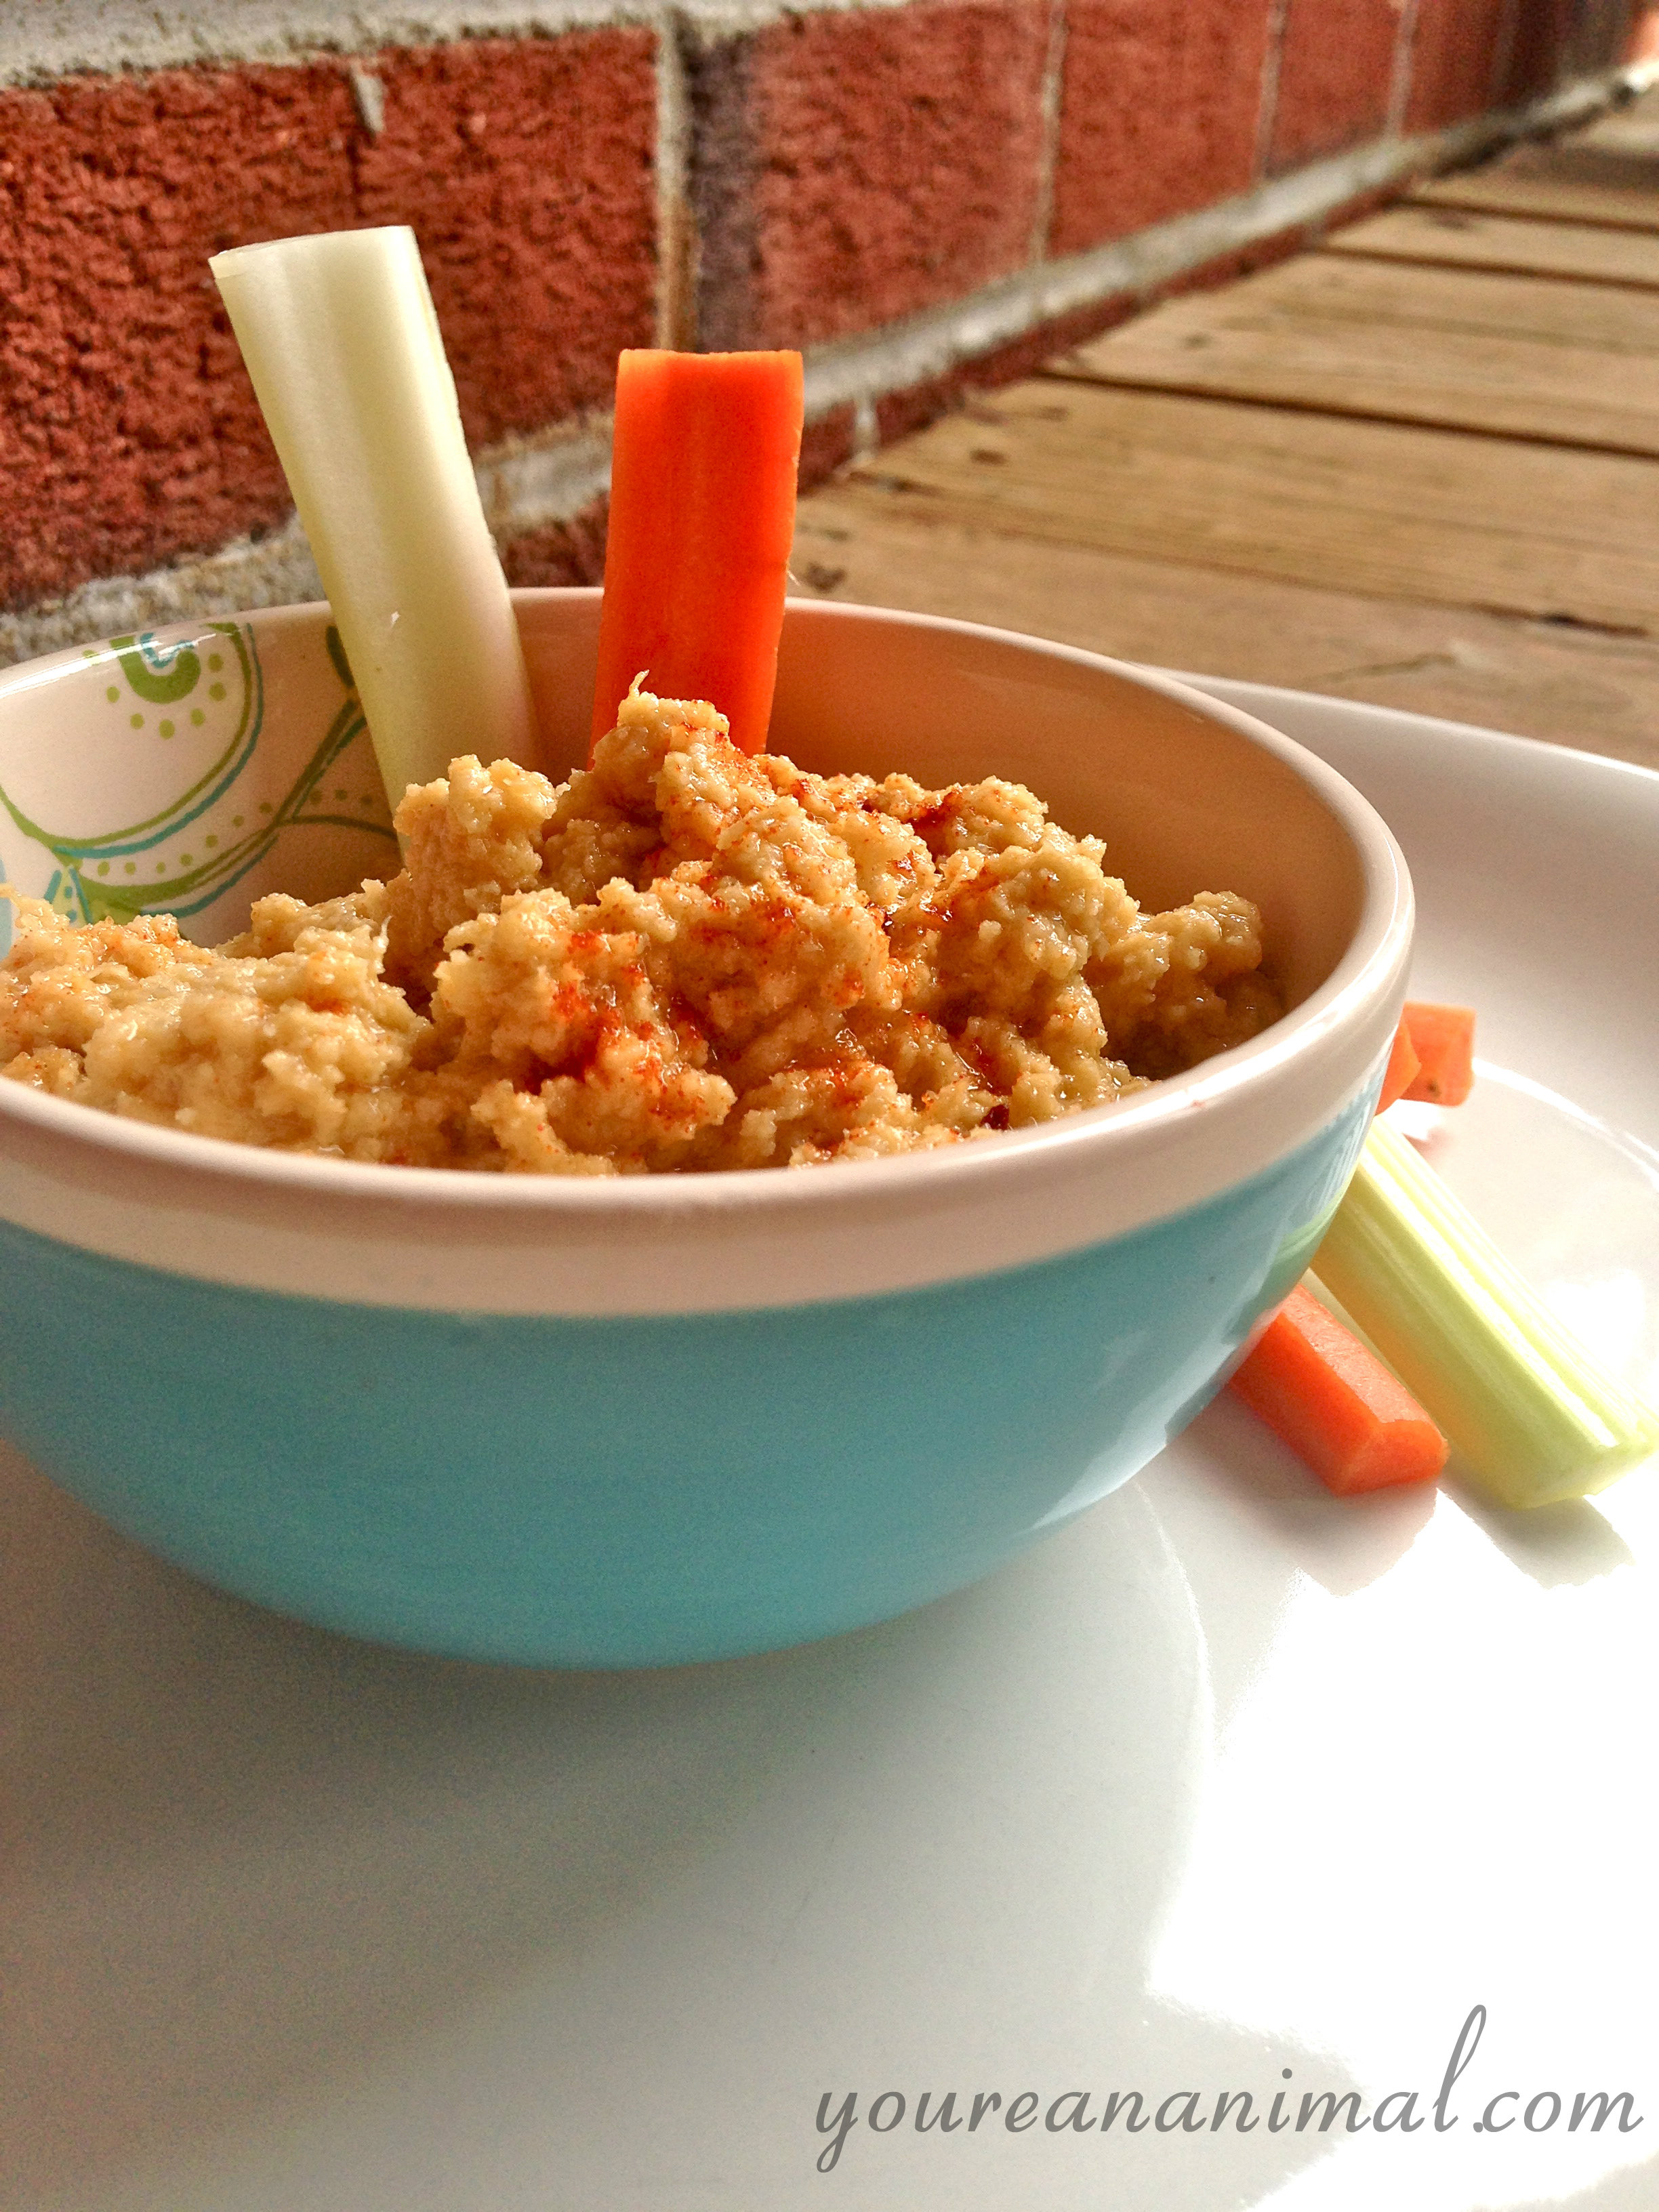
  • No Bean, Watermelon Seed “Hummus”

    No Bean, Watermelon Seed “Hummus”

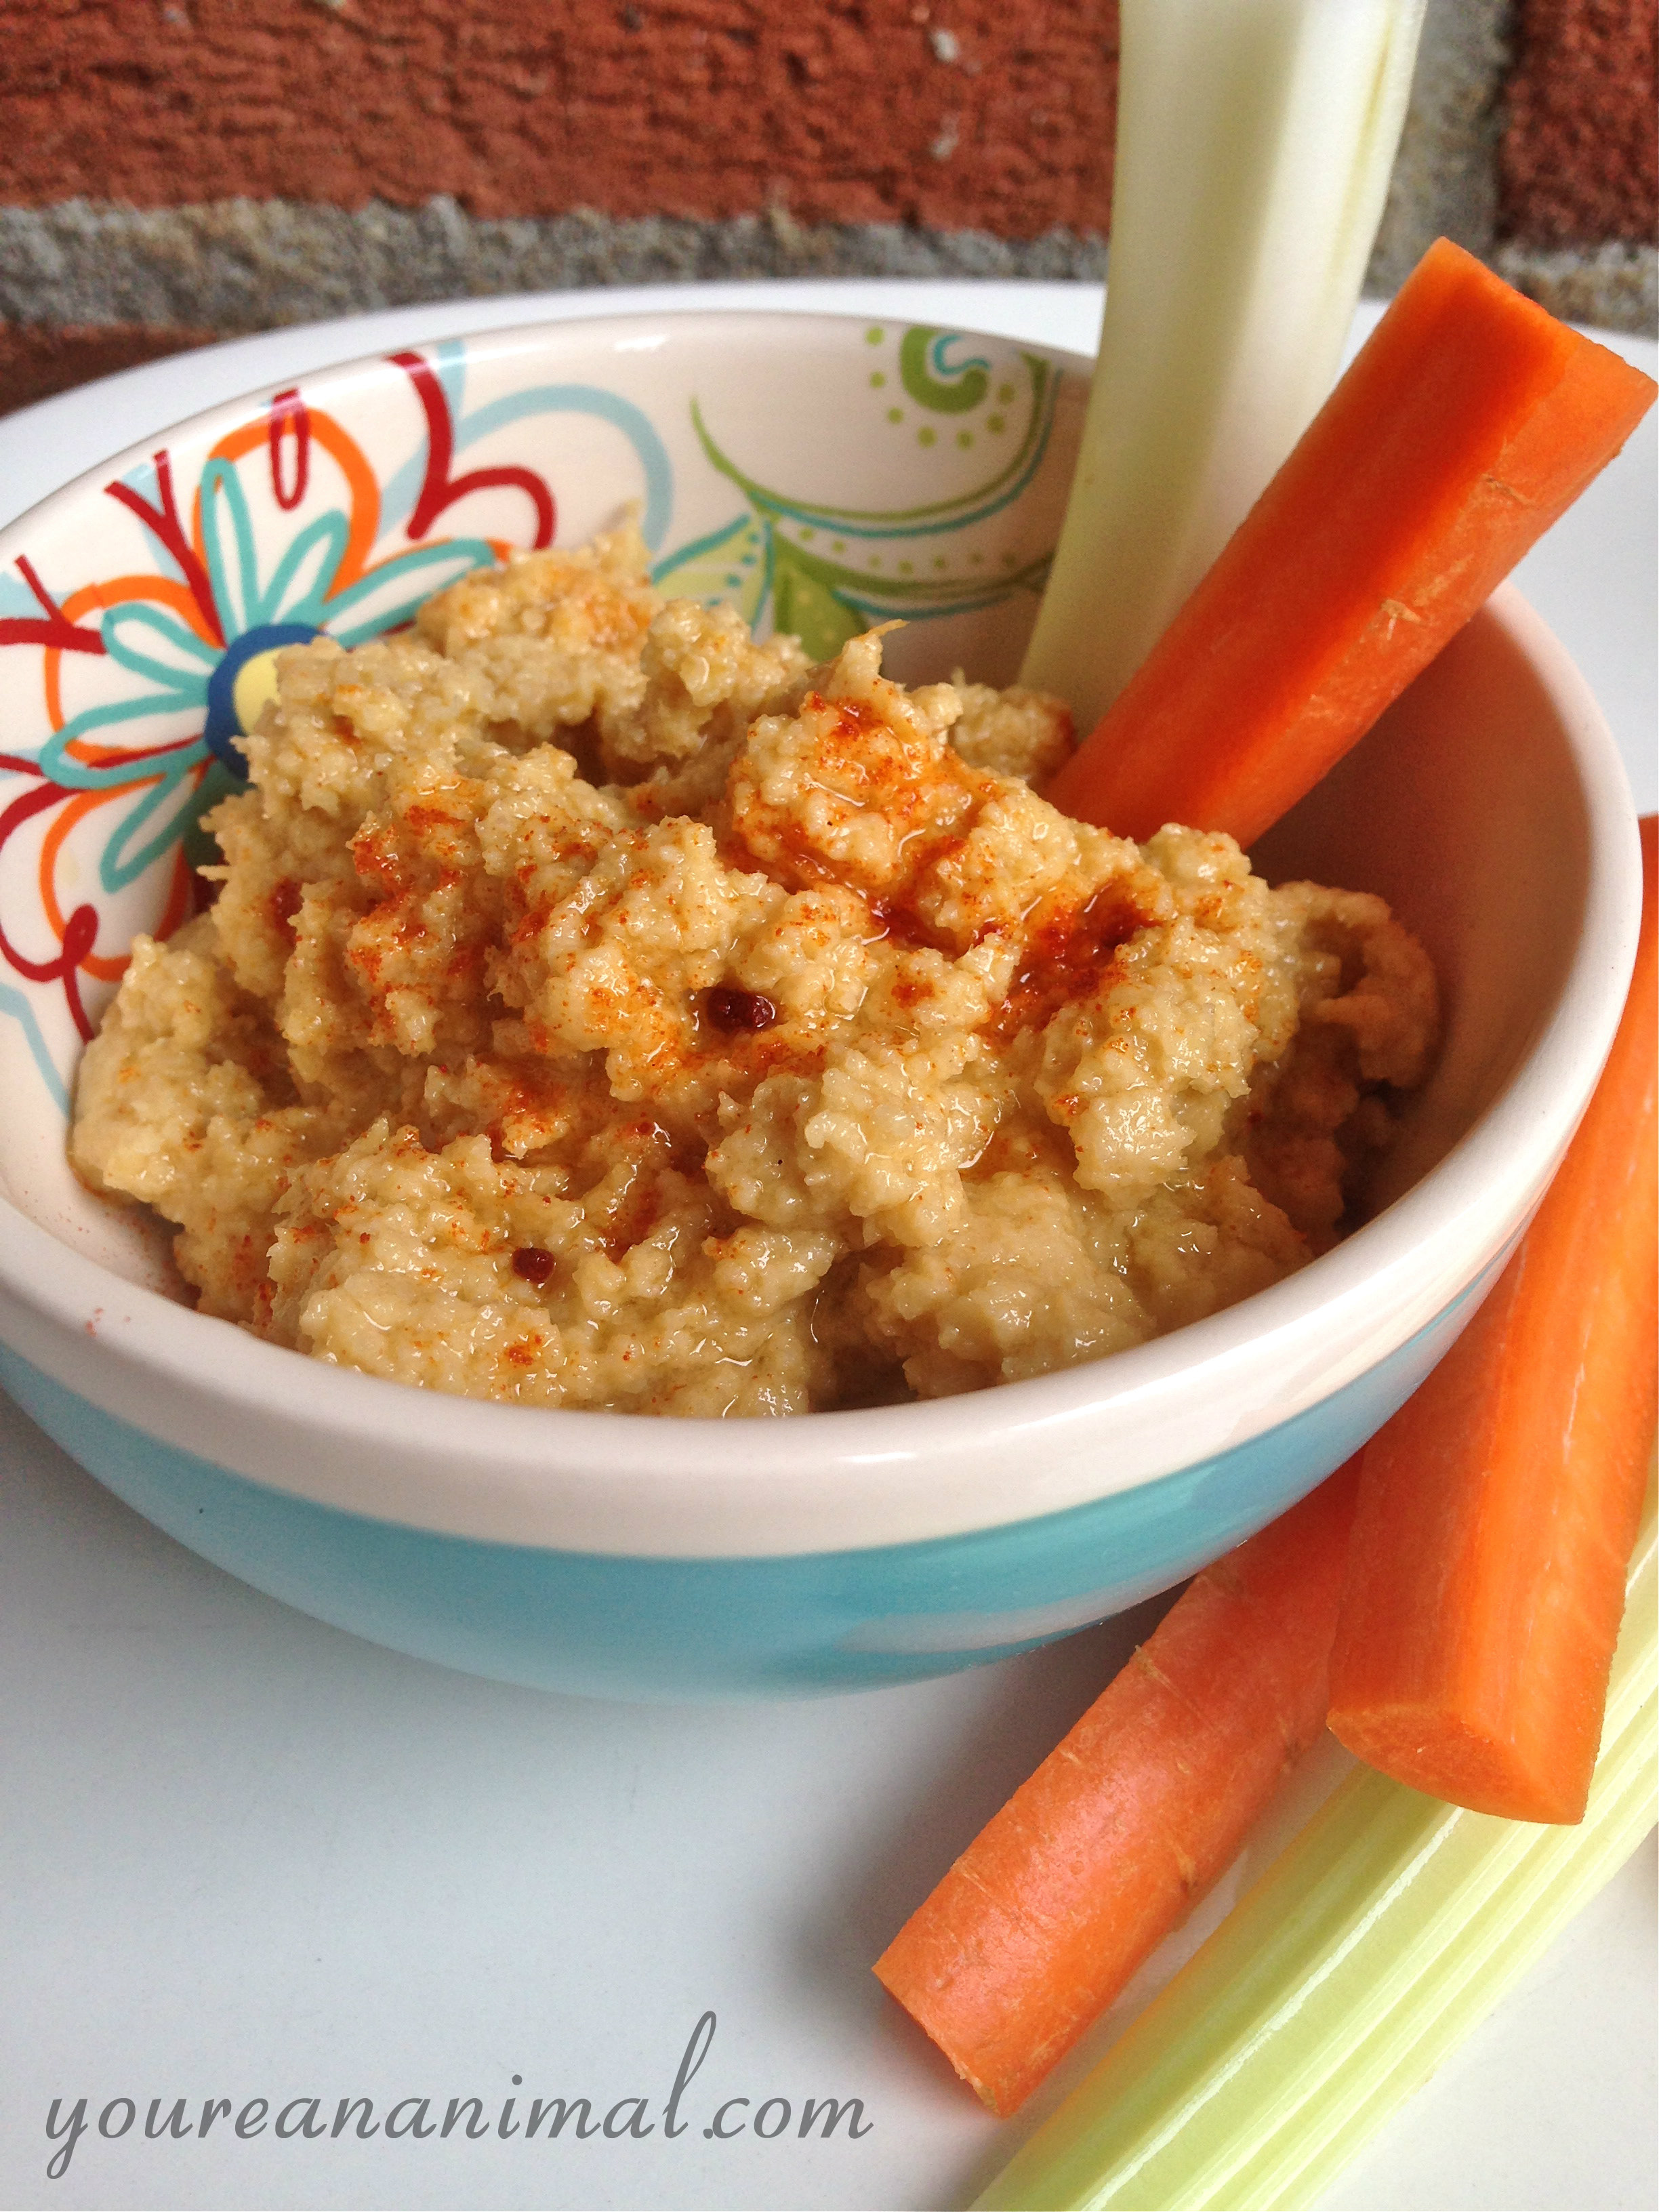
    hummus5 Ah hummus, one of the things I miss greatly about no longer eating beans/lentils. I tend to avoid beans and lentils because of their anti-nutrient properties, and also because they usually give me extreme stomach pain (not terribly uncommon for beans--they do tend to have that, ahem, reputation--but often times it is literally unbearable for me.) But I was missing the veggies dip aspect, so I did some tinkering to figure out what I could come up with. I'd seen hummus made from cauliflower, and cashews, but I chose to go a different route: Watermelon seeds. Say what? you ask. Yep. Let me give you a brief synopsis of watermelon seeds. They are a plant-protein powerhouse. We're talking 11 grams of protein in 1 ounce. That's 2 tablespoons. That's about half of a handful. That's A LOT of protein. Oh and 15% of your daily iron value in the same 1 ounce. Um yes please and thank you. You can learn more about these little bundles of nutritional joy in my Watermelon Seed ingredient post. So because not only do I use these watermelon seeds for this "hummus," but also tahini (sesame seed paste), there are about 13 grams of protein in 2 tablespoons of this stuff. Compare this to 2 grams of protein in your traditional, chickpea hummus. (Um, was anyone else disillusioned by this? I was under the impression that hummus was a good source of protein for oh I don't know, my entire life...) This makes this dip the perfect afternoon snack if you ask me! Now, don't expect this to be the texture of your traditional hummus. Try as I did, it's just not the creaminess you're used to. But the flavor profile is hummus-y indeed, and if you ask me, for the added benefits, I would gladly take a difference in texture. Snack away! No Bean, Watermelon Seed Hummus

    • 1 cup raw, sprouted watermelon seeds
    • 1/4 cup tahini
    • 3 Tbsp olive oil
    • 1 Tbsp lemon juice
    • 1 garlic clove
    • 1/4 tsp each of smoked paprika, onion powder, and dried yellow mustard powder
    • dash of cayenne, to taste
    1. Soak the watermelon seeds in filtered water for 3-4 hours. They will become slightly soft, like pumpkin seeds when gutting a pumpkin. Drain, and rinse.
    2. In a small food processor or blender, blend your soaked watermelon seeds until they start to form a paste.
    3. Add the rest of your ingredients, and blend until smooth, scraping down the sides as needed.
    4. Store in the fridge. Hummus will separate, just stir with a fork to reincorporate.
    Serving size: 2 Tbsp. Makes 8 servings. hummus6